
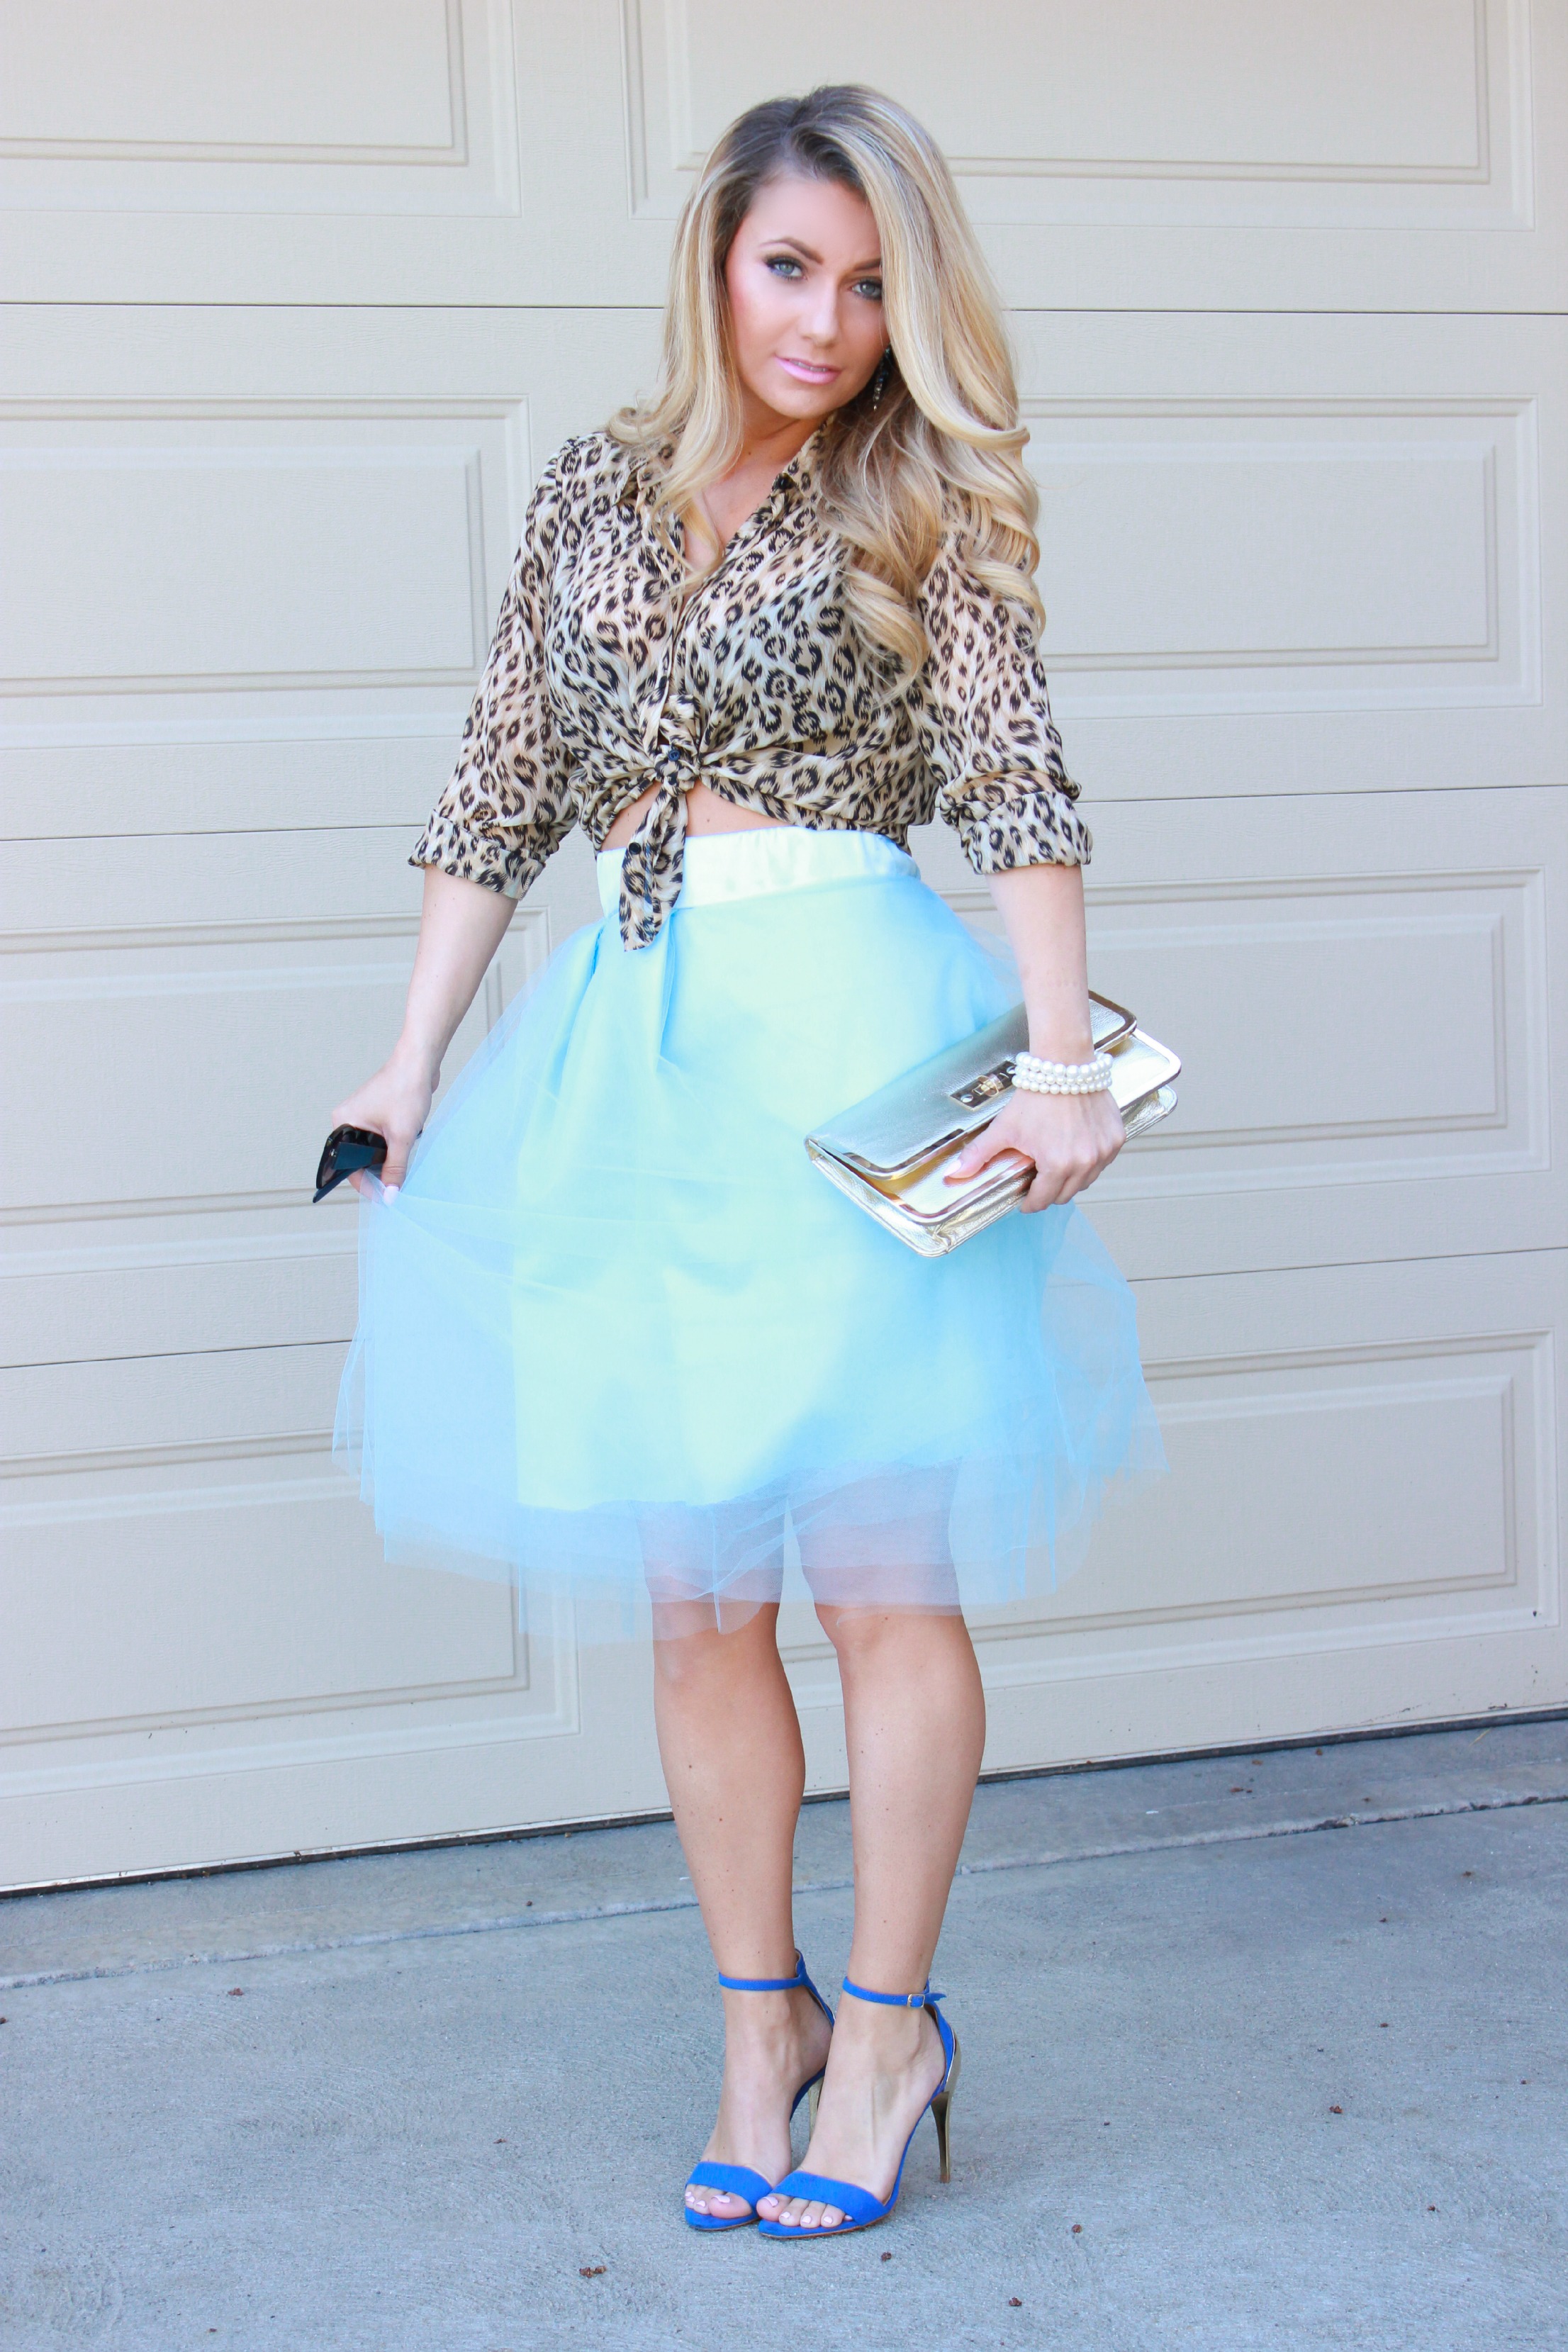
Hello darlings and Happy Easter! As you can probably guess, I made this skirt with Disney’s Cinderella in mind. My sister and I had planned on taking my niece to see it, and I thought it would be fun if we both wore something “Cinderella-ish” to see the movie.
I originally had planned on looking at Windsor for a party skirt- I’ve seen they carry the tulle party skirt in all colors and at a decent price. If you don’t have the time (or the sewing know-how to make your own, here is a link to the Windsor store with every color for $34.90 (which isn’t too awfully pricey either!)
I am also loving partyskirts.com and blisstulle.com. I would be lying if I said I don’t plan on purchasing other colors for convenience sake, but I think for $10 and 2 hours of my time, I did a pretty damn decent job!

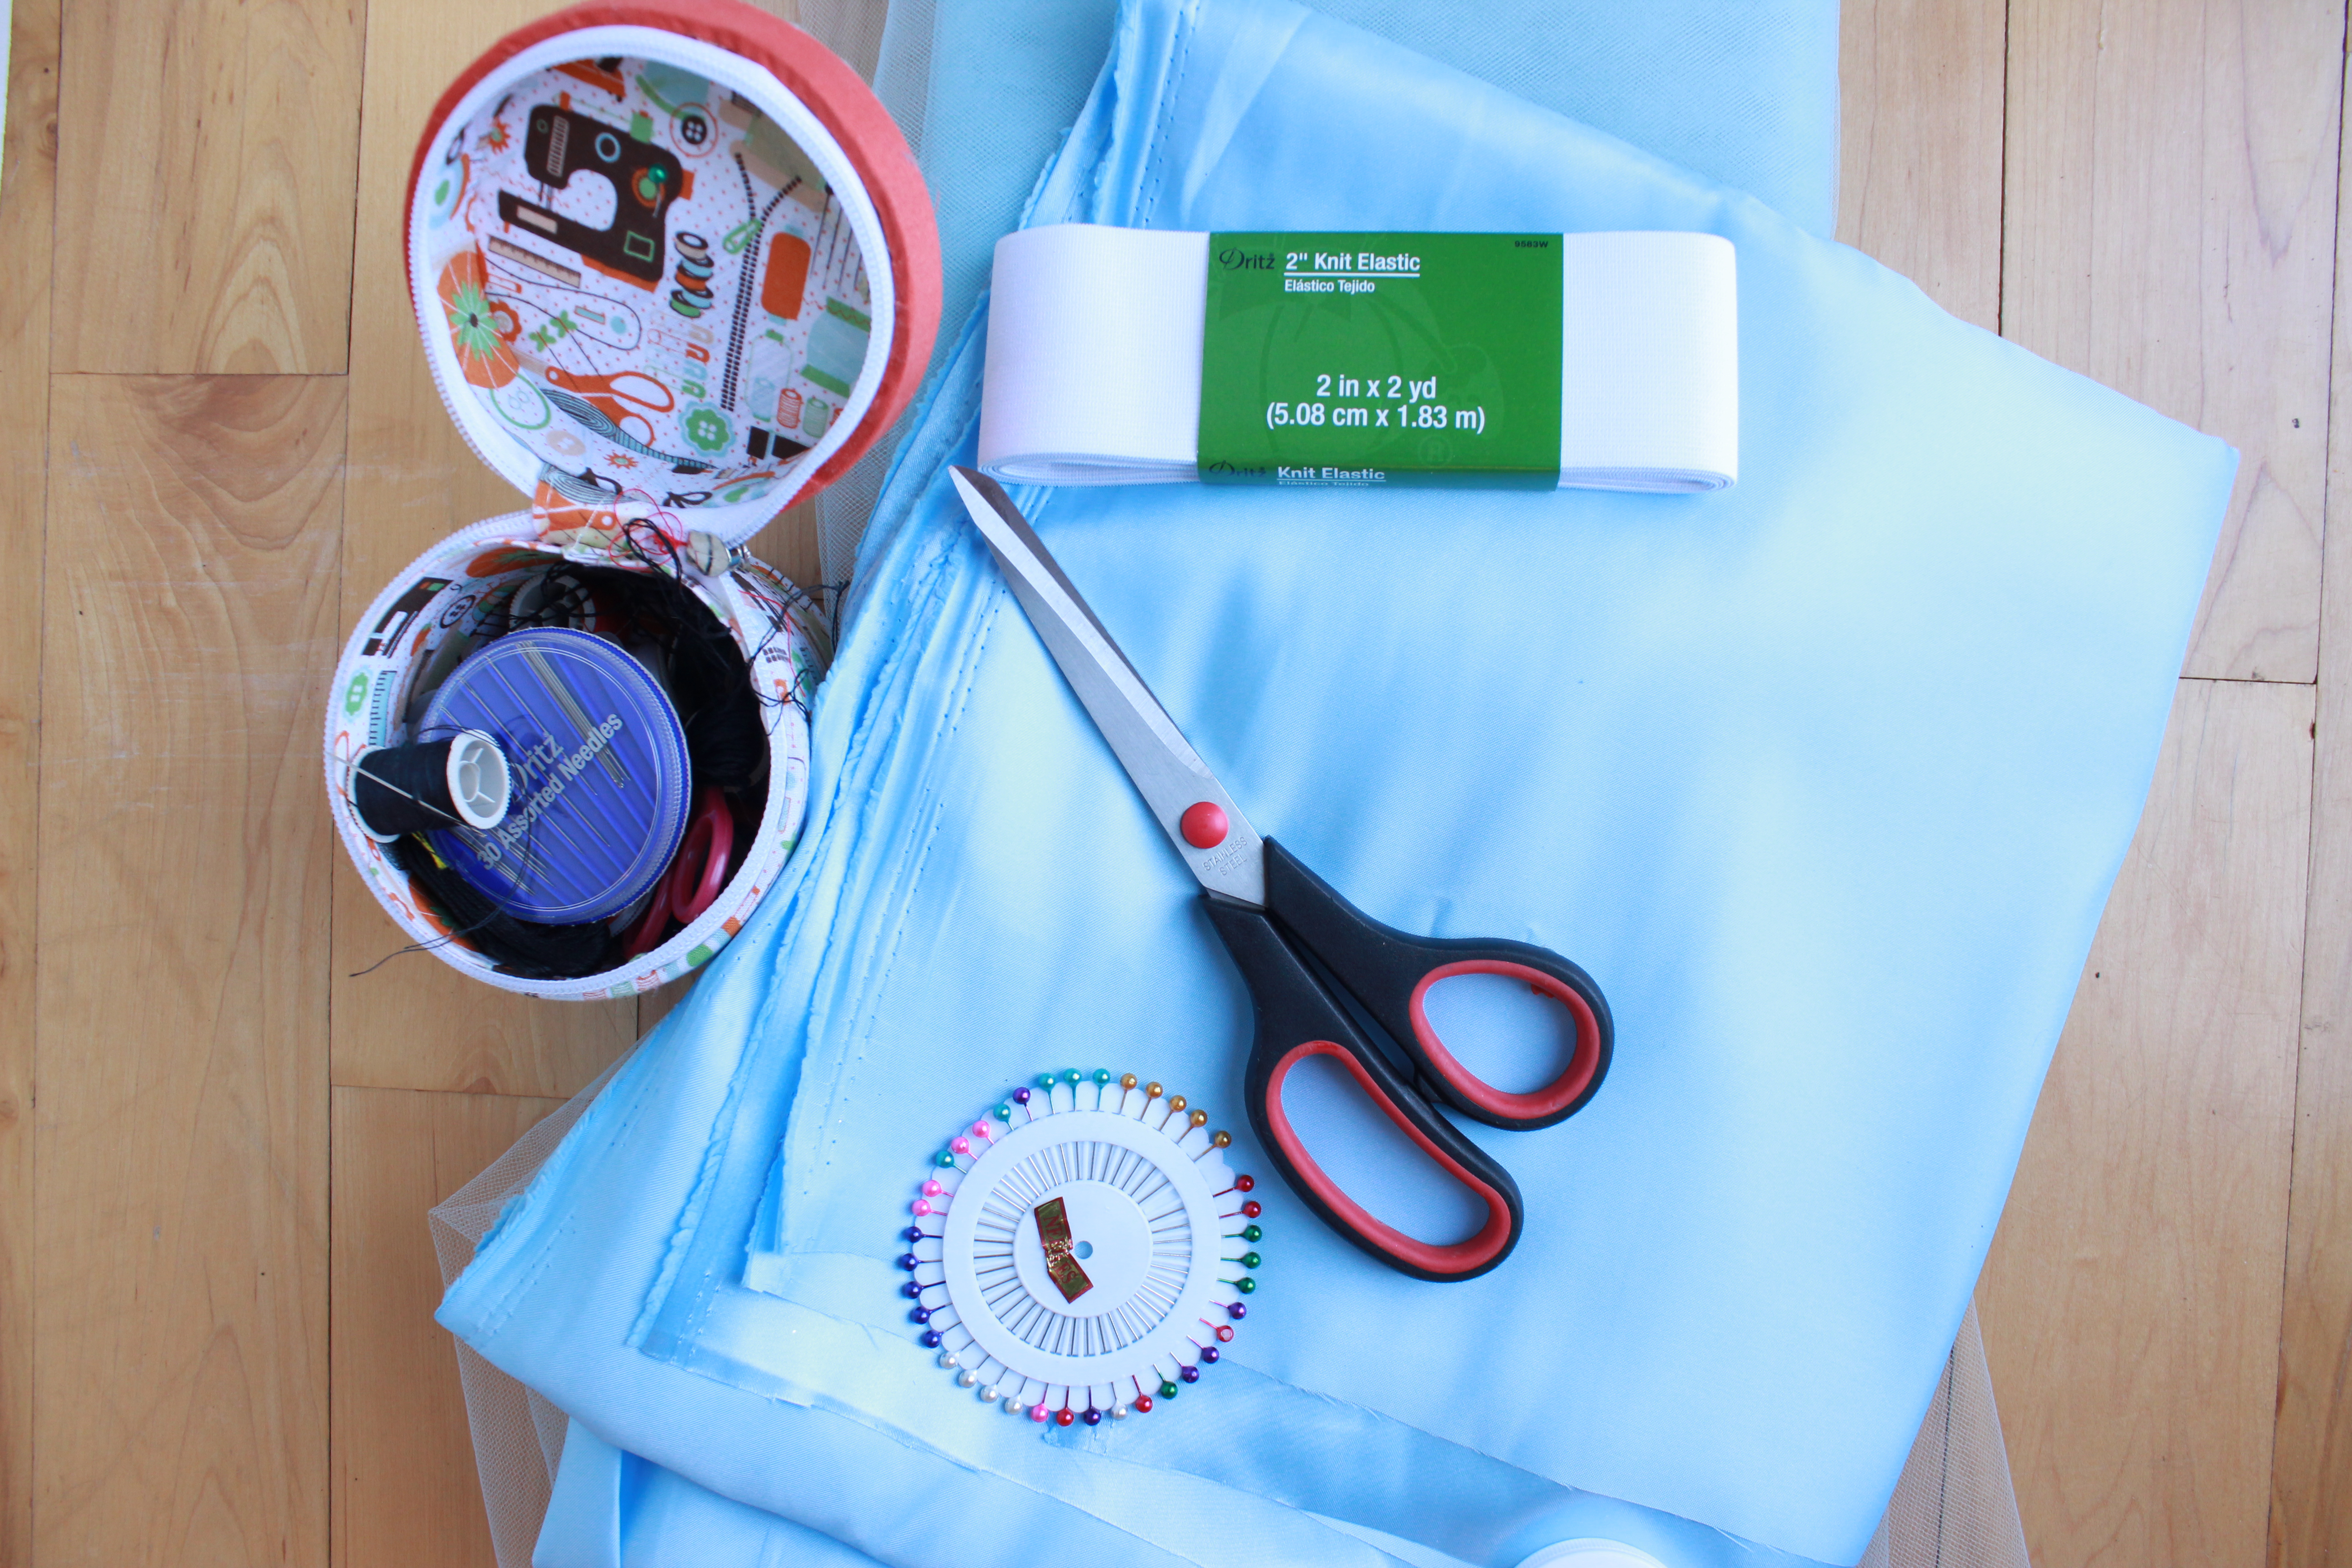
 Ok, let’s get down to the nitty-gritty. Ready to make your own? Here’s what you’ll need:
- Approximately 90 minutes
- a sewing machine
- shiny new sewing machine needles- it’s IMPORTANT to have a new needles because the satin will pick easily and a new SHARP needle ensures that the needle runs through the fabric smoothly
- tailor’s measuring tape
- 4 feet of tulle- color of your choice
- 2″ knit elastic (I used white. ) You will cover this with fabric so the color doesn’t matter.
- 1.5 yards of satin (measure your hips before you buy your fabric, you might need to buy extra so its not too tight in the hips! Remember you’ll need some give here for “flounce”!
- USE A COUPON! Ok girls, I’m not the “coupon queen” or anything but I do refuse to EVER pay full price at Jo-Ann Fabric or Michael’s.
- stright pins
- pen/chalk/fabric friendly writing utensil
- fabric scissors
- Measure your waist, right around your belly button. Add a 2″ to that measurement.
- Cut your elastic according to this measurement. (Yes, there will be a small overlap when you go to sew the band together at the end.)
- Cut a straight edge along your satin if it’s not already straight.
- Turn your satin over to shiny side face up, and set the cut elastic on it. Double the edge of the fabric over the elastic so the edge is touching the satin on the other side of the elastic-essentially enveloping it. Add 1″ of extra fabric and using your straight pins, pin all along the elastic. DO NOT PIN the fabric to the elastic! (Be sure to keep that extra 1″ of fabric in your envelope! You are doing this because you don’t want to accidentally sew your fabric to your elastic- give yourself some room.

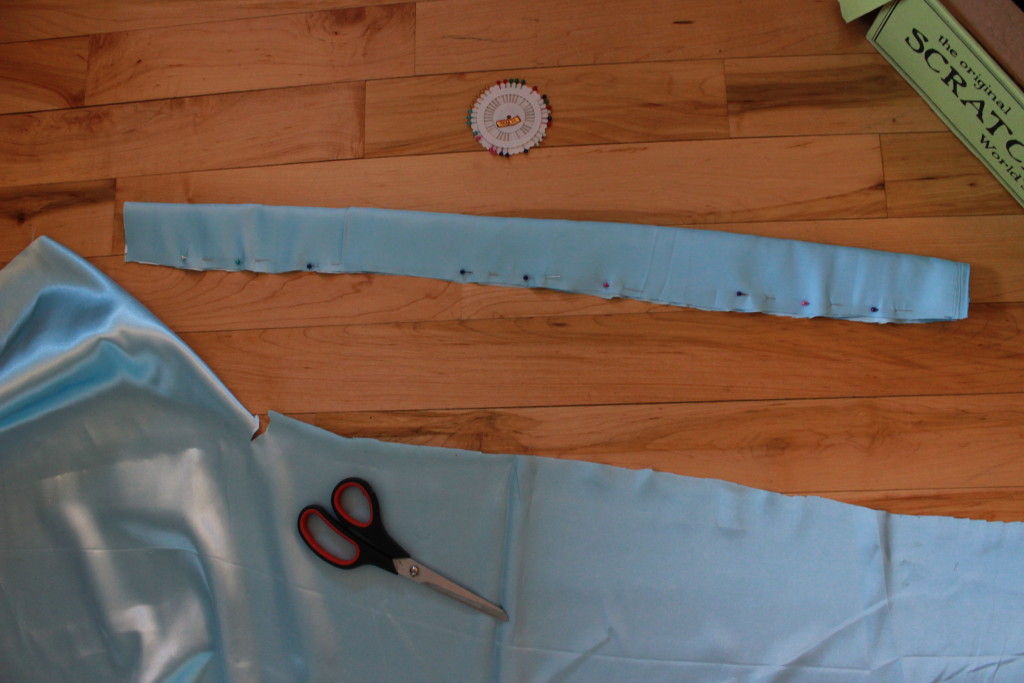
- Pull the elastic out of the folded/pinned satin sleeve and run it through the sewing machine, stitching along the pins and removing them as you go. Use the smallest straight-short stitch. This will help prevent the satin from puckering.
- Invert the satin sleeve so it is shiny side out.
- Feed your cut elastic through the sleeve. There’s your waistband!

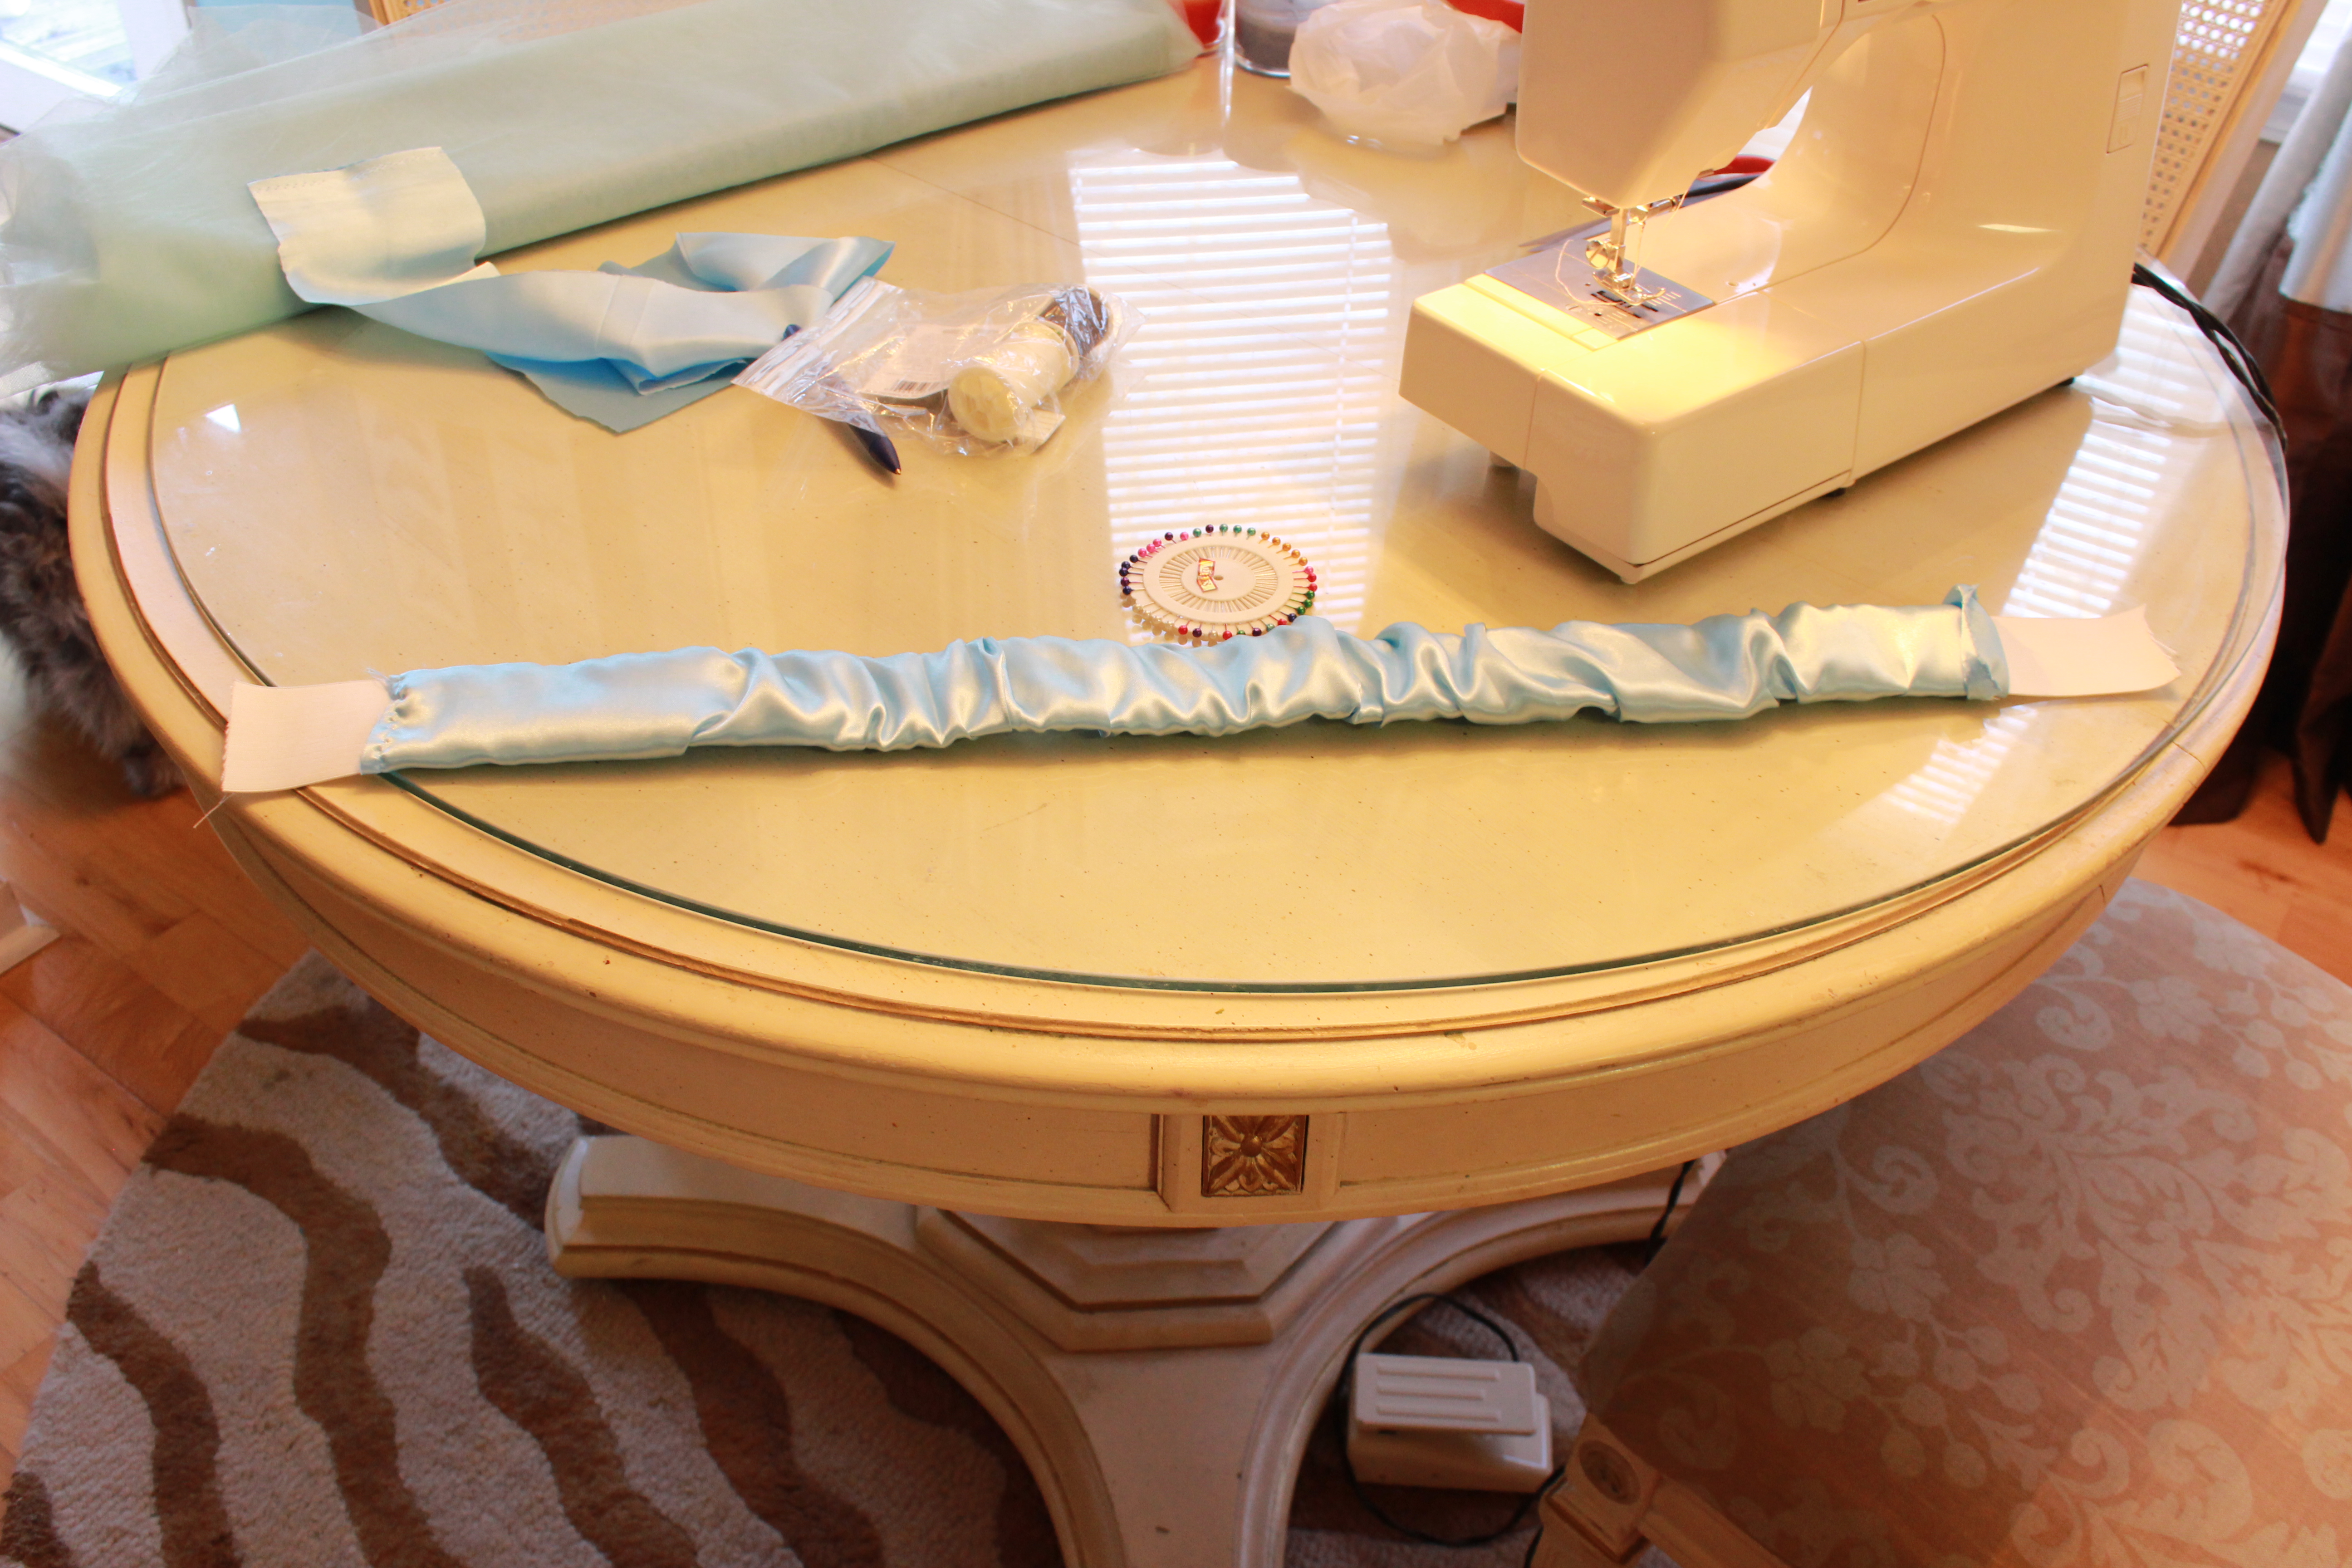 As you can see in this photo, there’s not much extra room on the satin sleeve that would be left for attaching the skirting to. This is why I had you add an extra inch earlier! Your waistband should look a little baggier than the one in the photo. I had a tough time when pinning the skirting to this, and running it through the sewing machine. It was hard to miss the elastic! If you run the elastic through the machine along with the fabric, it keeps the fabric in place on the waistband, lessening the stretch and give. DO NOT do this! Make an effort to keep your elastic separate inside the satin sleeve. If you’re very careful, unlike me (sloppy and wild “let’s get this shit done” type) You can take the elastic out, but here you run the risk of not leaving a wide enough space to feed it back through later on.
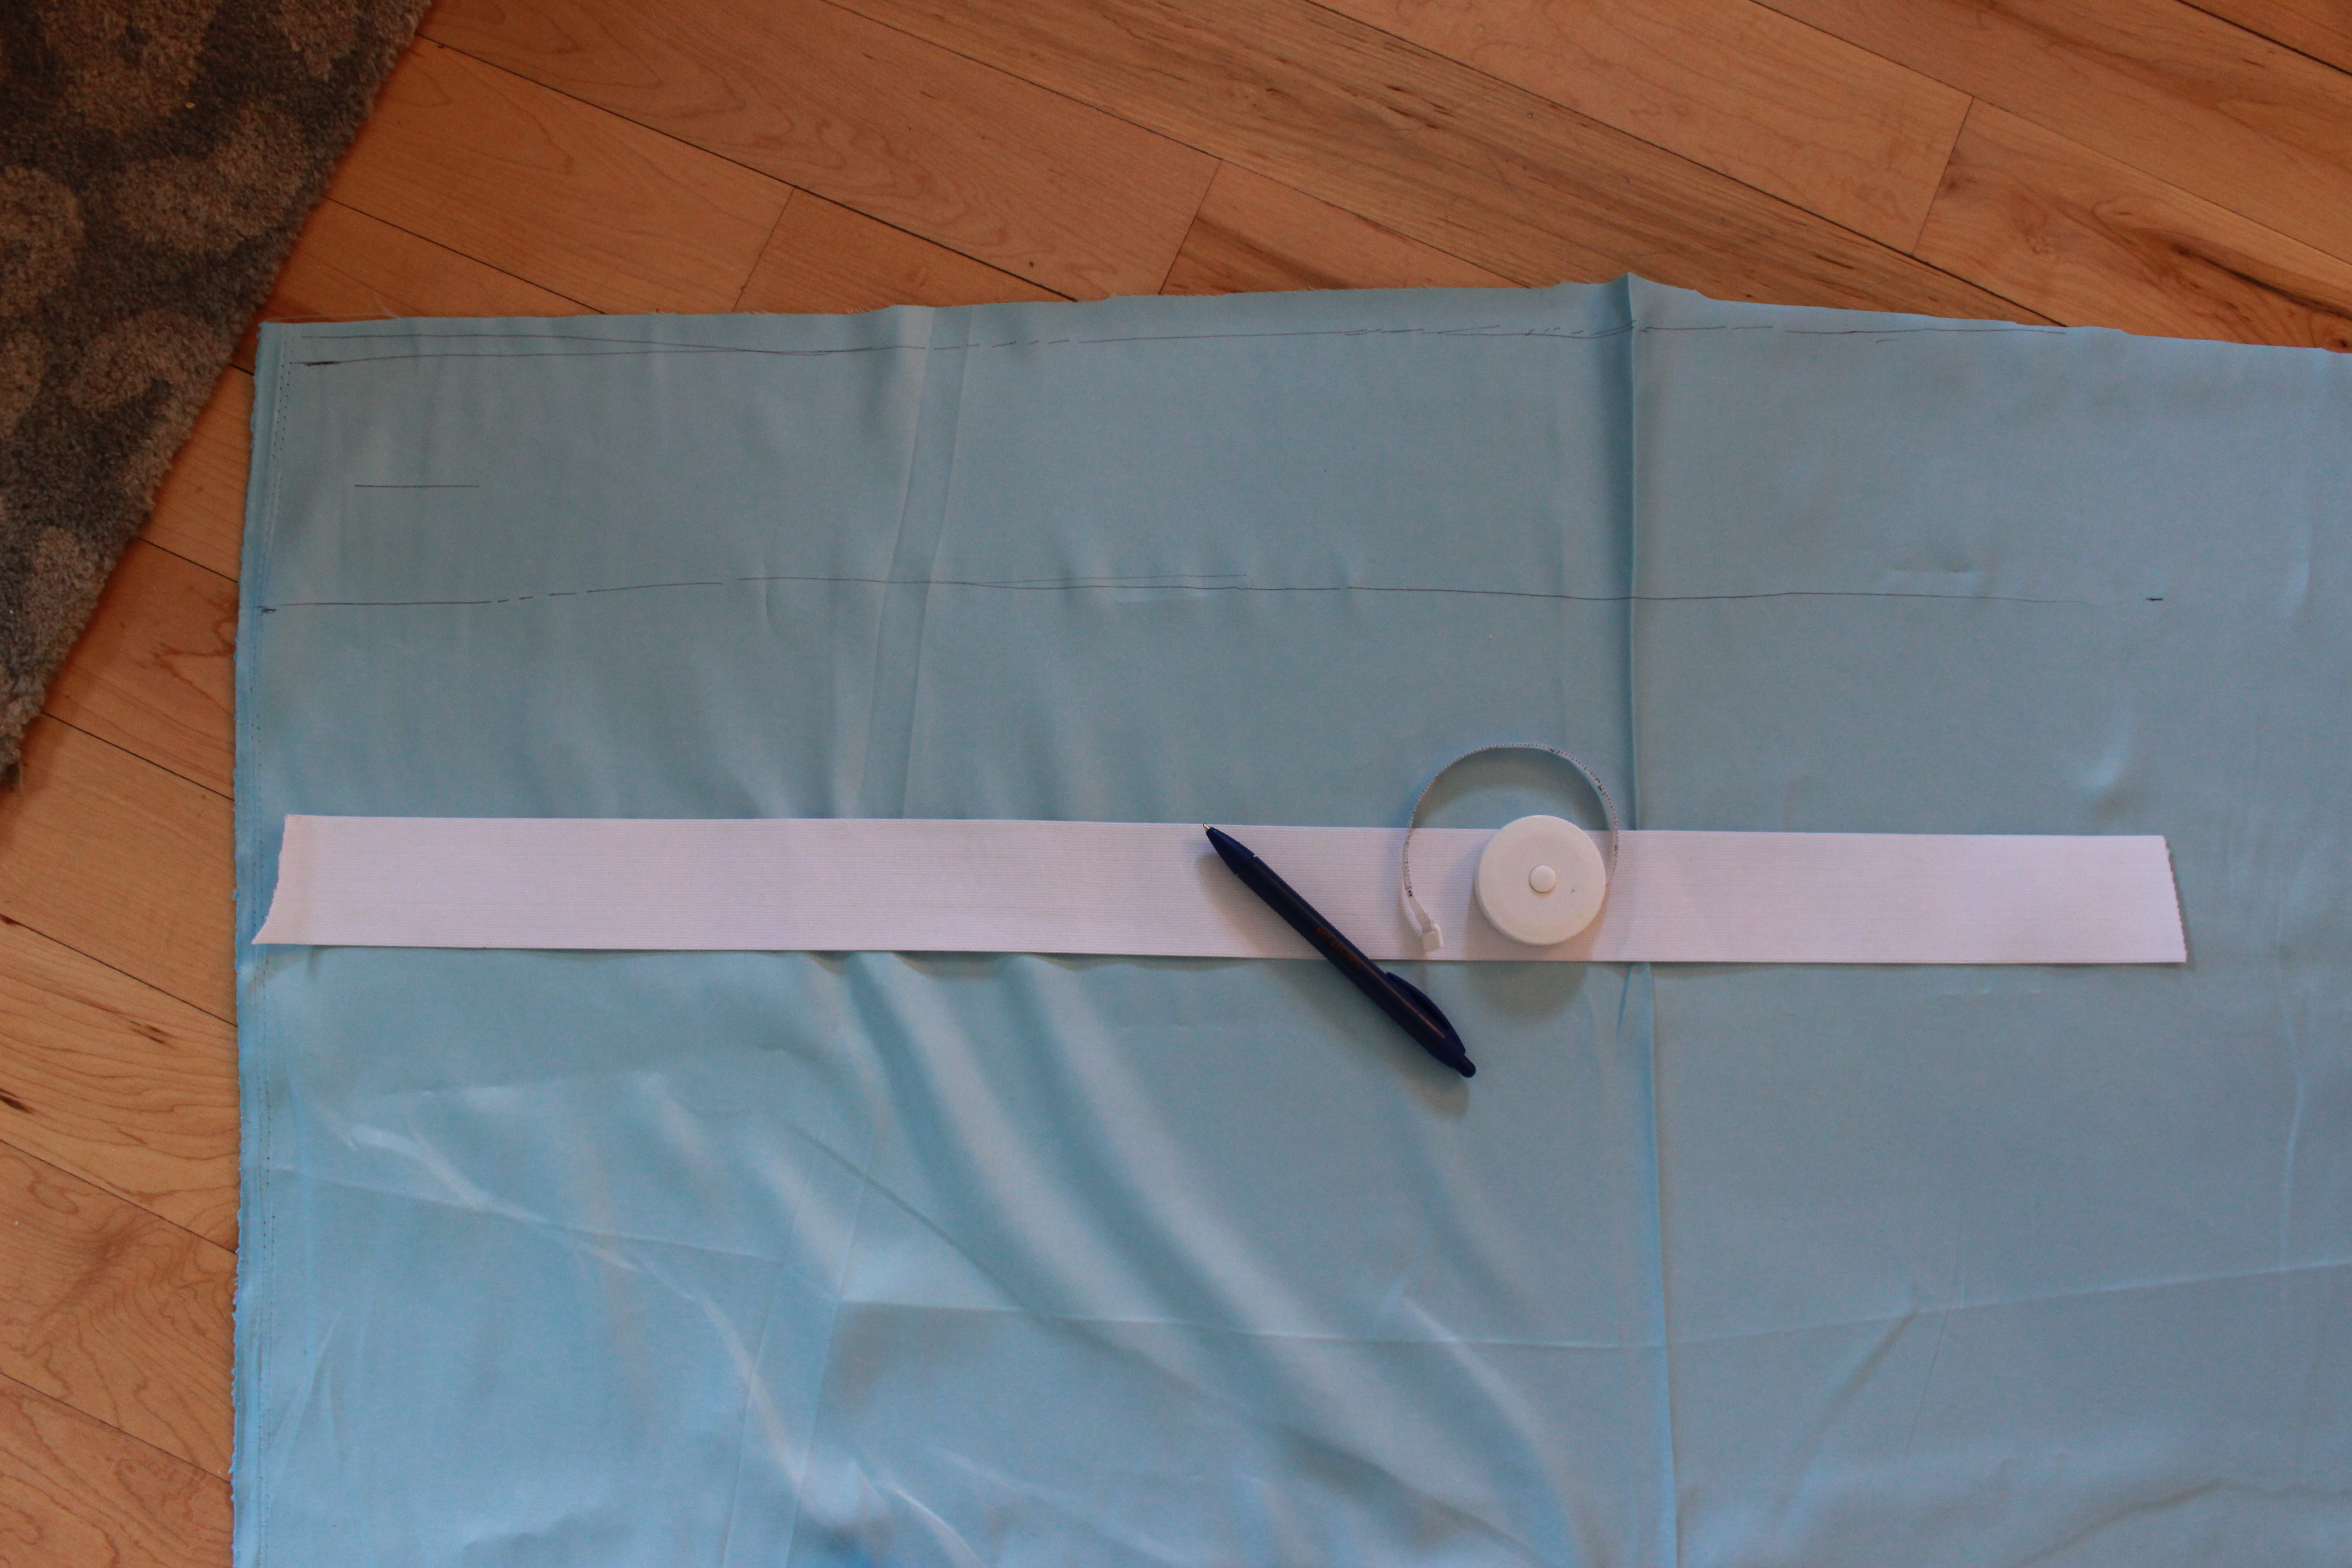
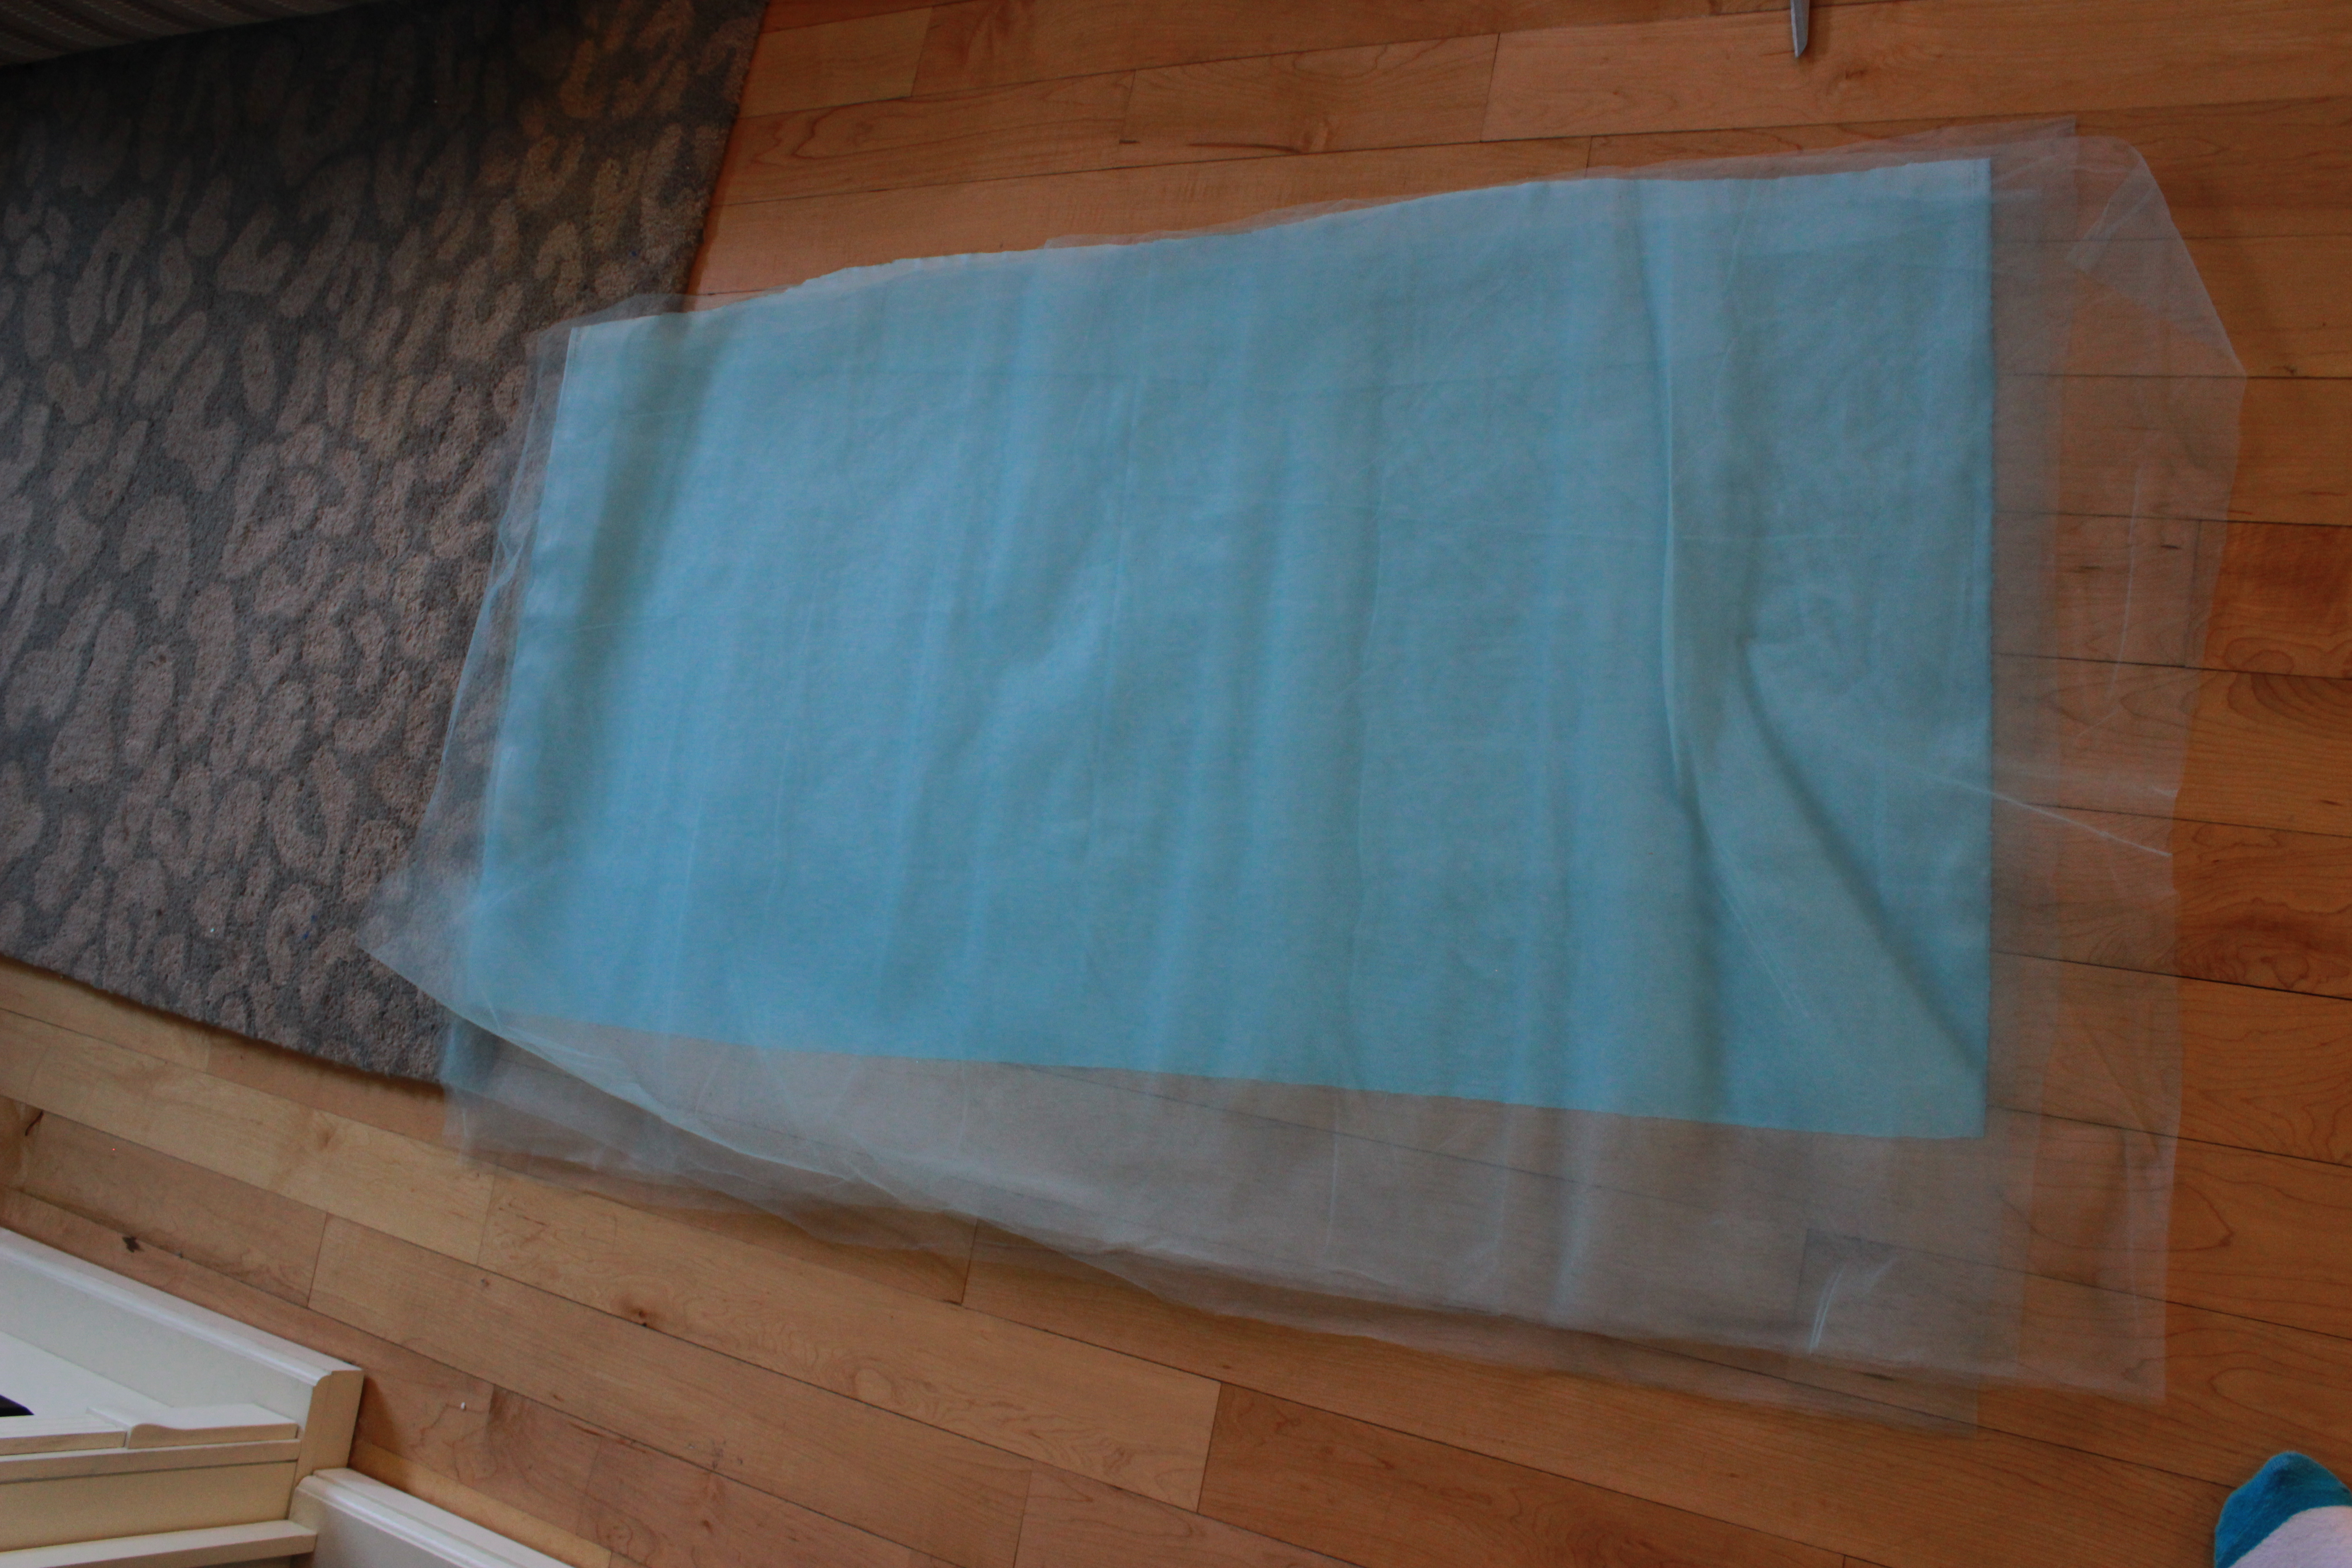
Next, lay out your satin (make sure you have straight edges) and tulling over top. I folded my tulling into 6 layers, but you can always go for more if you want a poofier look! Here you will want to use your hip measurement and make sure that this fabric is a few inches longer across than that measurement. My hips are approximately 36″ so I opted for 40″ of fabric across. Remember- it’s ok if there’s extra fabric on this skirt- it’s supposed to be a sassy flouncy party skirt and doesn’t have to fit you like a glove!
Pin along the top and run through the sewing machine, again using a short, straight stitch.
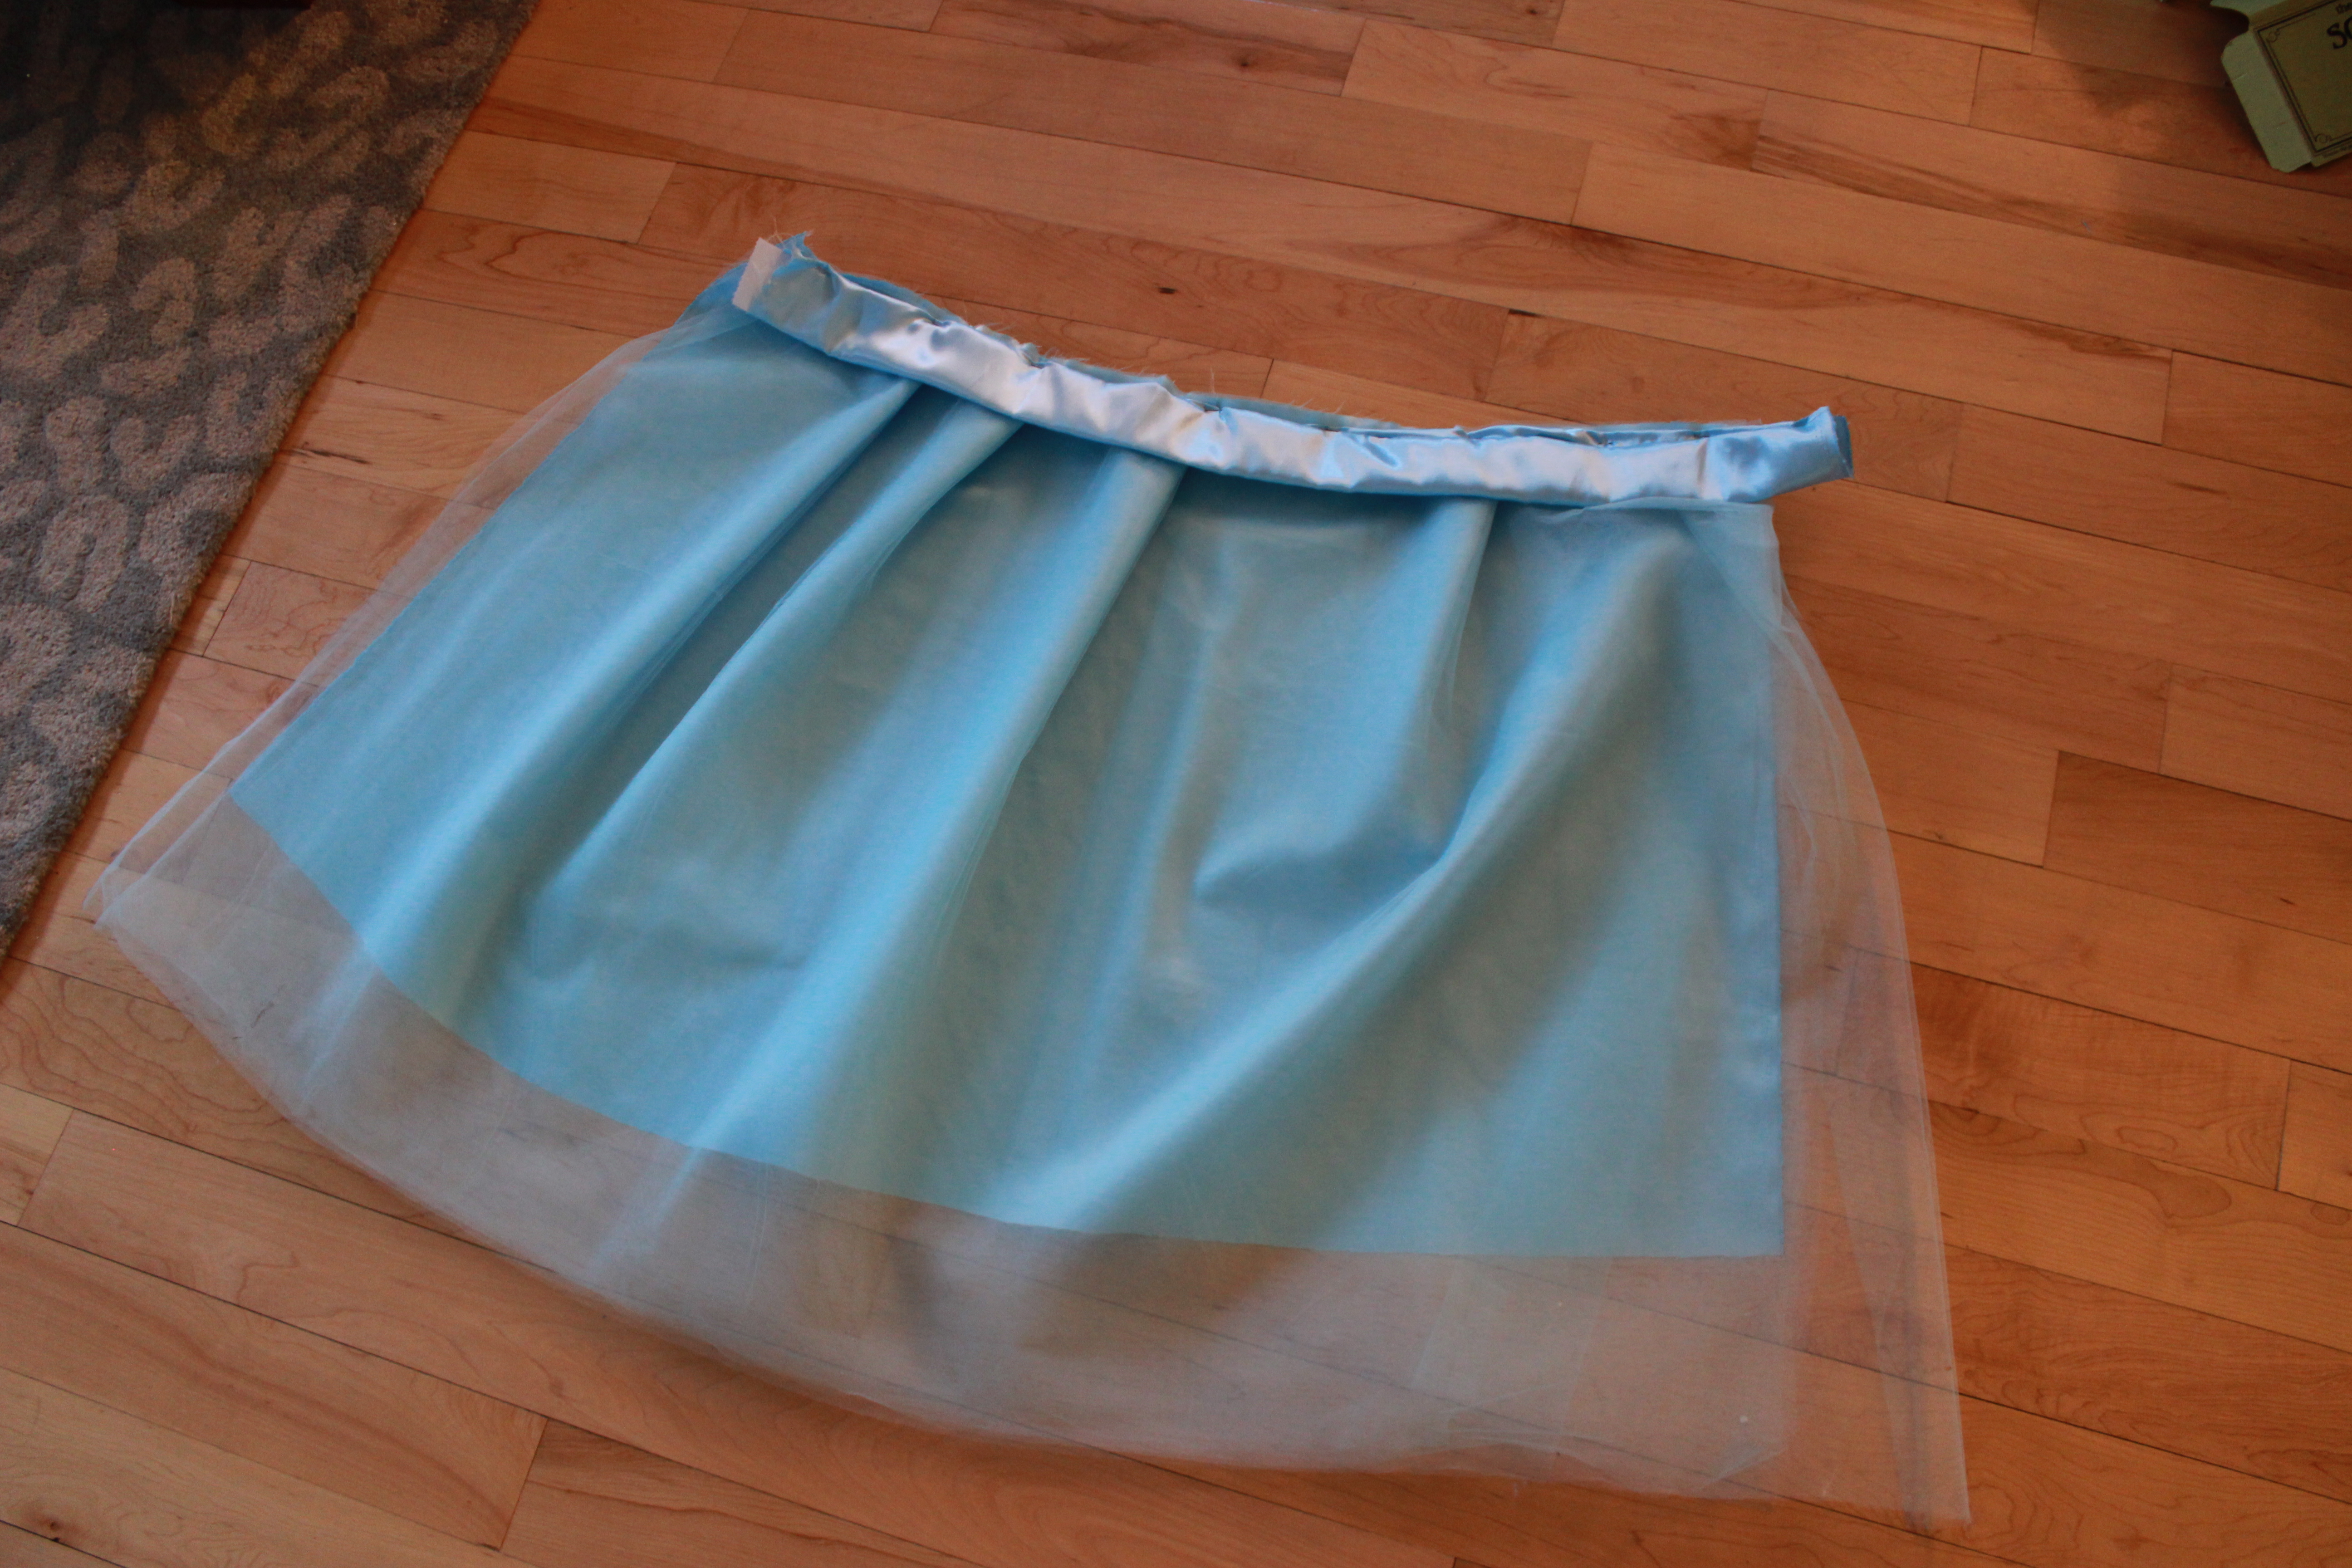
 Now that you have your skirting sewn together, we are going to pin it the the excess fabric on the waistband, in a pleating fashion. Every few inches, fold the top of the material over about an inch, and pin it, repeating until skirting is evenly spaced across the waist band. You’ll want to leave the skirting face up (tulle up as pictured) and set the waist band along the top of the skirting to pin, face down, bottom edge of the band to the top edge of the skirting. If you’re questioning whether you did this right (You don’t want to sew it on backwards!) fold the waist band upward after you’ve pinned it, and before you’ve sewn it to see if everything looks right. I most often times have to double check myself when it comes to this because I’m always sewing things on backwards, or wrong side up when it could have been prevented by a quick check!
 Again, run through the sewing machine using a short straight stitch, being careful to avoid the elastic here and removing pins as you go.
Now you will want to sew the open ends of the satin together. Invert your skirt and pull the tulling up over the waistband so it’s out of the way. Pin along the two open ends of the satin, shiny side in, flat side out, and again run through the machine with short straight stitching all the way up through the waist band. Make sure the waist band is lined up perfectly and go through the waistband very slowly as the elastic can break your sewing needle if you’re not careful!
This skirt ended up a little long on my stocky pug-dog 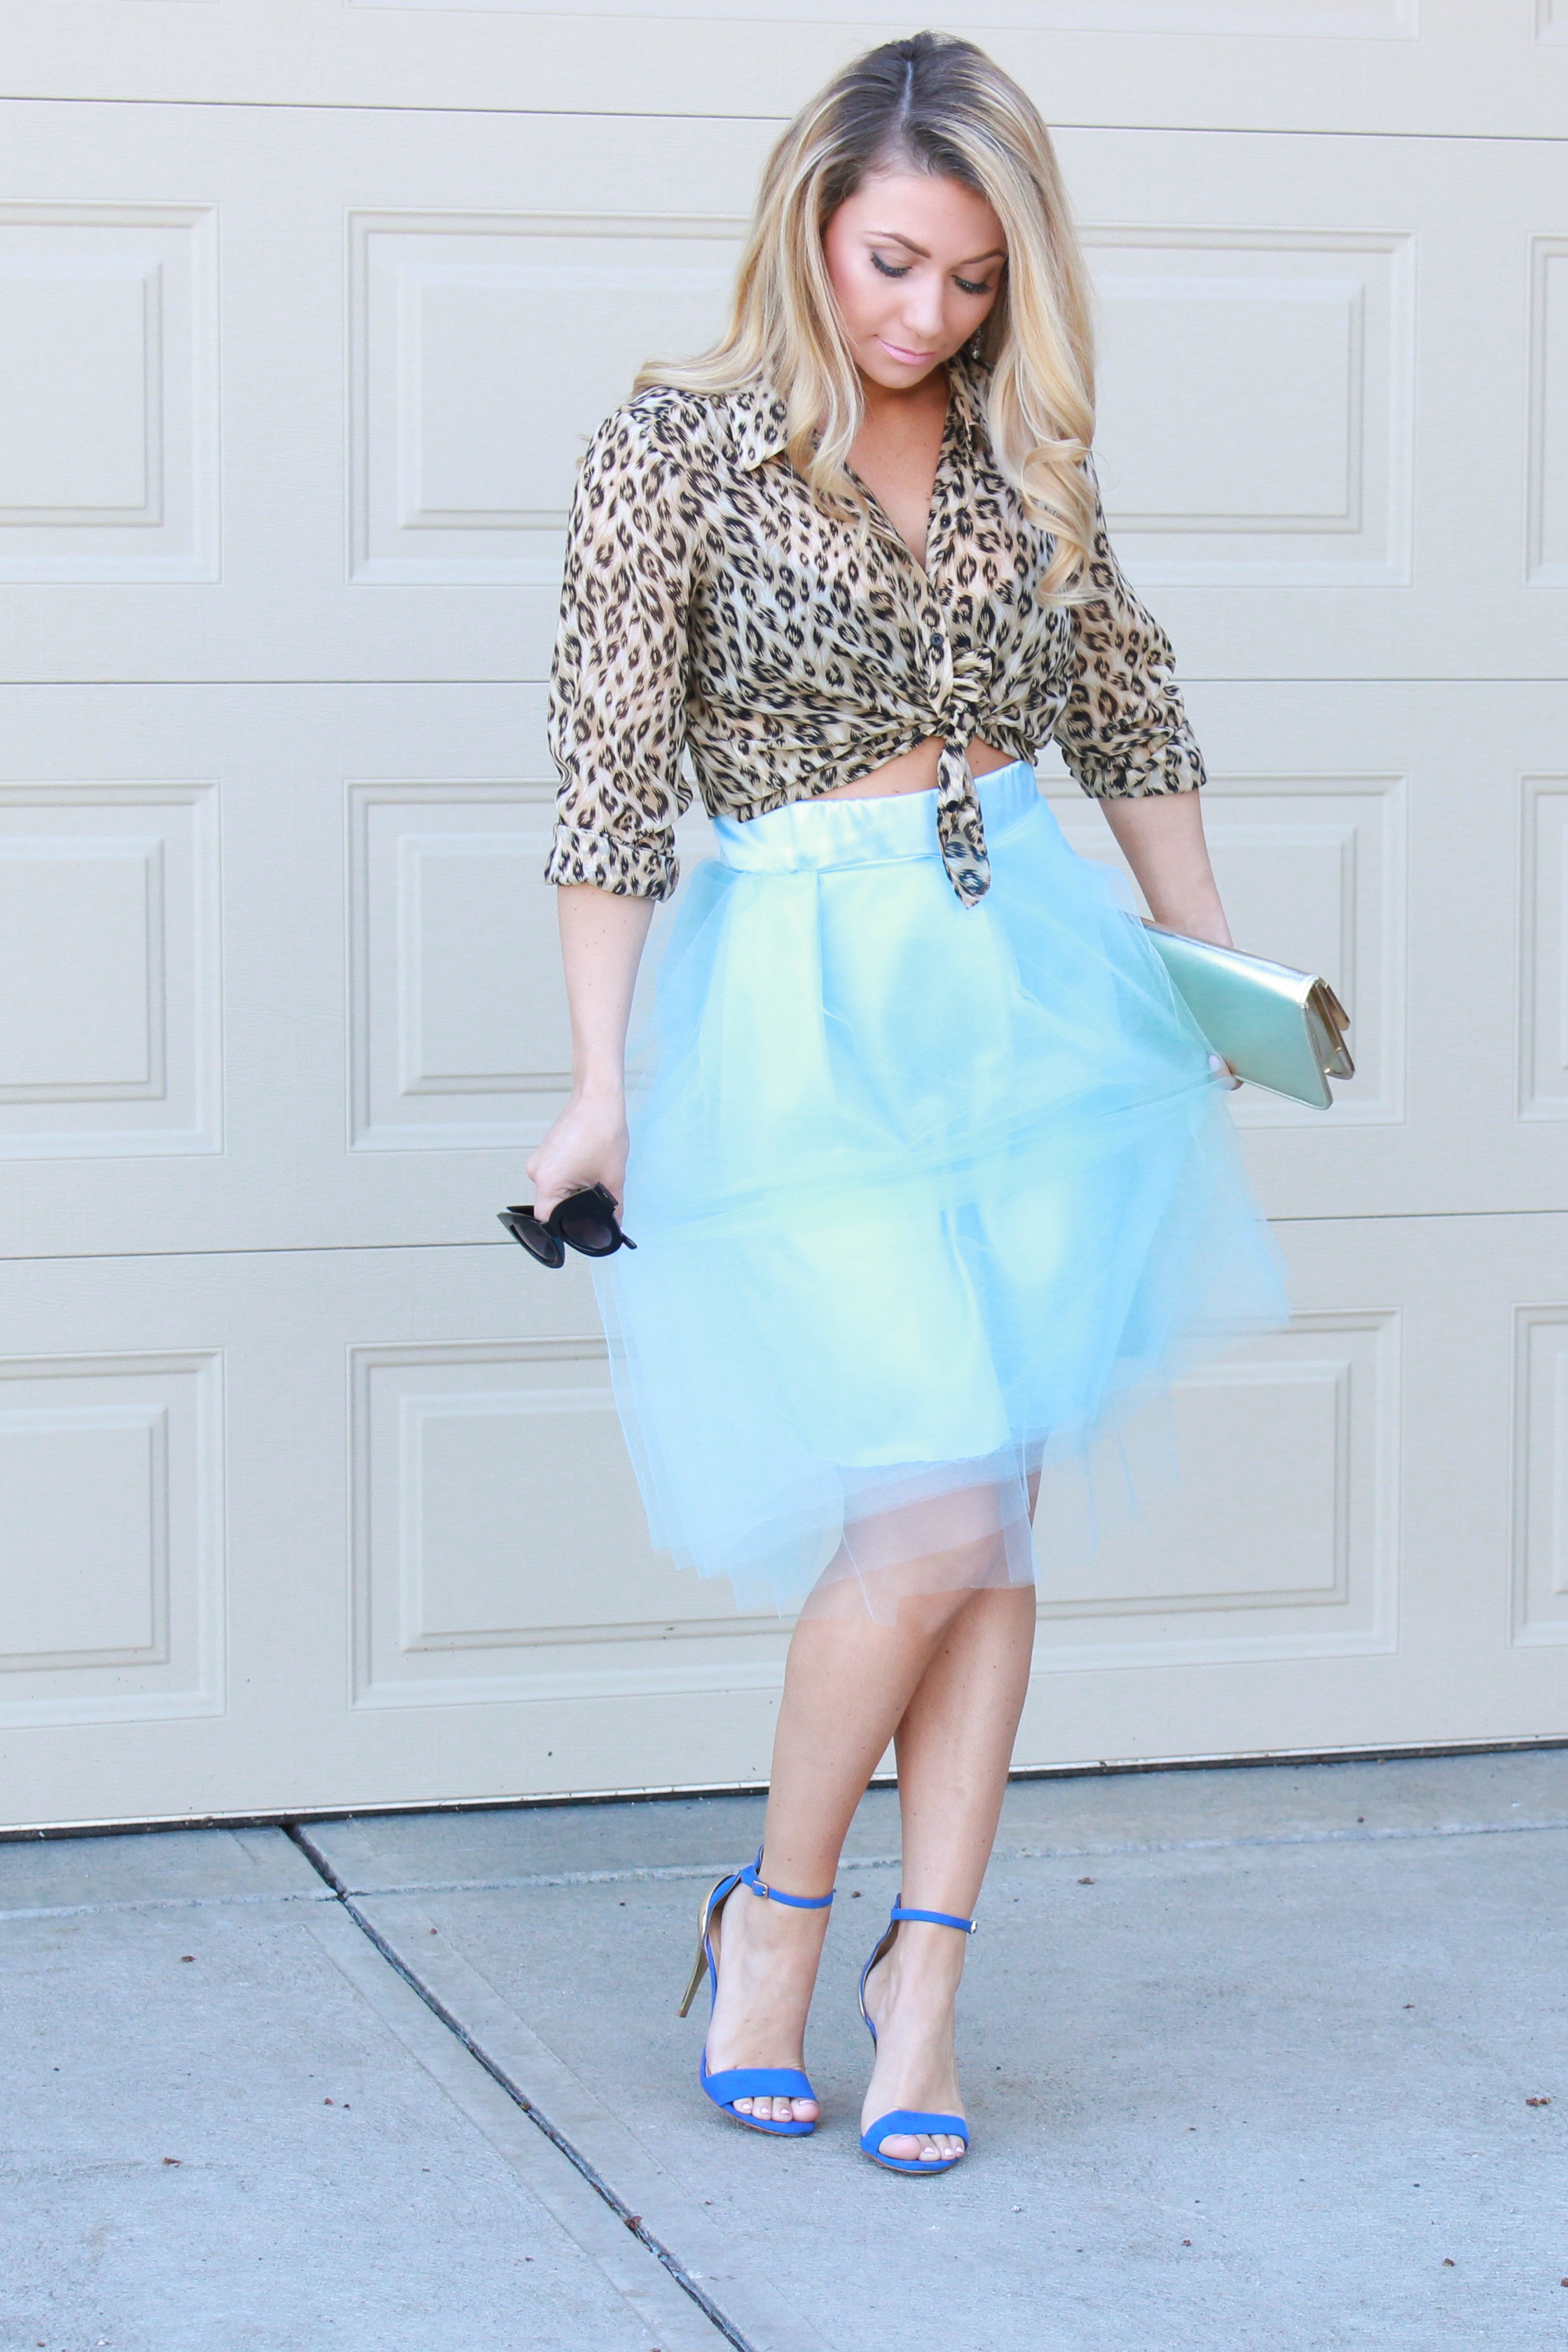 legs, about mid calf-so I trimmed the satin to a height I liked, and then trimmed the tulling to come down just a few inches below that.
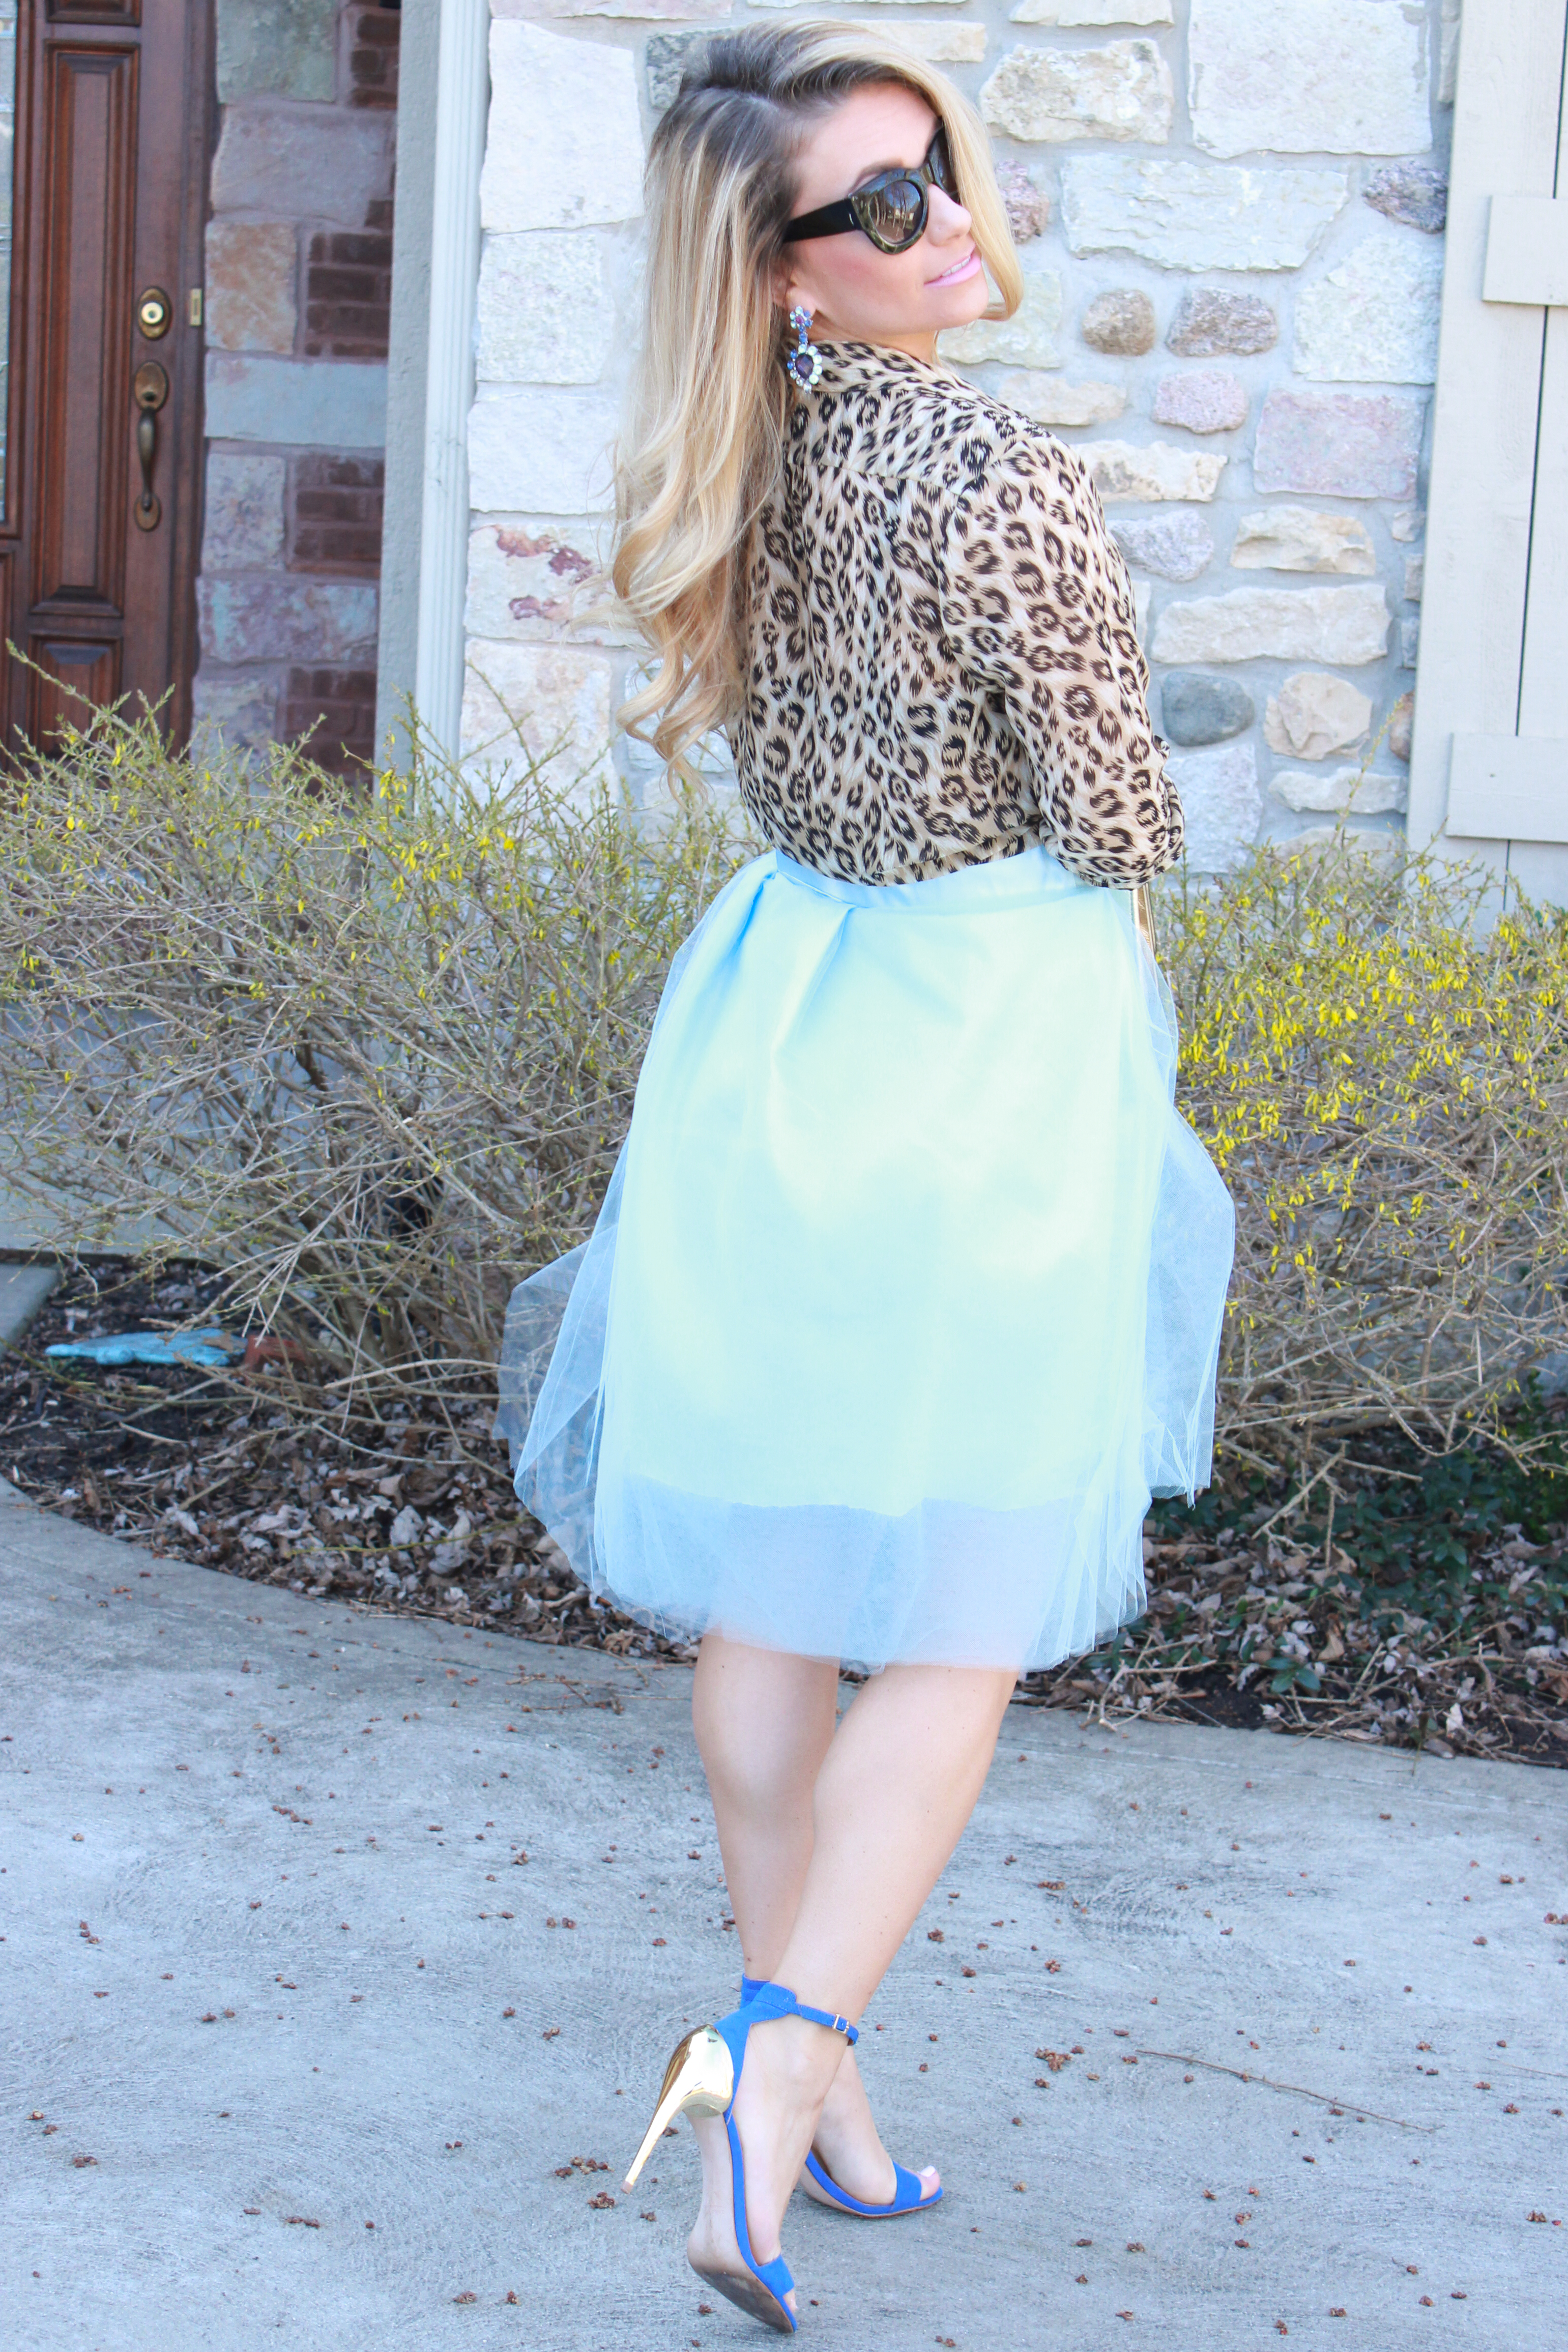
Get the look:
- Skirt: DIY following instructions above, or follow the Windsor, Bliss Tulle, or Party Skirt links in blog above
- Shoes: Zara (2013) Similar- Shoe Cult Bow Heel, Nasty Gal, $68
- Clutch: Aldo (old) Similar:Britten Metallic Saffiano Leather Clutch Bag in Gold, Tory Burch at Neiman Marcus, $350 (if you’re feeling sassy) or, if you’re feeling a little more price conscious:BCBGMAXAZRIA BCBGeneration Metallic Envelope Clutch at Lord and Taylor, $58.
- Leopard Chiffon Button Up: Honestly I have no idea where I got this and I’ve had it for about 5 years. (Because I never get rid of anything leopard- Peg Bundy status, I know.) But, here’s a similar one at a great price from Macy’s: INC Leopard Print tie front blouse for $47.
- Earrings: Old, Forever 21. Similar: Blossom chandelier earrings from Fantasy Accessory Box, $35.
- Sunnies: So the ones pictured are old, and I can’t remember where I got them and they have no branding because they are cheapies. I LOVE them however because they remind me of old school Hollywood and I’ve found a website that carries THE most amazing similar glasses, at a good price in all colors. Here is a similar pair from that site, White Fox Boutique: Nala Sunglasses in Black, $45. My tax check will ensure that I get a new pair of these babes!
Let me know if you try this tutorial and send pics of the finished product! Good luck and remember to take your time and put a little love into this project! Your friends wont believe you made this yourself!
xo Kelli


Bleusame.com also has an amazing selection of sunnies and fake eyeglasses!