<a href=”http://www.bloglovin.com/blog/13259789/?claim=6rjuqwadayj”>Follow my blog with Bloglovin</a>
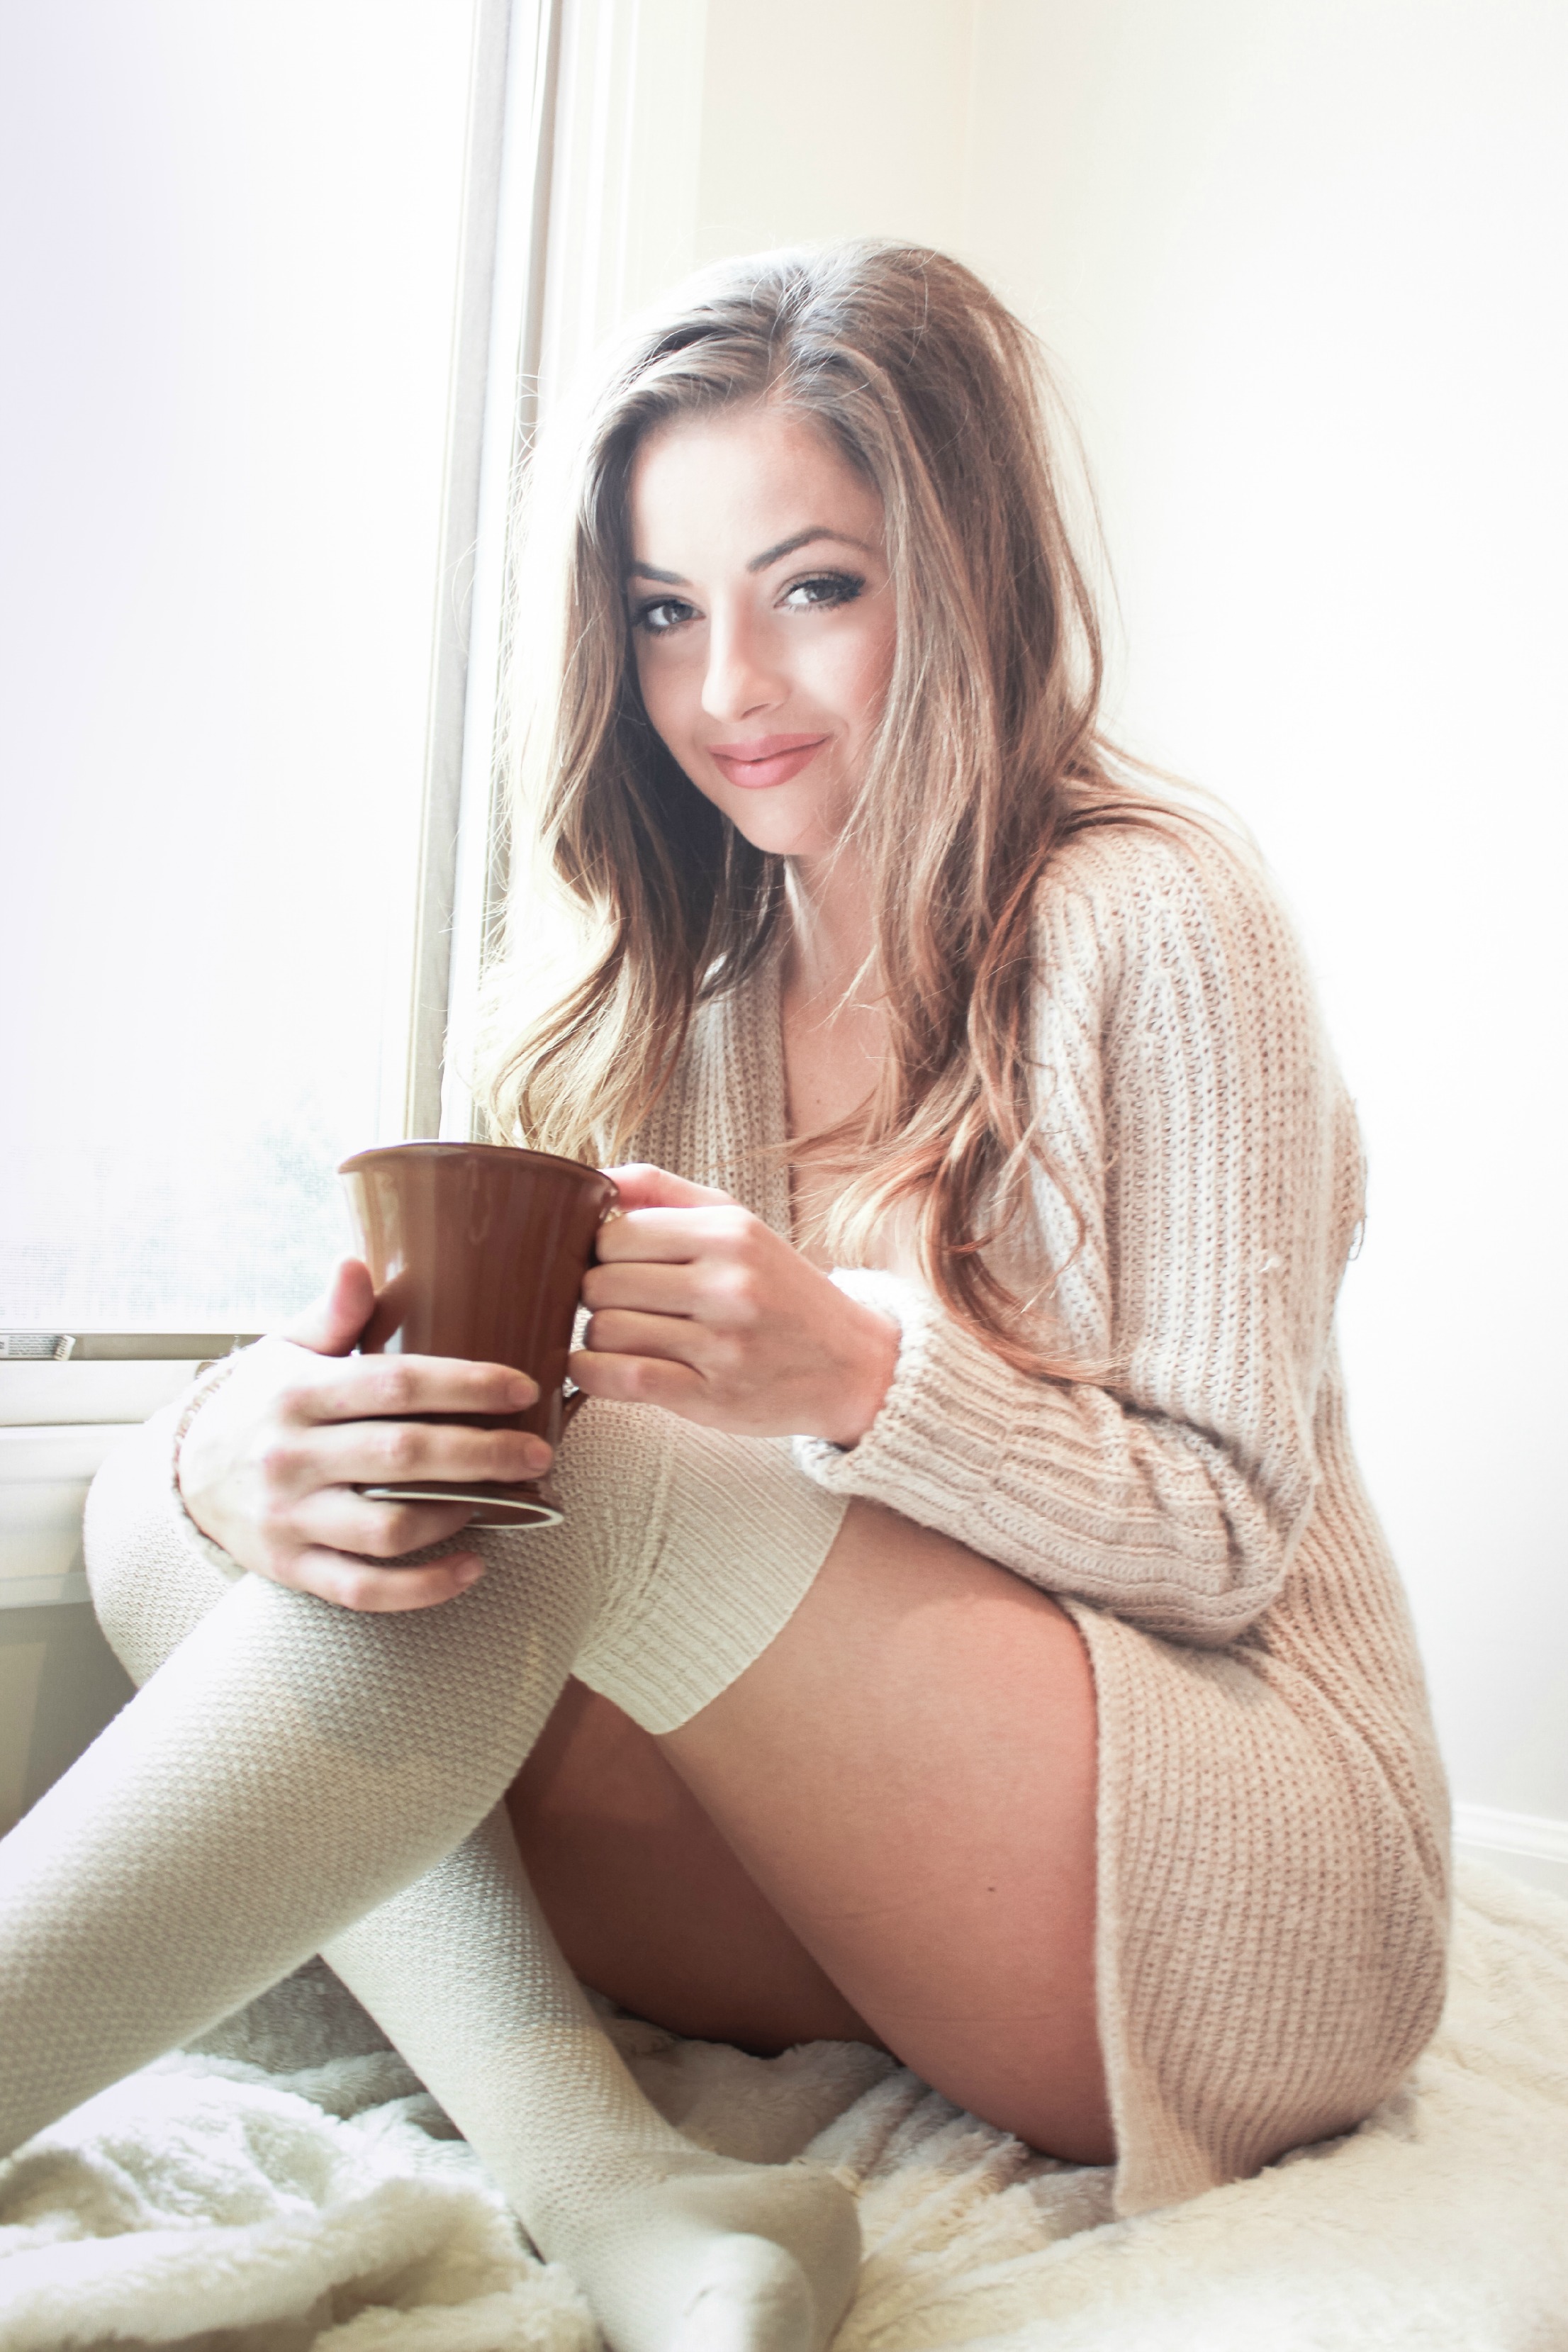
Hair, makeup and styling,: Me, duh. Model: Ashli
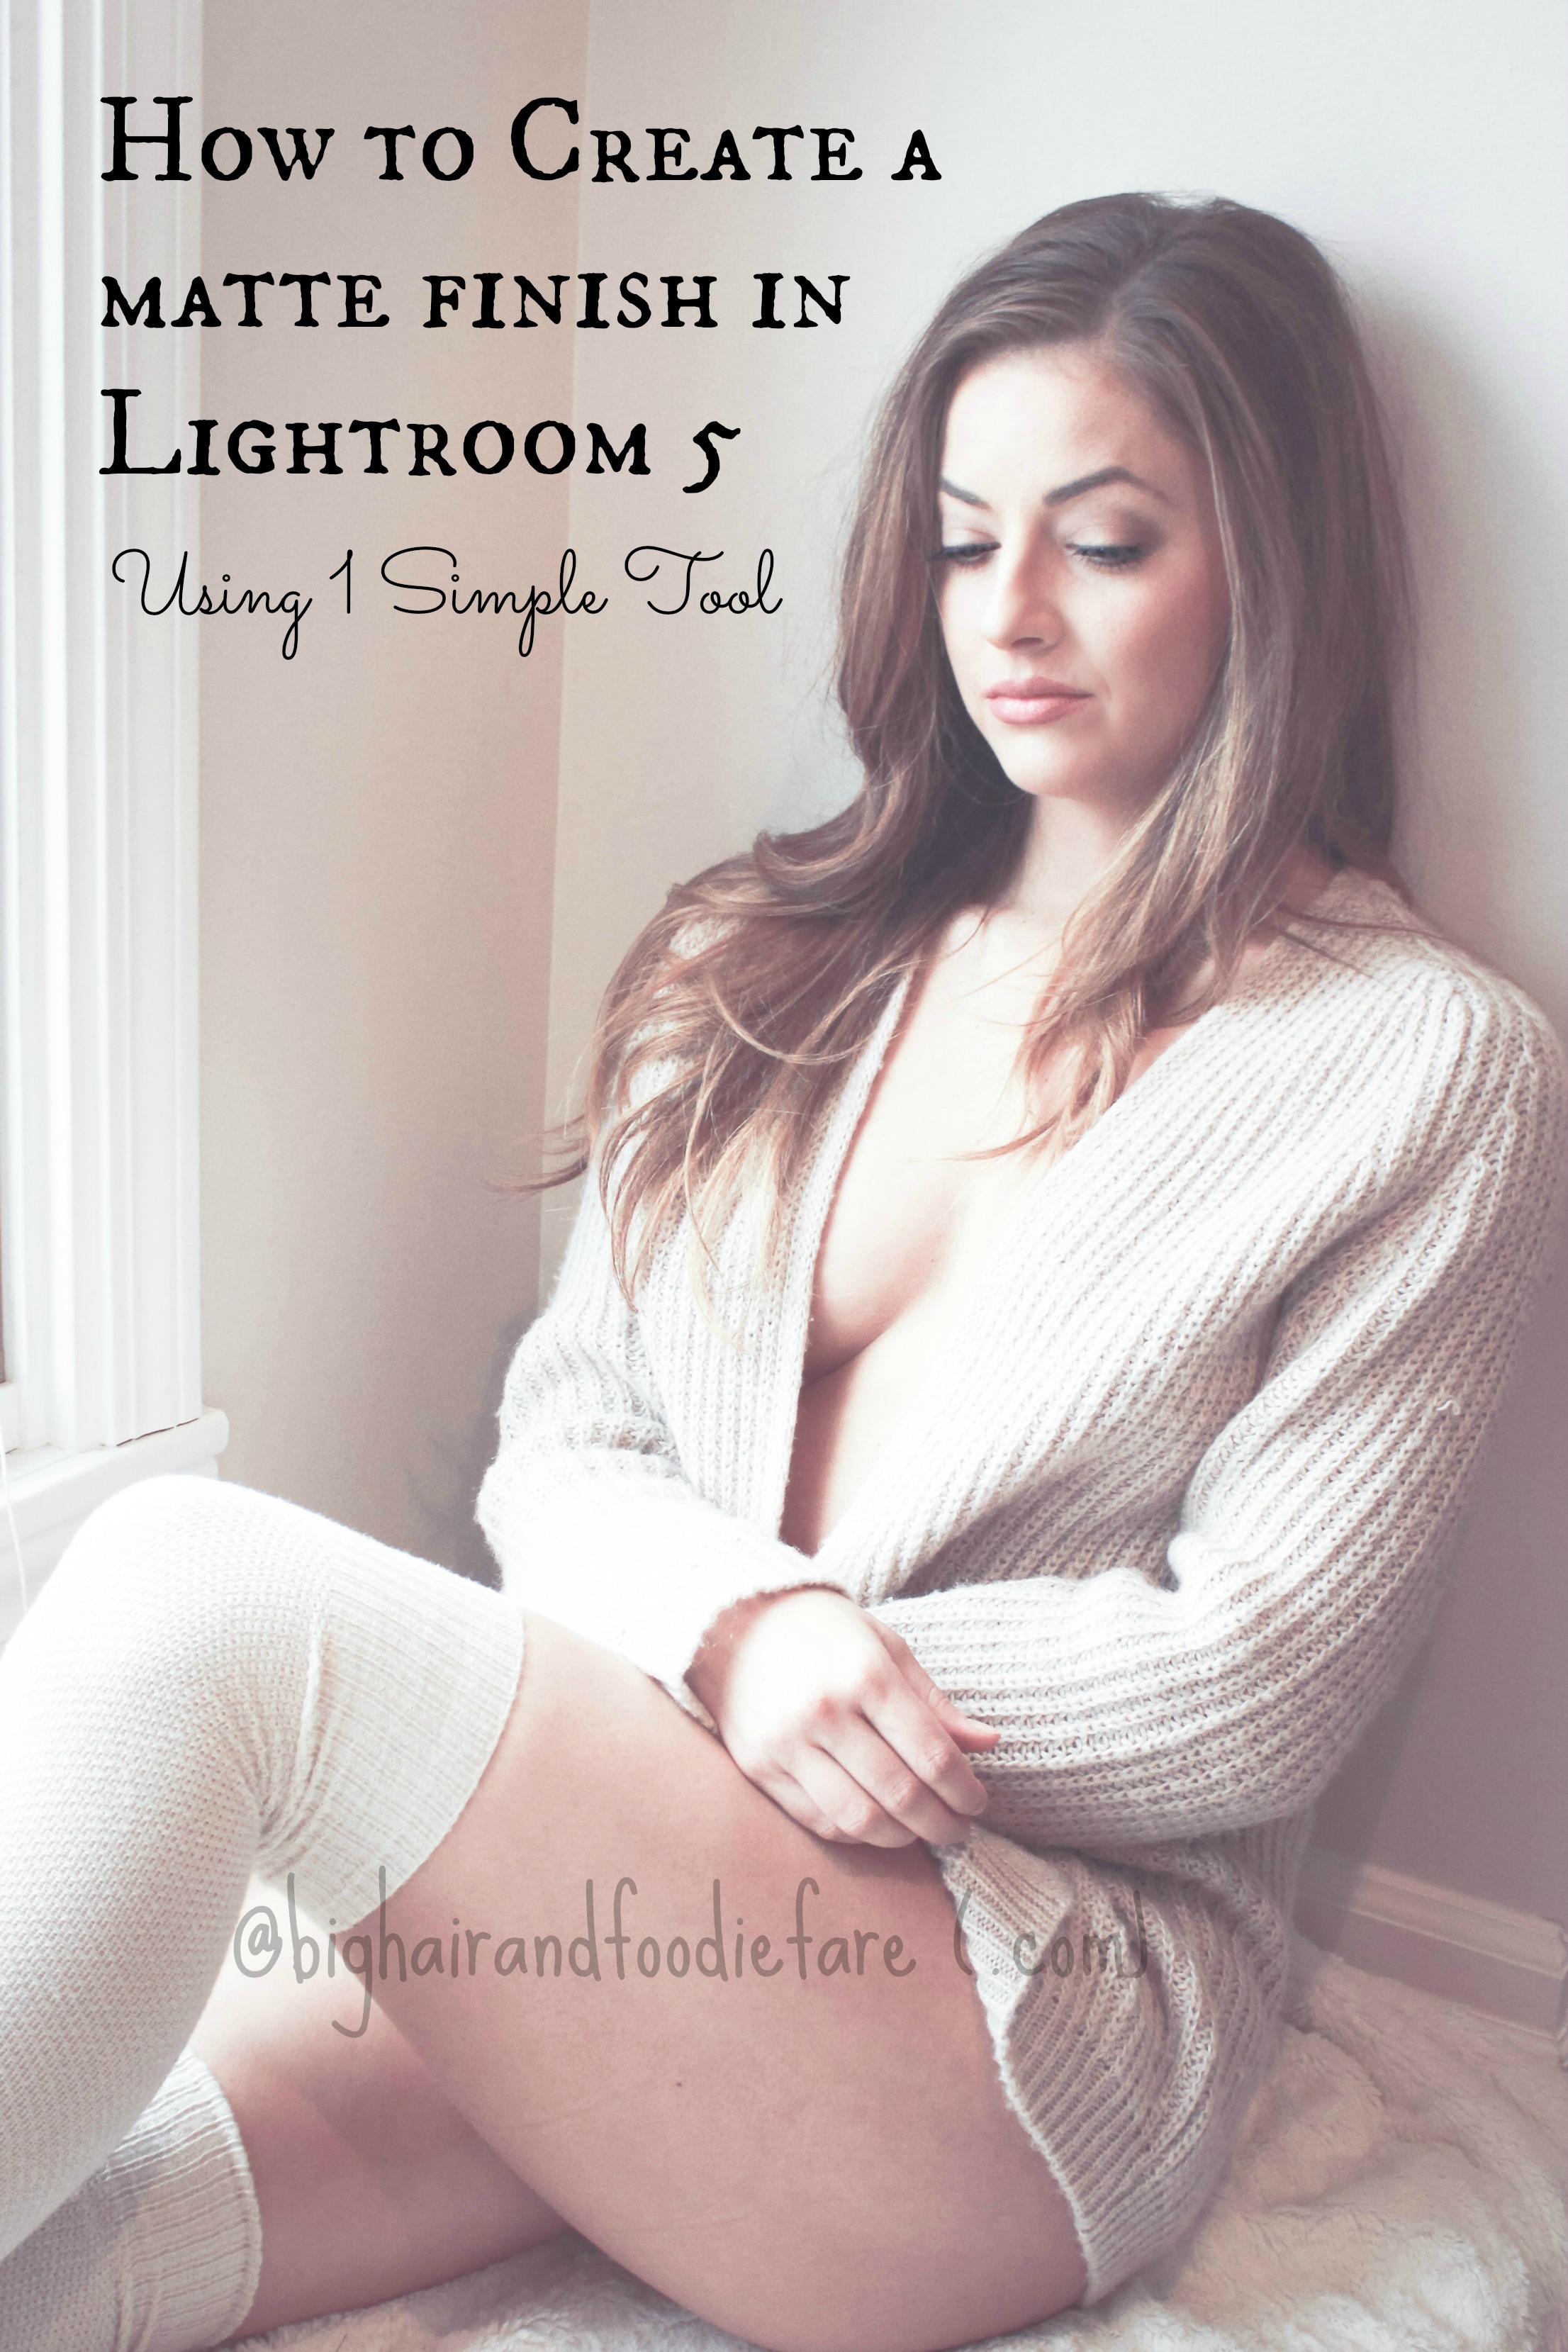
Today my goal was to figure out how to create a matte finish in light room without having to purchase a “matte finish” preset. Turns out it’s super easy. Here is the step by step on how to do it, and a few more photos of my beautiful model Ashli.
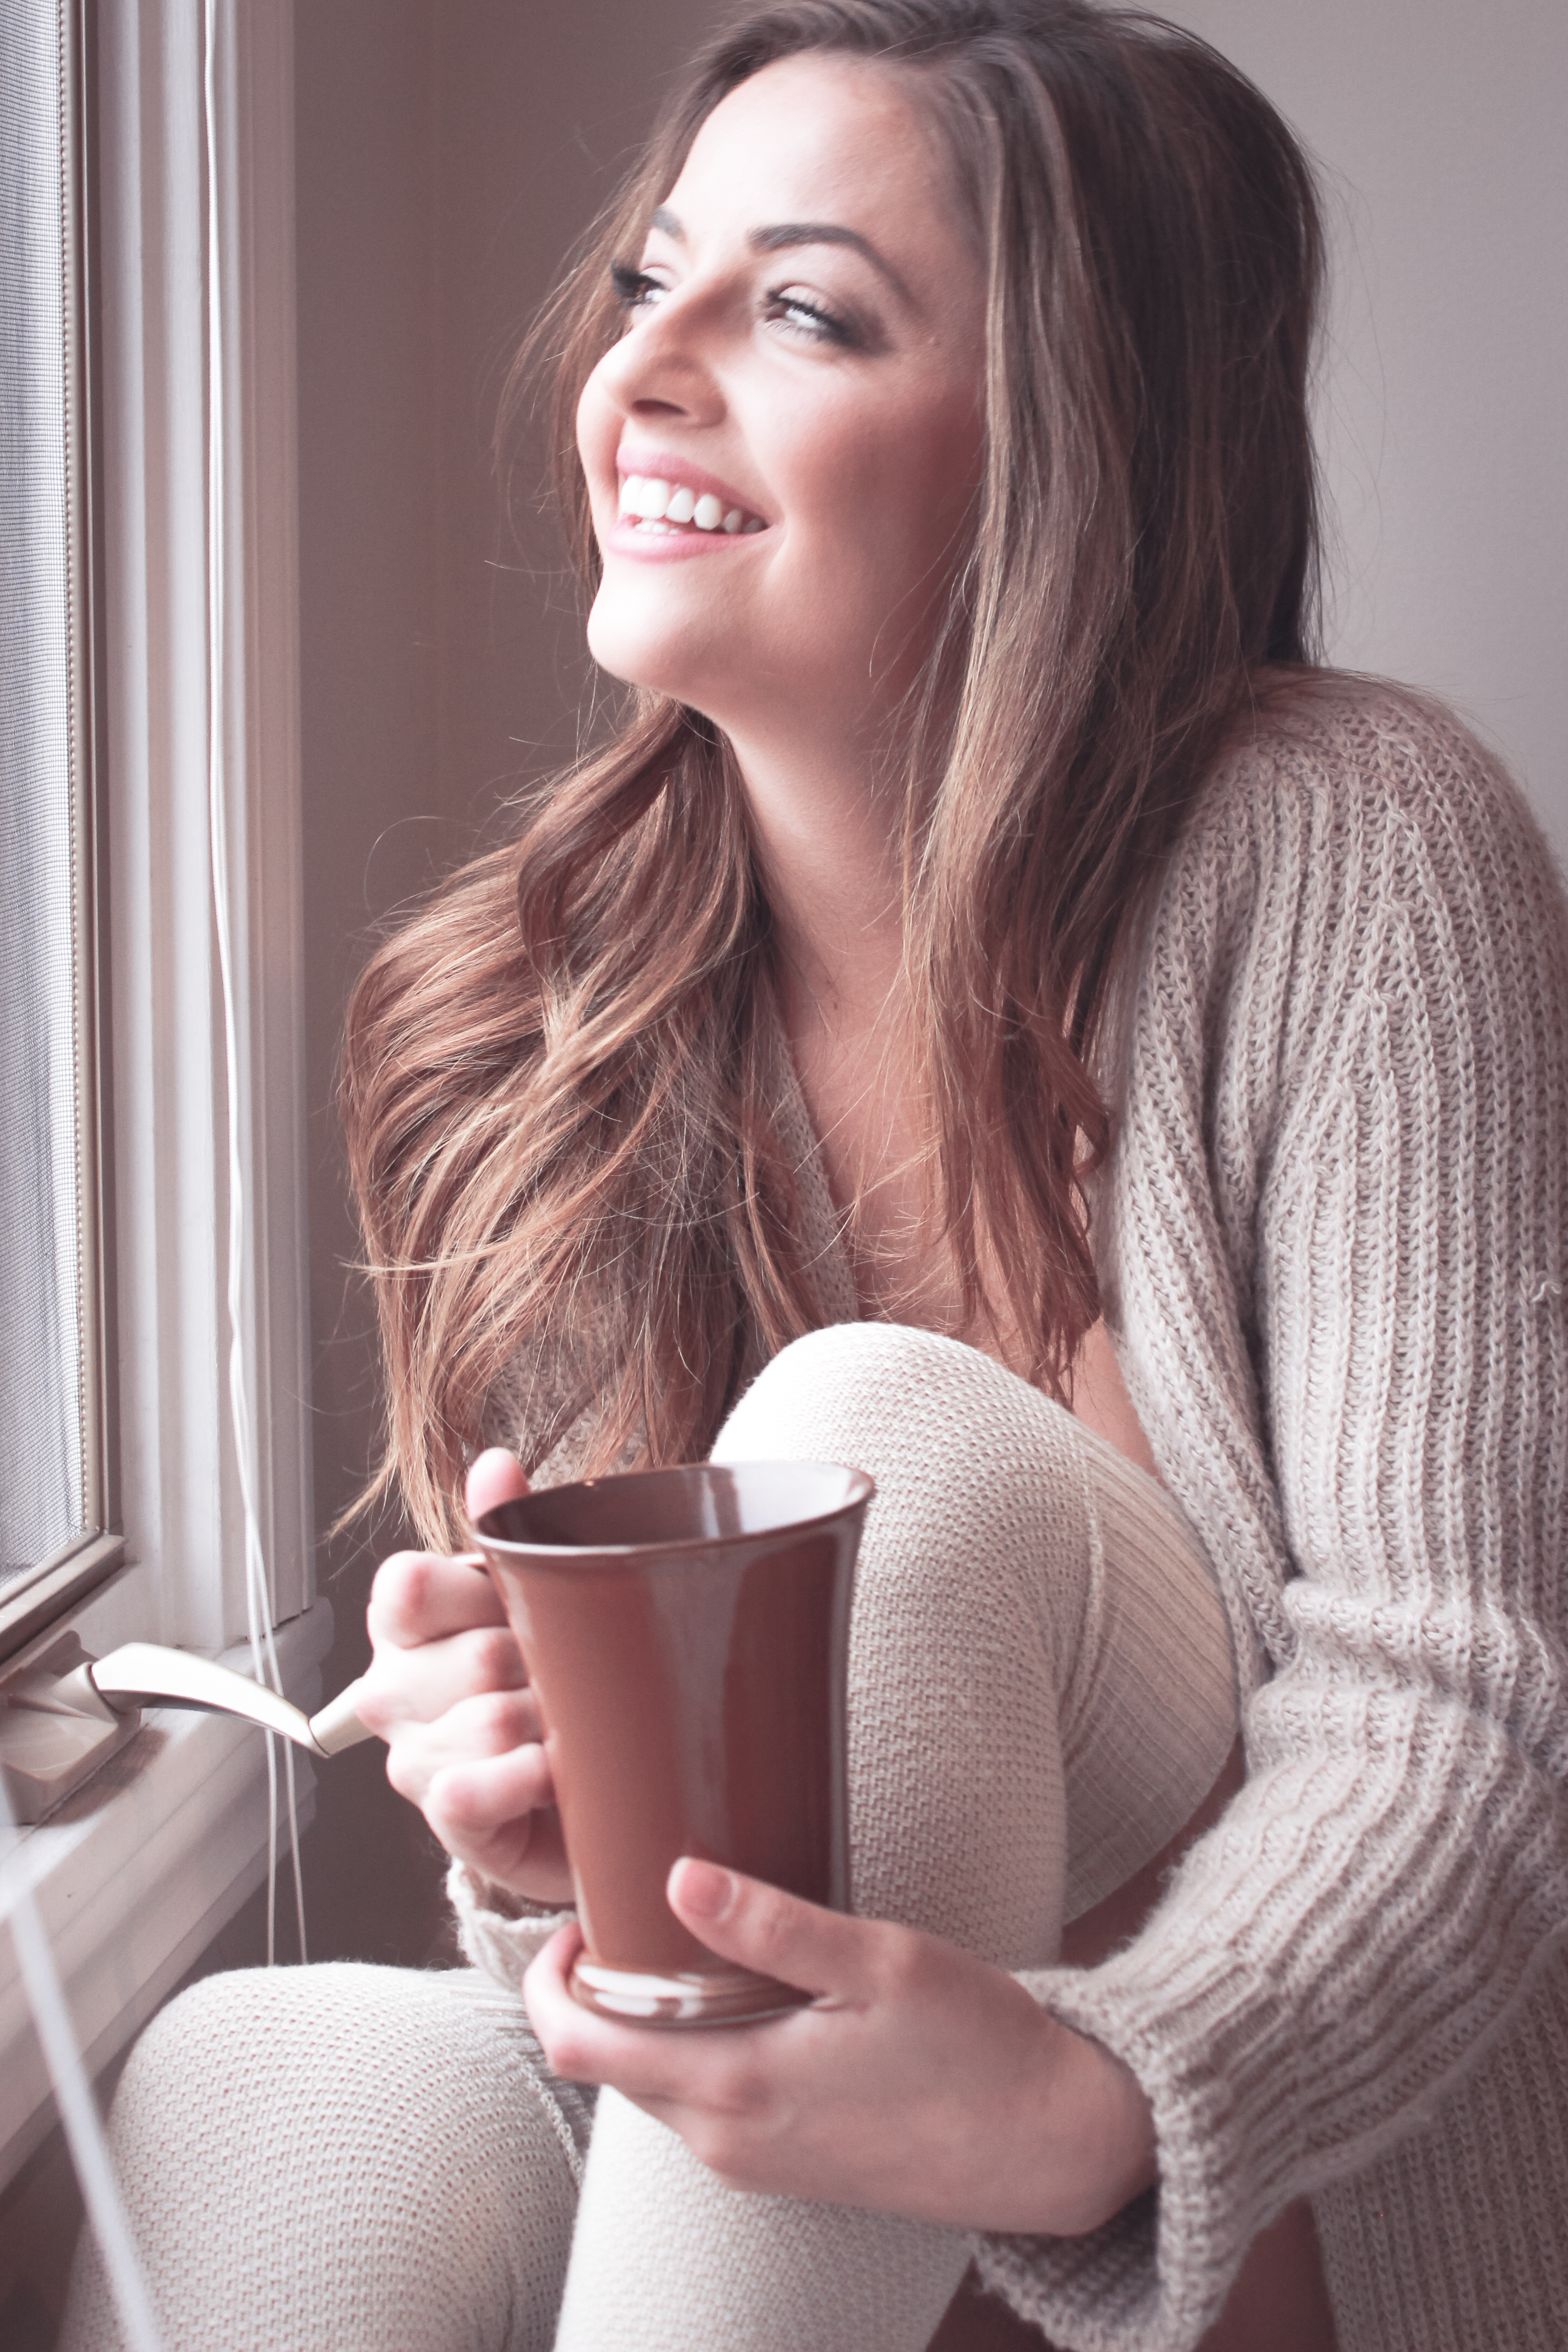
I love the look of the matte finish. I feel that combined with a slight over exposure gives photos an “early morning” feeling. It’s clean and easy on the eye.
I took Ashli’s photo next to a West facing window (this was all we had to work with). I uploaded all photos, flagged those I liked and began the edit. As I continue on this journey, I am learning that less is more with editing- especially when it comes to people and faces. I got lucky that Ashli is such a natural beauty- minimal editing besides basic adjustments in Lightroom. Below is a before and after, with the steps I followed to achieve this look.
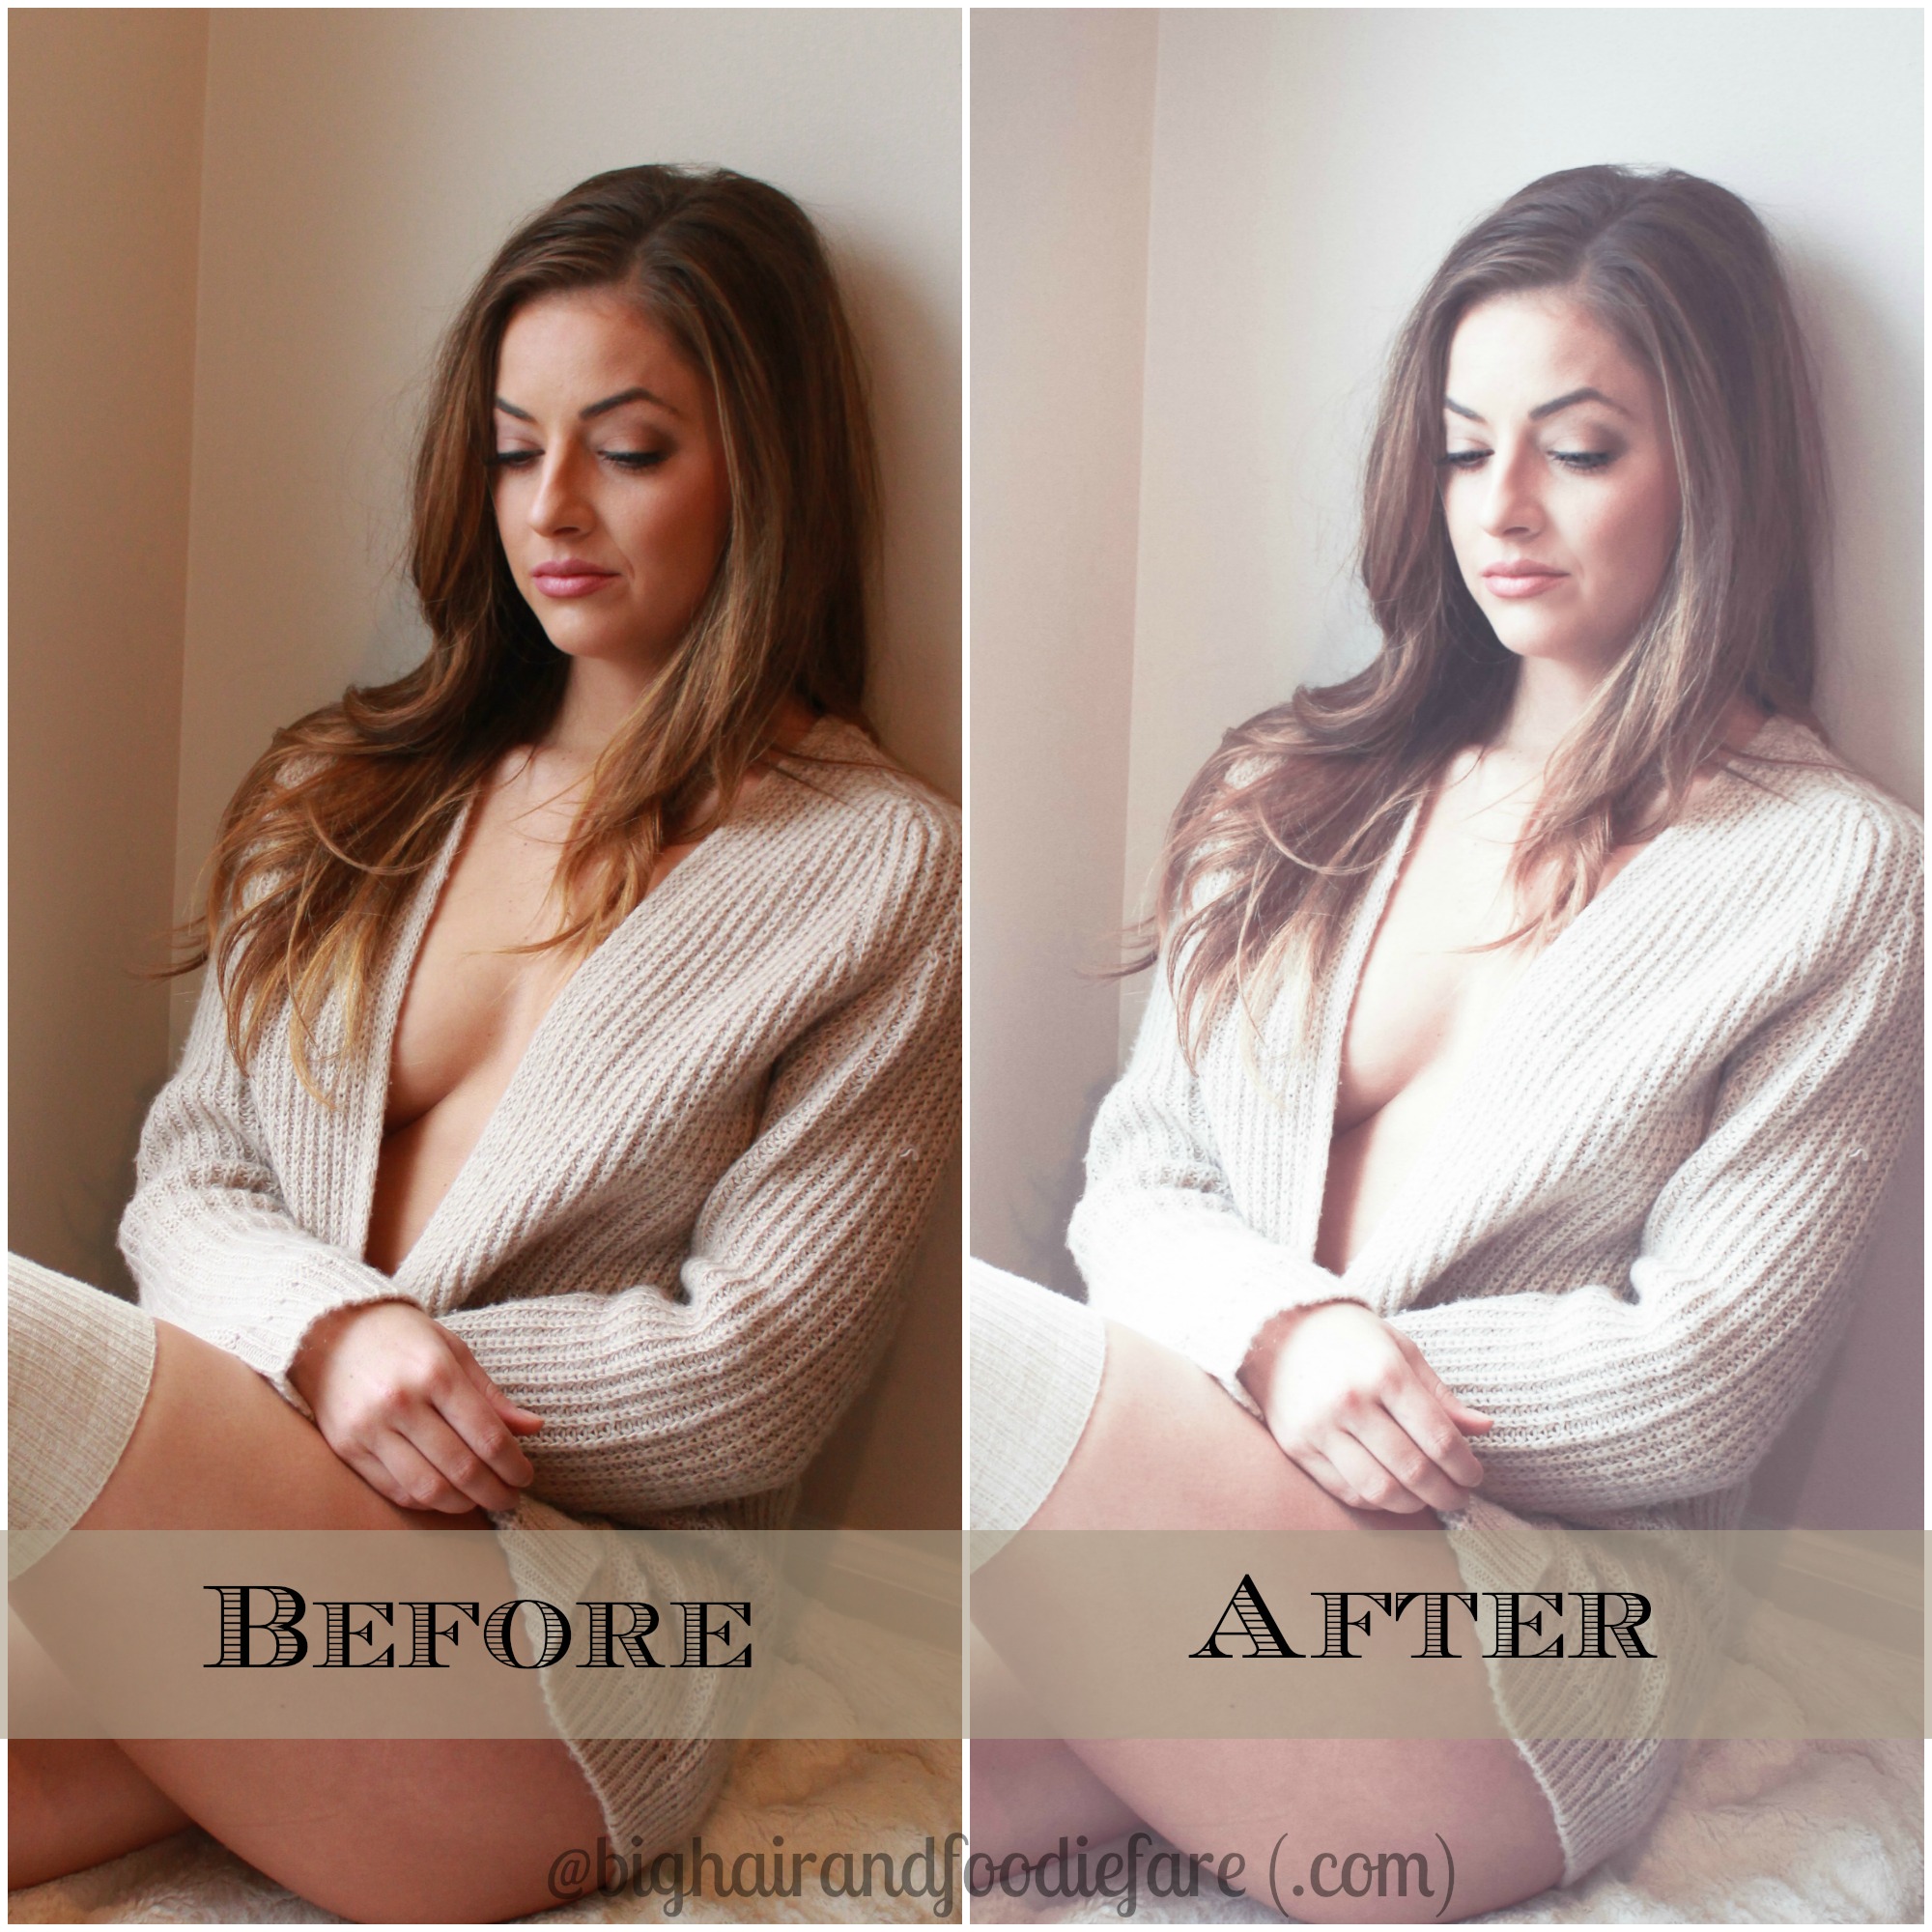
SOOC(Left): ISO 800, f 4.5, SS 1.40
I almost always begin my edit with a crop, and both of these images have been cropped.
Next, I went in and made my basic adjustments to the photo. As you can probably tell, I like my photos slightly over exposed to give them a bright, luminous feel.
- Temp: +4
- Exp: +.70
- Tint: -53
- Saturation:-46
Ok. Now that your basic edit is finished, go to your “Tone” curve while still in the “Develop” module. It should look like this:
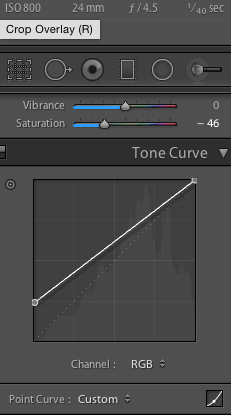 In the bottom left corner of the box, there is a small circle. As you can see, I’ve moved the circle up along the left axis to the top of the grid square. In addition to “mattifying” the photo, it also increased the exposure slightly, which was ok with me. That was it, VOILA!
I used this technique on almost all photos from this shoot, as you can use it to layer like any other tool. After this step, although the photo didn’t really need a preset, I decided to look through them anyway. I had been using the preset “RJ Cinema” from CameraStupid.com. (Here is a link for 100 free presets from this site, including the ones I’ve used on these photos.)
So here, I also added a preset, because I was really digging the look. All photos below have basic light room modifications, the tone curve modified, and one of the RJCinema presets from the link above.
Feel free to post your photos trying this trick- I’d love to see how they turn out for you. Enjoy!
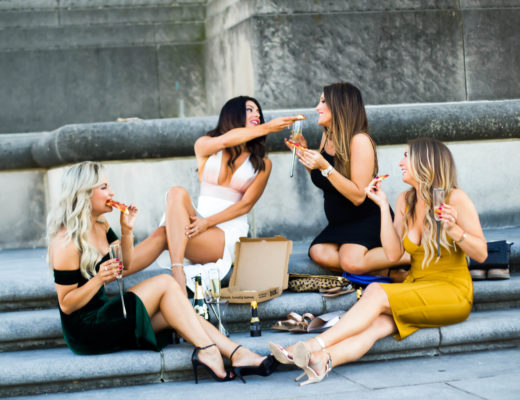
I think this one is my fave! (Reminds me a little of Kendall Jenner here .)