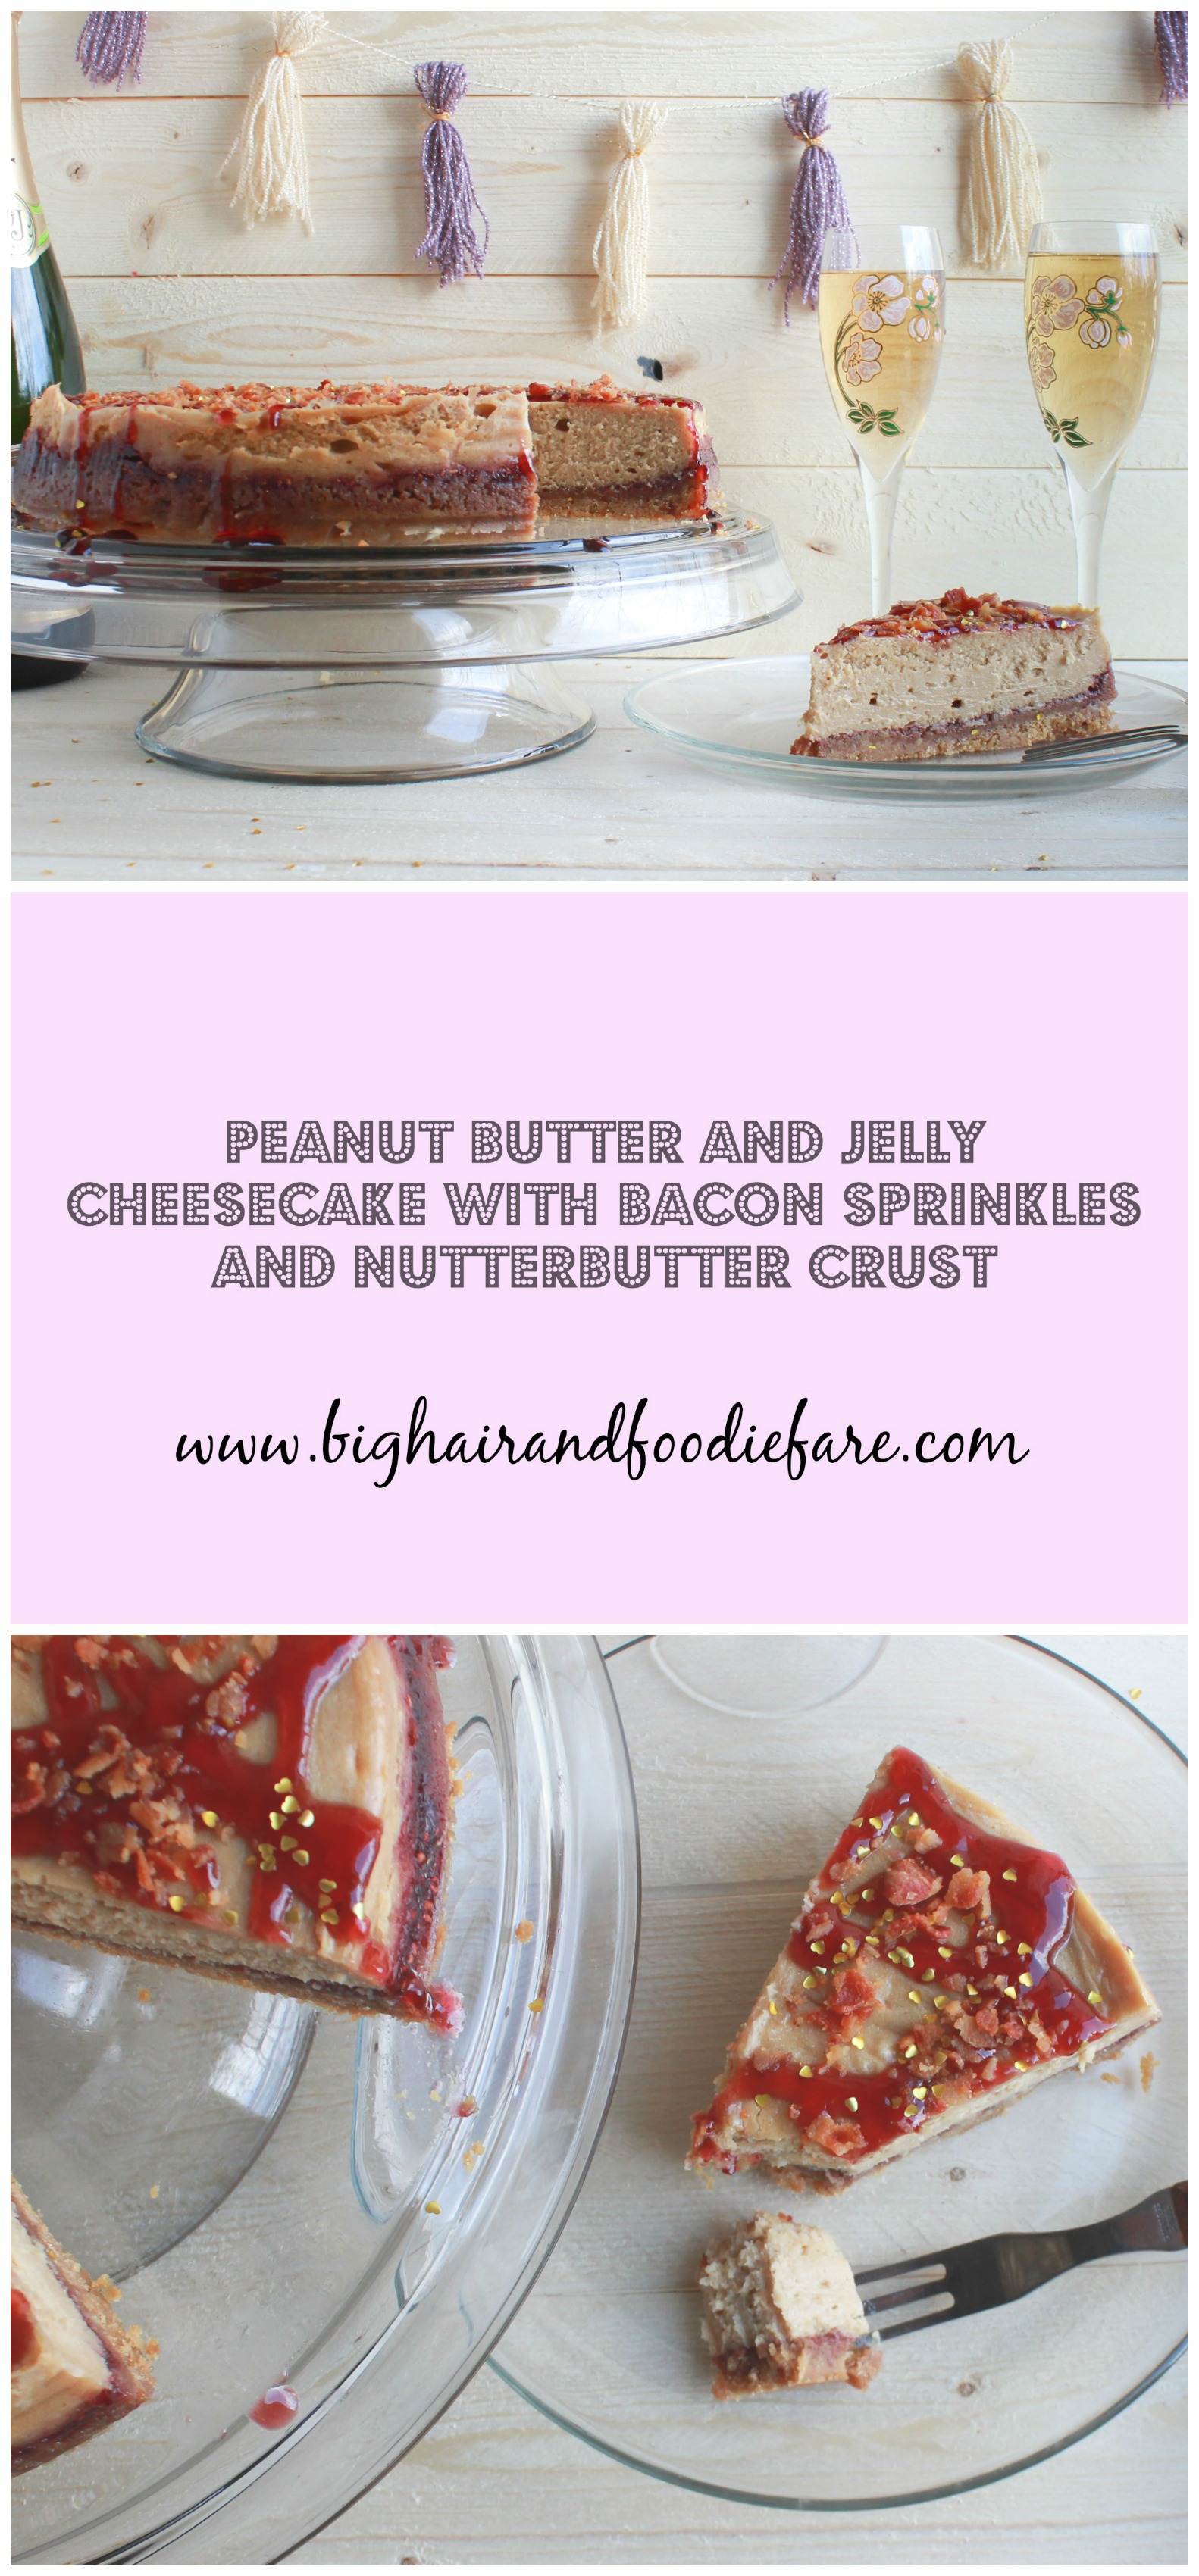
 A few weeks ago I got it into my head that I wanted to make a peanut butter and jelly cheesecake. I think I must have seen one on FoodGawker and kept fantasizing about it. So, as the weeks progressed and my day dreams were all about this fantasmical treat- I began to think: what can I do to jazz this up? Well, the first piece of flare was obvious to me- a Nutter Butter crust. I don’t typically like packaged cookies- but you give me a bag of Nutter Butter’s and I’ll go to town. My second bit of pizazz, bacon, was a bit of an afterthought- but lesbihonest: bacon is more of a seasoning and it pairs well with anything. I make PB &J and bacon sandwiches, why wouldn’t bacon delight the taste buds on this dessert, too? I took half of this cheesecake to work last night and had lots of compliments. That being said, I will write the recipe as I will try it next time. Just a few small tweaks. For example, I’d add more jelly next time, and maybe more bacon too- because you can’t have too much of a good thing- especially if it’s bacon. Always add more bacon.
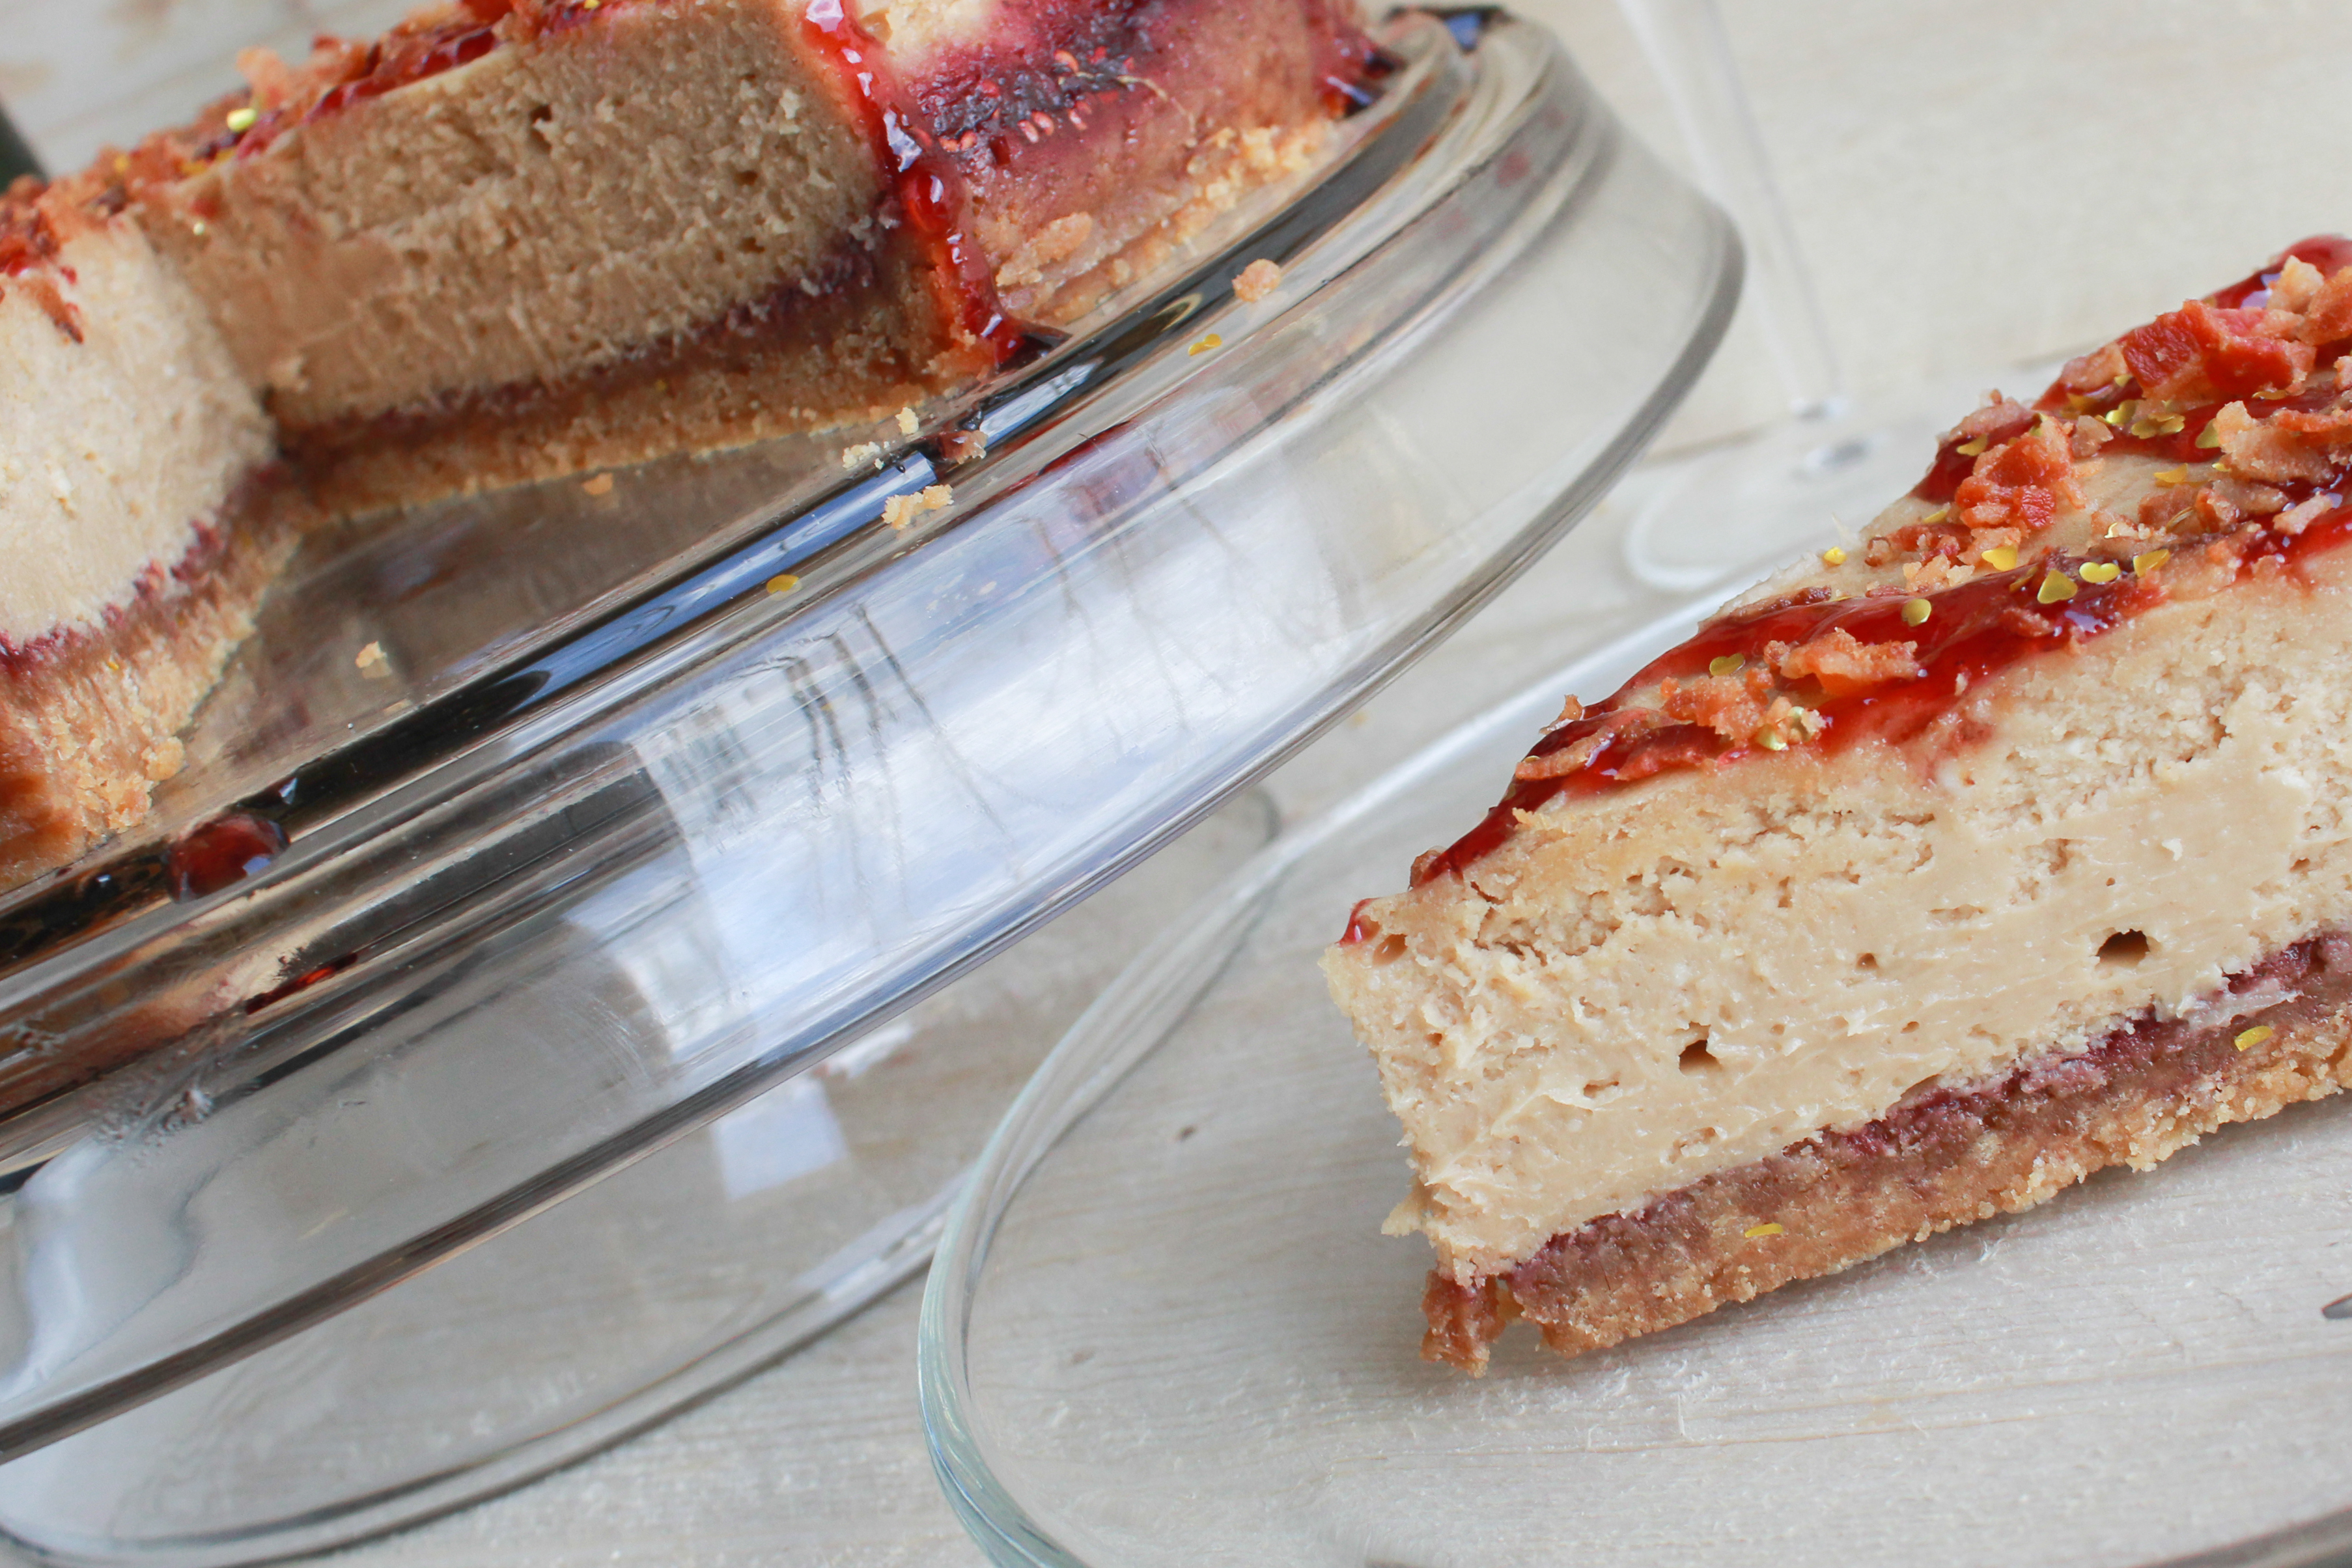 To get started you’ll need:
- parchment paper
- aluminum foil
- a 10.5″ springform pan- (These are mainly used for cheesecakes. I have a set of three different sizes and you can get a set at almost any retailer: Norpor Nonstick Springform Pans- Amazon, $18.91)
- Non-stick cooking spray.
- a baking dish or lipped-cookie sheet
Now, lets set your pan up.
- Start by making the latch is closed securely on your spring form pan, and that the bottom is fits in nice and snug.
- Spray entire pan with non-stick cooking spray.
- Cut out a circle of parchment paper for the bottom of the pan, and a strip deep enough to cover the sides of the pan, and long enough to cover the entire circumference of the pan walls. The parchment paper should stick to the cooking spray.
- Take your aluminum foil and DOUBLE wrap the bottom of the spring form pan. These pans leak often and it sucks when you have cake leak down into the bottom of your oven (been there and done that) .
- Place the double wrapped springform pan in the baking dish/pan and pour water into the pan until it’s about 1/2″ up the sides of the springform. This helps ensure that the cake cooks evenly throughout, which is often a problem with cheesecakes.
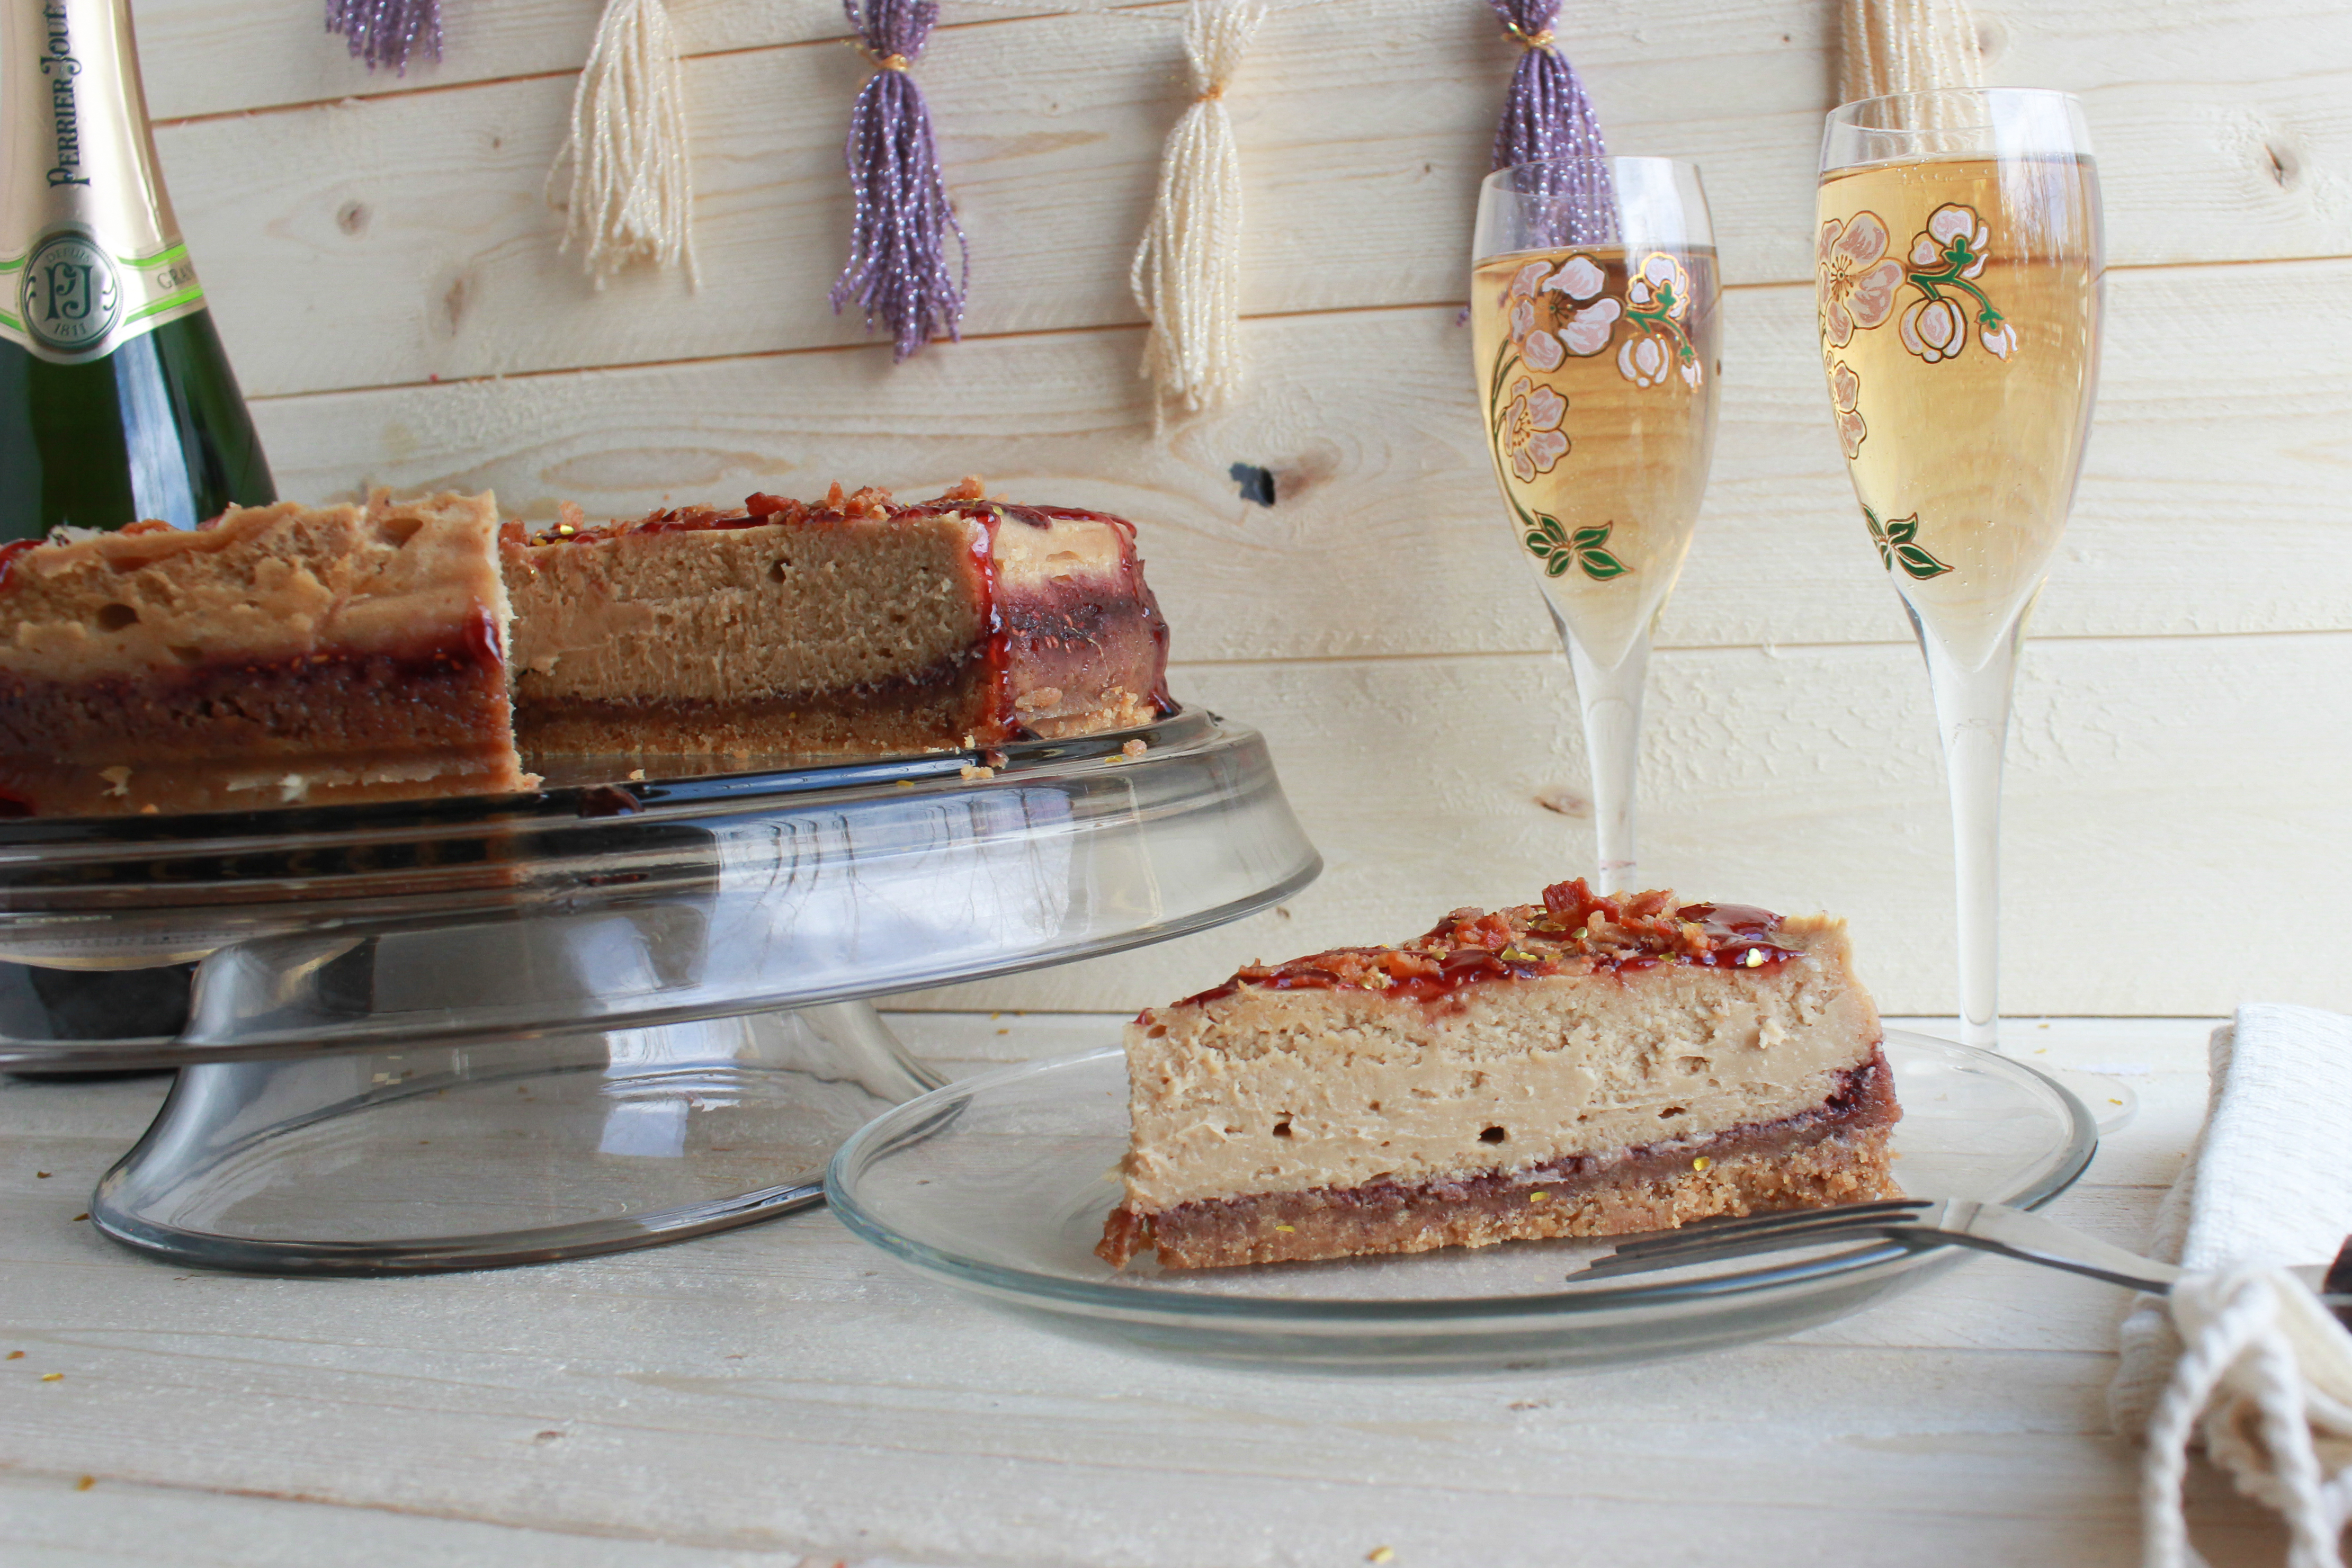
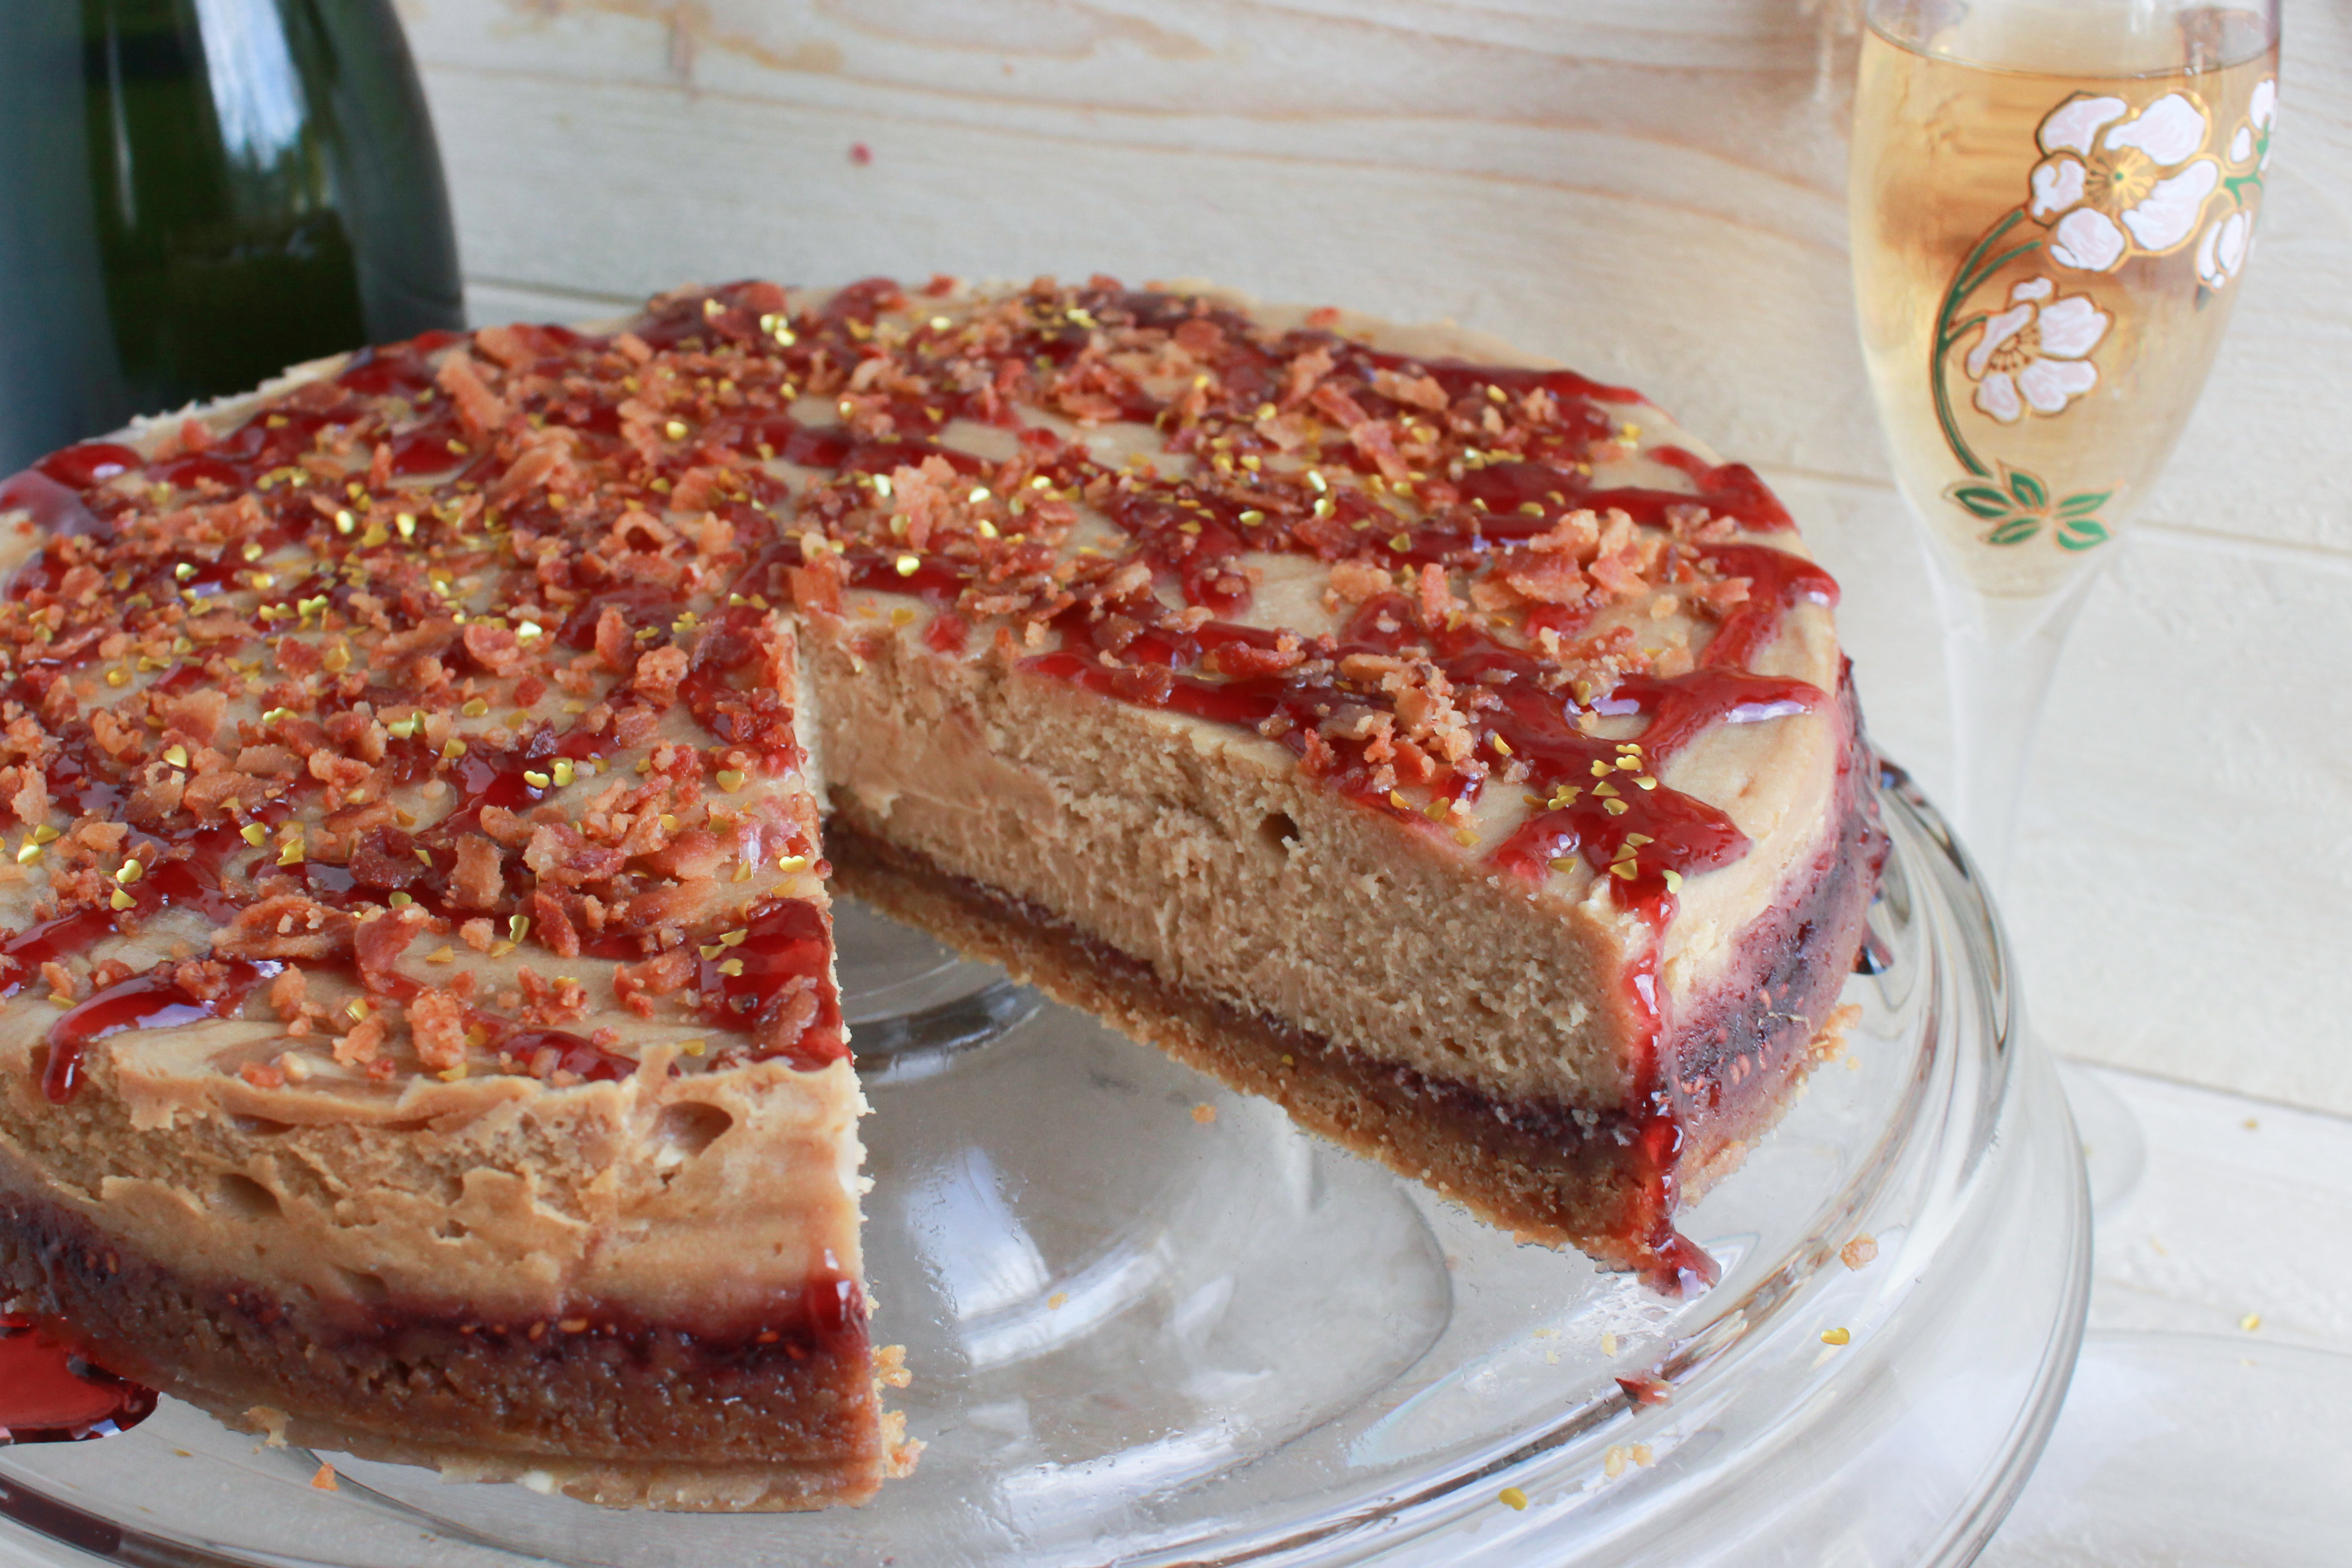
Add a little romance with some bubbles. These are my favorite flutes and my favorite Champagne (Perrier Jouet). Not only are the bottles beautiful and hand painted, so are the flutes! <3
Crust Ingredients:
This will be the most simple part of the cake.
- 8 Tbsp or 1 stick of melted butter
- 1- 1 lb bag of Nutter Butters, pulsed in a food processor until it’s crumb fine
Pour melted butter into the food processor over crumbs. Process until crumbly and well mixed. Pour into spring form pan and spread evenly. Pack down with something a flat bottom- I used a bowl. Pack until there are no loose crumbs.
Also added edible heart glitter. I feel like I should bulk up and put it in a shaker next to my salt and pepper.
Cake Ingredients
- 2 – room temp 8 oz packages of cream cheese
- 1 c creamy peanut butter ( I don’t really recommend using natural peanut butter for this cake because of the texture difference)
- 1 c cool whip
- 1/2 c sour cream
- 1 c white sugar
- 4 large eggs
- 1 Tbsp vanilla extract
- 1 jar of jelly for bottom of cake (I used raspberry)
- 4 Tbsp jelly for the top of the cake (I used grape)
- 4 slices of crispy bacon, chopped up
- In a small sauce pan, dump your first jar of jelly. Heat over medium heat with a whisk until it becomes liquid. Pour onto crust and spread evenly. Chill for 20 minutes before pouring your cheesecake batter over it.
- Using an electric mixer (or your Kitchen-Aid) cream together cream cheese, peanut butter, sour cream, sugar and vanilla.
- Add eggs one at a time.
- Now fold in your Cool Whip slowly. Do not BEAT it in. It will get runny.
- Pour cheesecake mix over cooled jelly and crust. Spread it evenly.
- Bake at 325 F for 1 hour 10 minutes. Let cool completely and then put in the fridge to chill overnight.
- Next day: Heat your 4 Tbsp jelly in small sauce pan until just liquid again. Pour into pastry bag or plastic bag. Let this cool sufficiently- you do not want to pour boiling hot jelly over your nice chilled cake. I put my jelly bag in the freezer for about ten minutes. (“Why even let it get that hot if you’re just going to chill it?” you might ask. The answer is, that to get the jelly liquid enough to squirt it through the pastry bag, it must be heated. If it’s not heated enough, it will be lumpy.)
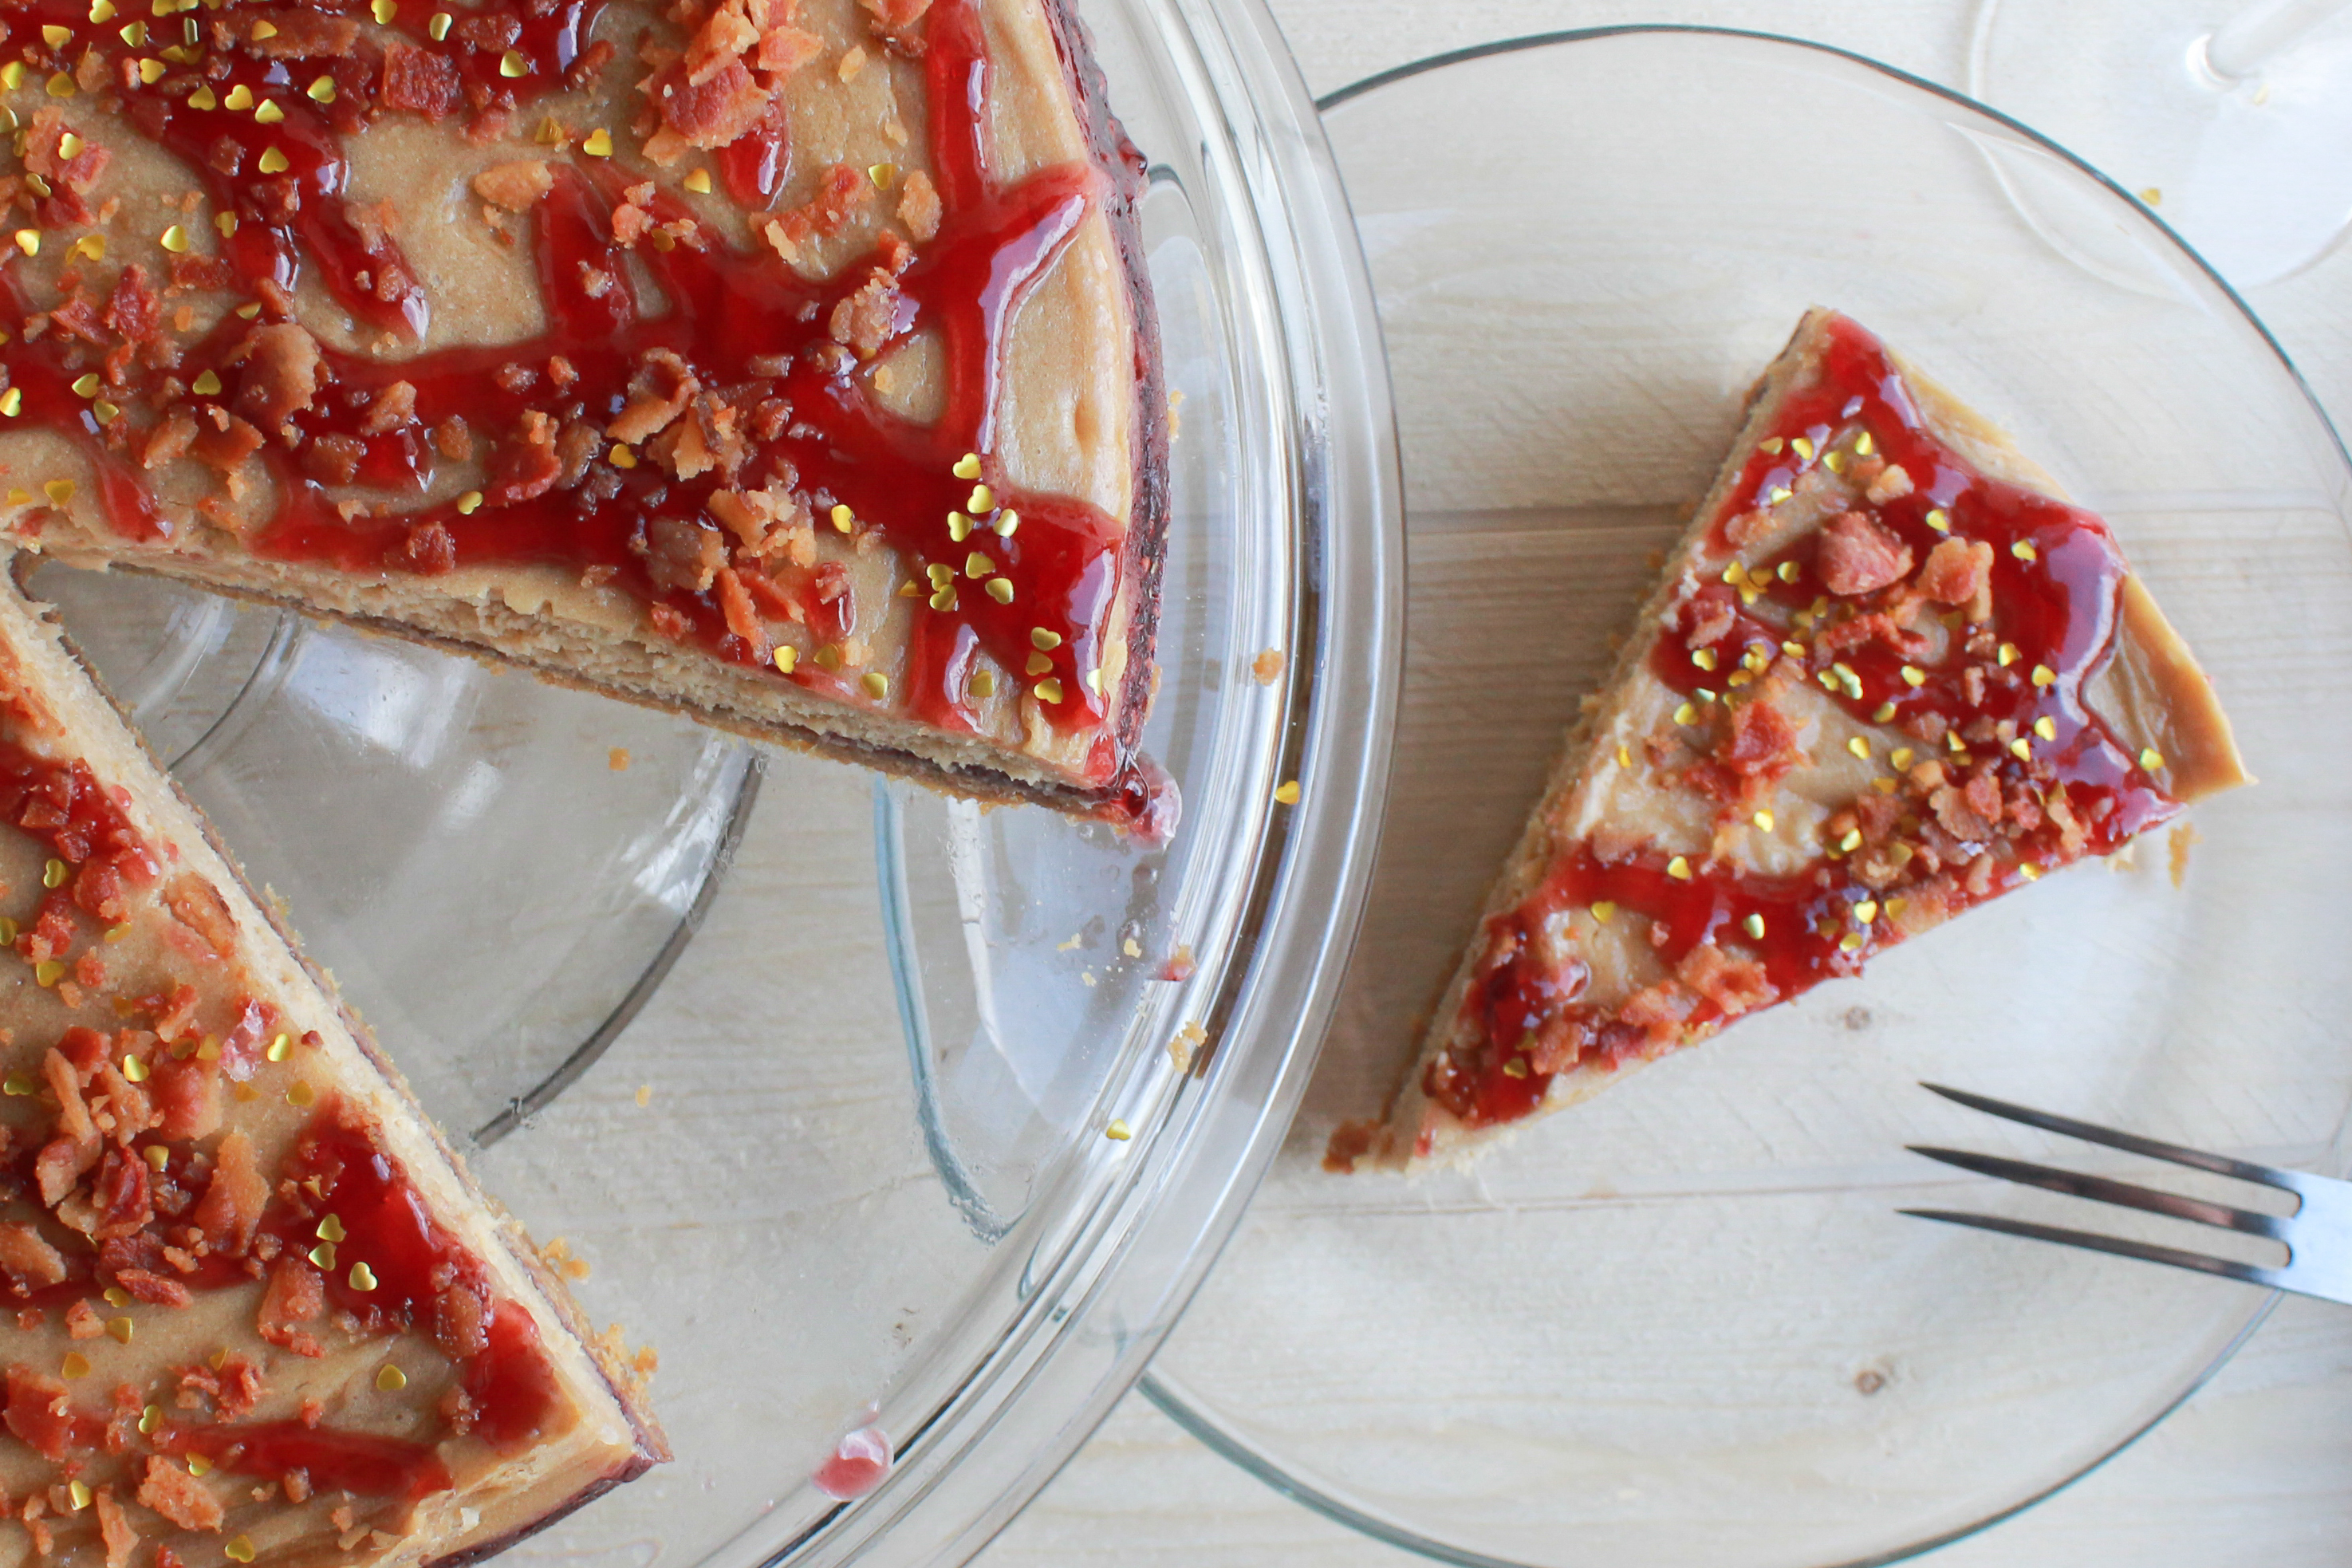
- Once jelly is cooled sufficiently (NOT ROOM TEMP- Still warm just not boiling anymore!), cut the tip of your pastry bag and decorate cake however you want. I did mine a little sloppily, but hey- eeeessss ok.
- Sprinkle with chopped bacon and edible heart glitter if you’re a diva.
 If you don’t like PB &J’s, bacon, cheesecake or Nutter Butters, then sadly this recipe isn’t for you. (And you’re most likely a very boring person with terrible taste). Welp, that leaves more for the rest of us. I hope y’all enjoy!
Cheers! Kelli