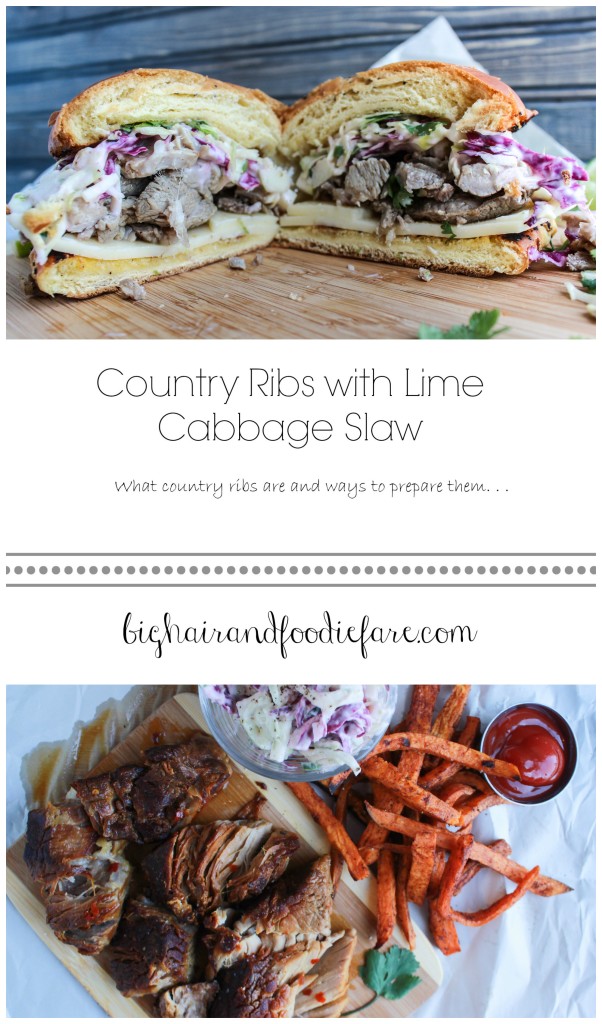
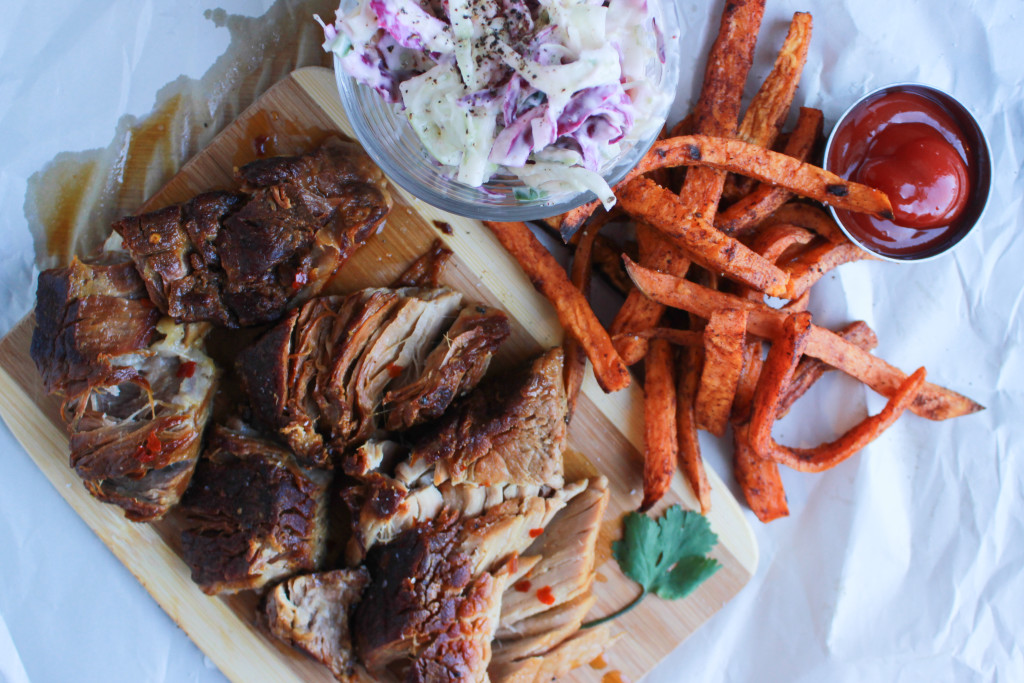
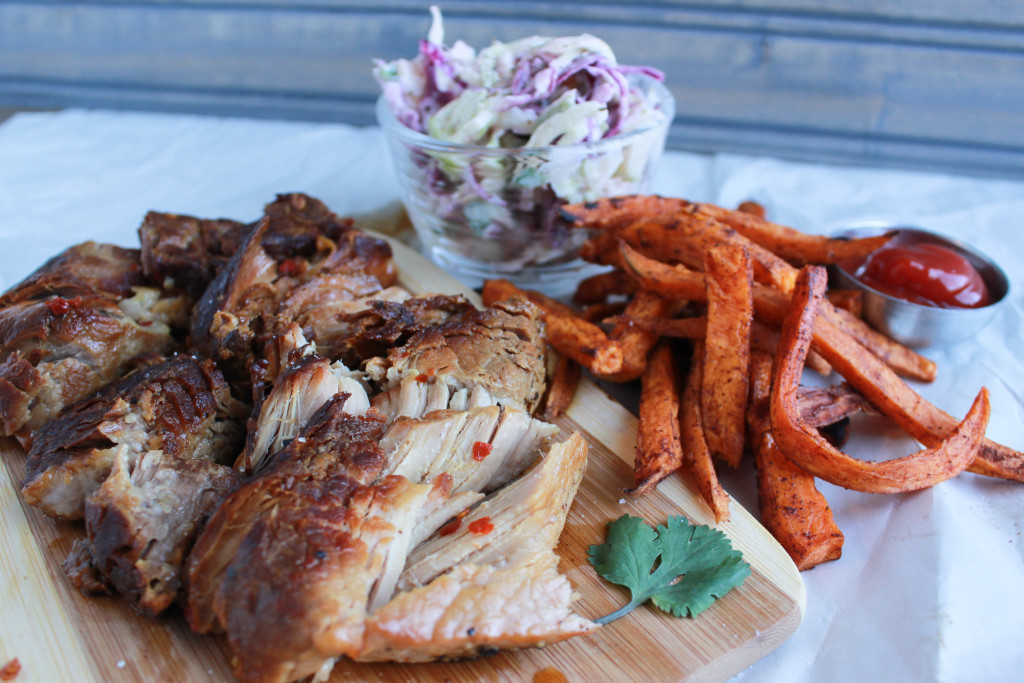
In the top photo, the rib meat has been prepared by slicing, seasoning and searing in a pan. The meat in the bottom photo has been cooked in a pressure cooker.
I have to be honest and say that I’ve never prepared “country pork ribs” before. When I purchased them, I thought they were actually just boneless rib meat but wasn’t sure if I would prepare them the same as one would a spare rib, or a rack of ribs. What was the difference between country ribs, spare ribs and baby back ribs? Do I slice them? Slow cook them? Sear them like a chop?
So began my scour of the internet, and this is what I came up with (info is from Amazingribs.com and if you ever have any questions about pork cuts or cooking methods- this site is a great resource! I’ve bookmarked it on my Pinterest.)
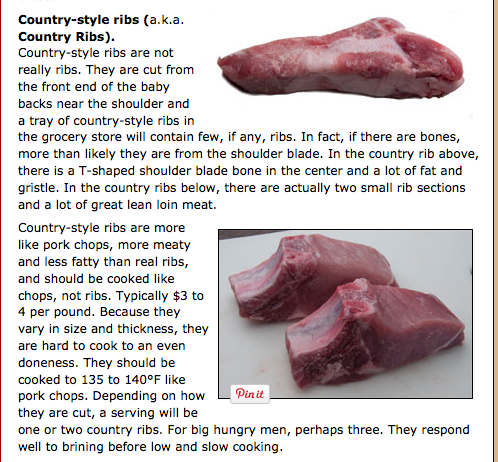
Click this photo to go to Amazingribs.com and see more info on pork cuts and cooking methods. Very informative!
Ok, so mind blown. They aren’t even “ribs” and more like a pork chop. Well shit. I don’t typically like to cook pork chops at home (the only place I like a pork chop from is Ruth’s Chris- MMMMM!) Now what was I going to do?
I decided to try three different cooking methods. ( Yes, I am the love child of Paula Deen and Bill Nye) Several recipes I looked over had slow cooked the meat. However, that didn’t make sense to me if they were more similar to a pork chop? So here were the three preparation methods I decided to try:
- Slow cooked/pressure cooked (they produce very similar results but I use a pressure cooker for my meats- it’s much quicker!) I use a GoWise USA 8 qt. Pressure cooker.
- Thinly sliced and seared for a sandwich
- Seared like a pork chop
The photo of the pork sandwich was made with the sliced and seared pork. The texture was very similar to a pork chop and I tried to keep just a little pink in them to keep them tender. I feel like pork gets so rubber when it’s over cooked. I sliced the pork and brined it for about two hours before seasoning and searing it.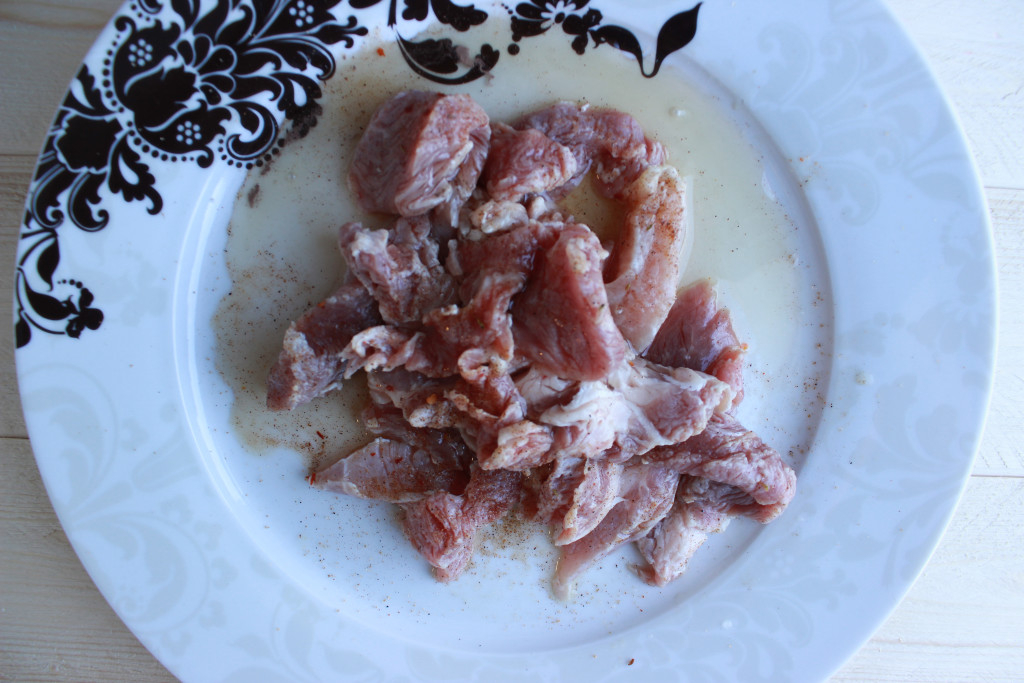 This is the brined pork, seasoned with Jerk seasoning and maple syrup. Say whattt? I only sliced enough pork to make one sandwich as I was trying to divide the pork up to try all different methods. These country ribs were very hard to slice, some parts fell apart, and they didn’t really come out as “slices” more like cutlets or something sloppy. I also chopped them up a little bit more after cooling, adding some salt and putting them on the sandwich.
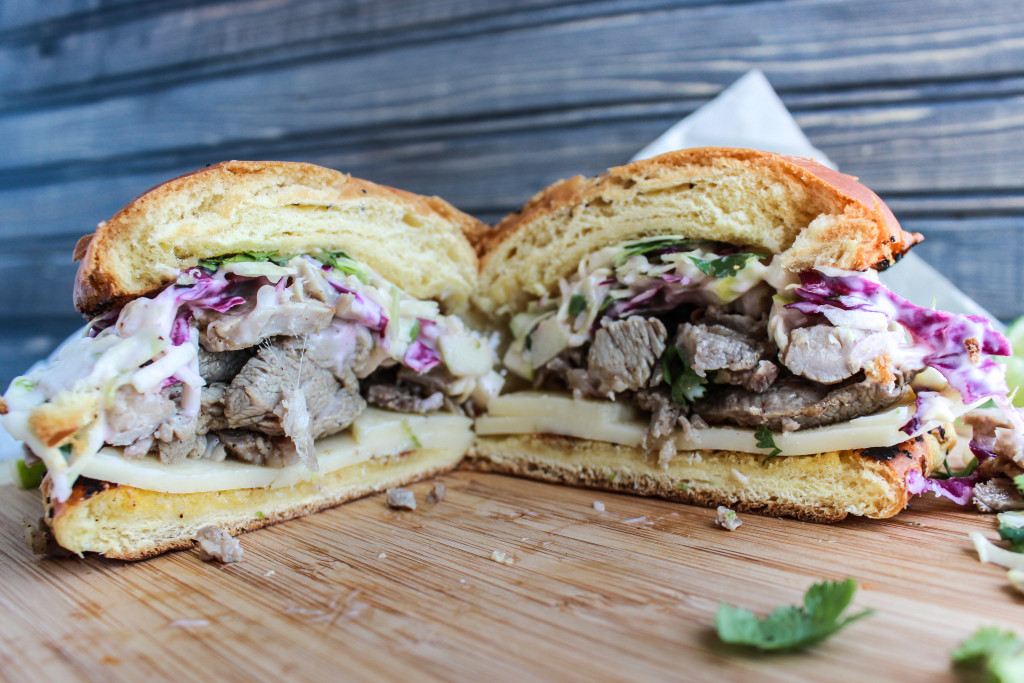
Here I topped the pork generously with the slaw (recipe below) and slapped some cheese on the bun. ( I used horseradish cheddar- which I have on hand at all times for snacking, but a milder cheese like Swiss might have paired better)
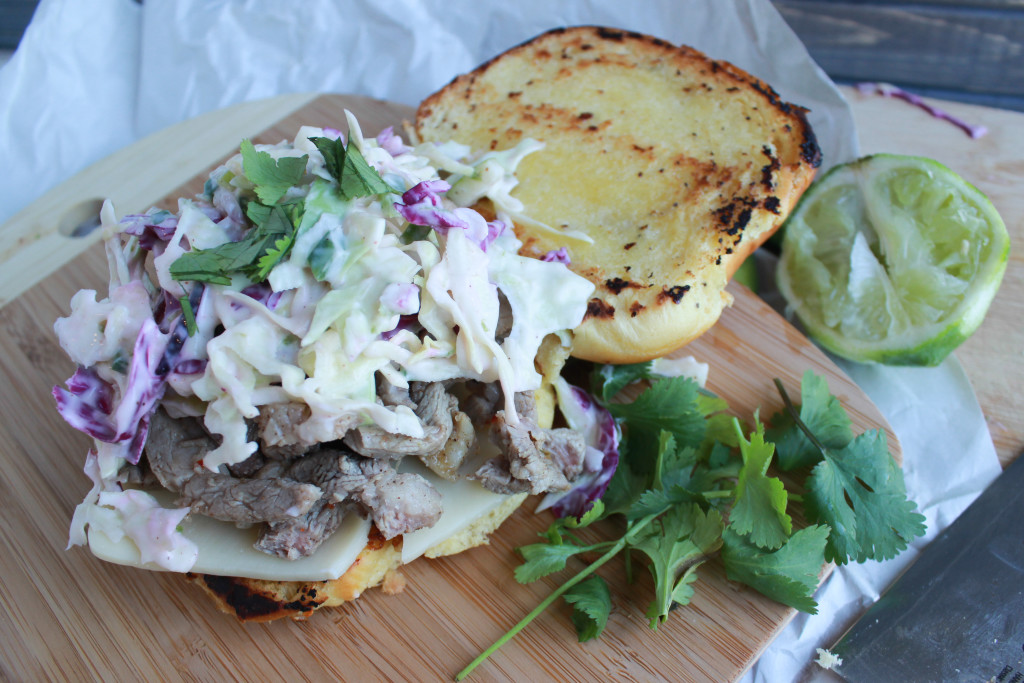 Here you can see I toasted the buns- I used onion rolls because. . .well because they’re my favorite. That’s why. They are just slathered with a bit of butter and toasted in the pan. Olive oil can be substituted.
I’d also like to mention that these sammiches can be made vegetarian by substituting Portobello caps for the pork. Season them with lots of jerk seasoning, salt and pepper and saute them. I like to use mushrooms as a meat substitute because of their hearty texture. I’ll be making two vegetarian versions of this tonight for Ma and Pa. (sorry no photos of the vegetarian version- the mushrooms are on their way!)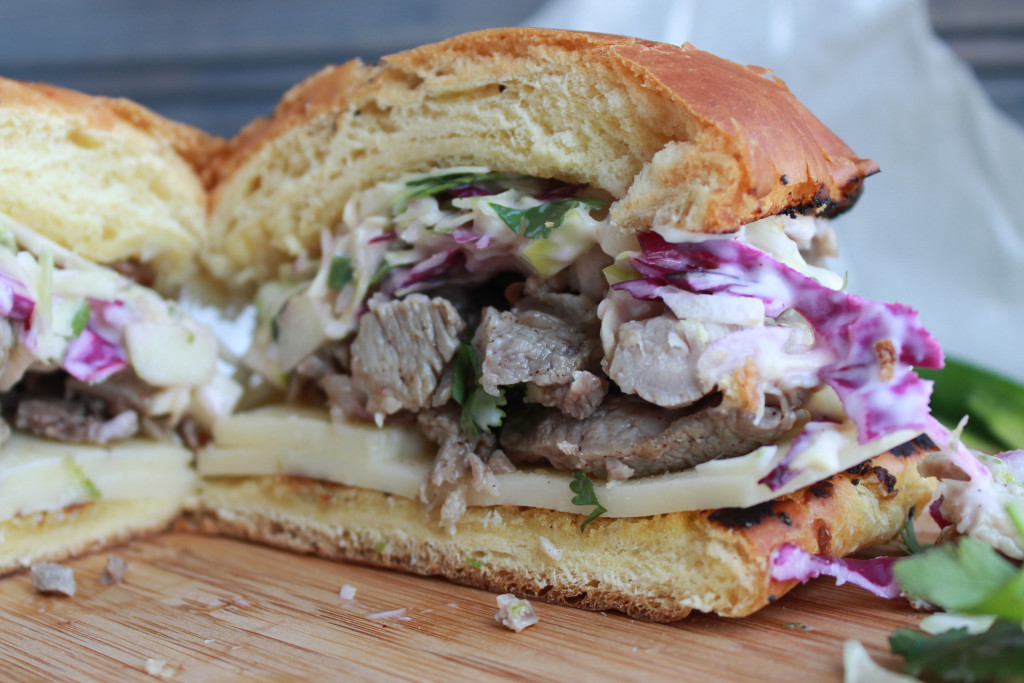 I like to use the boyfriend as my food tester. This time he liked the sandwich and said the pork was nice and tender. I agreed! The dressing on the slaw added a nice bit of flavor to the sandwich. Overall, I was surprised that the sandwich turned out that good- Good enough to make again.
That being said, I think I personally prefer the country ribs prepared in the pressure cooker. I like that fallin’ apart goodness and drizzling the juice from the pan over the meat. It’s amazing how different cooking methods can totally change the texture and taste of a cut of meat!
The pressure cooked ribs are actually perfect and flaky, just right for a sandwich – so that’s what I’ll be putting together for our actual meal. Here’s what they looked like:
There’s really no need to make a recipe card for these pressure cooked ribs because this is all I used:
- 1/2 c Apple cider vinegar
- 1/3 cup maple syrup
- 1 Tbsp red pepper flakes
- 2 Tbsp mustard
Rinse brined country ribs. Brown them in a skillet, and toss them in the pressure cooker with other ingredients. Run for three cycles of 45 minutes on the “meat/stew” setting. That’s it!
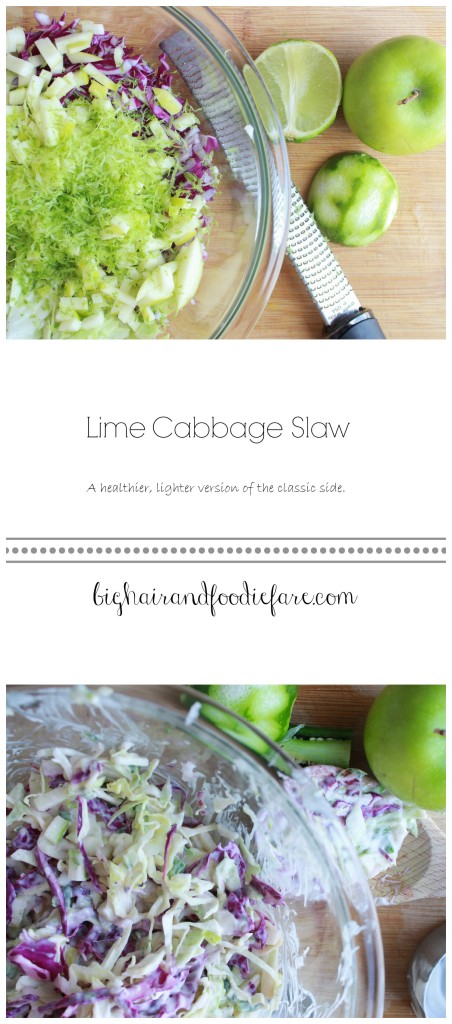
Now for the slaw. Go ahead and add that to the list of words I don’t like, right along with “moist.” Gross. Photos first then I gotta recipe card for y’all down below!
I use a mandolin on a lot of my veggies, they’re great for ANY veggie, but I used it on my cabbage and red onion for this recipe. For me, it’s hard to get my onions sliced thin enough, so it was a great tool for this SCHLAW. (That’s how I feel like I’m saying it every time.)
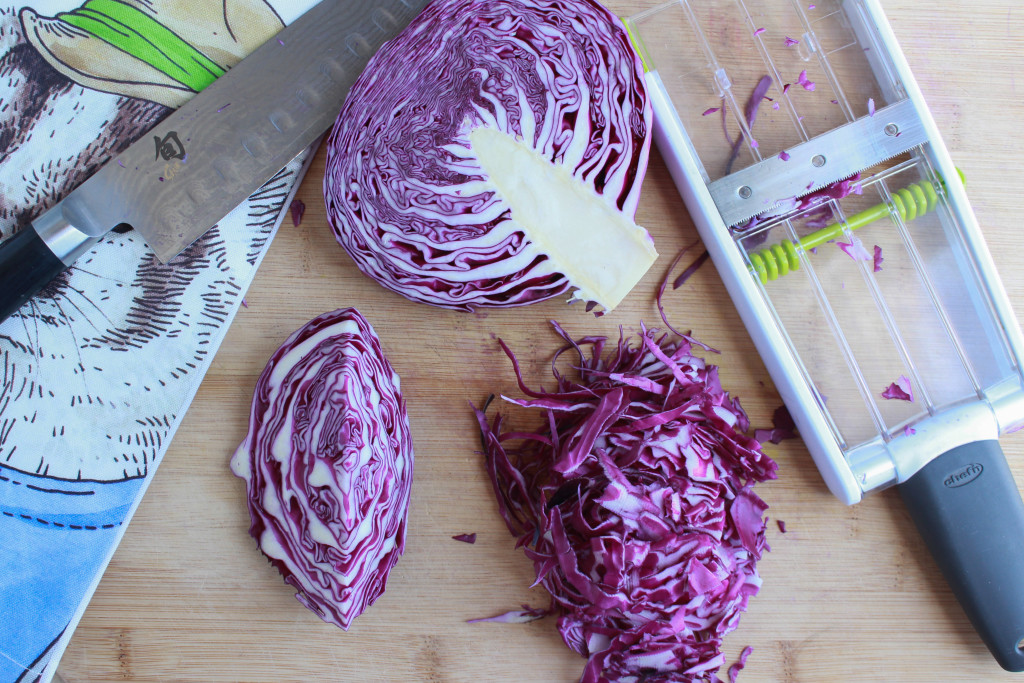
The sliced cabbage came from a small wedge, about the size of the one on the left. It equaled to about 1 cup once sliced. Isn’t purple cabbage just GORGEOUS?!?! I need to cook with it more often so I can just look at it.
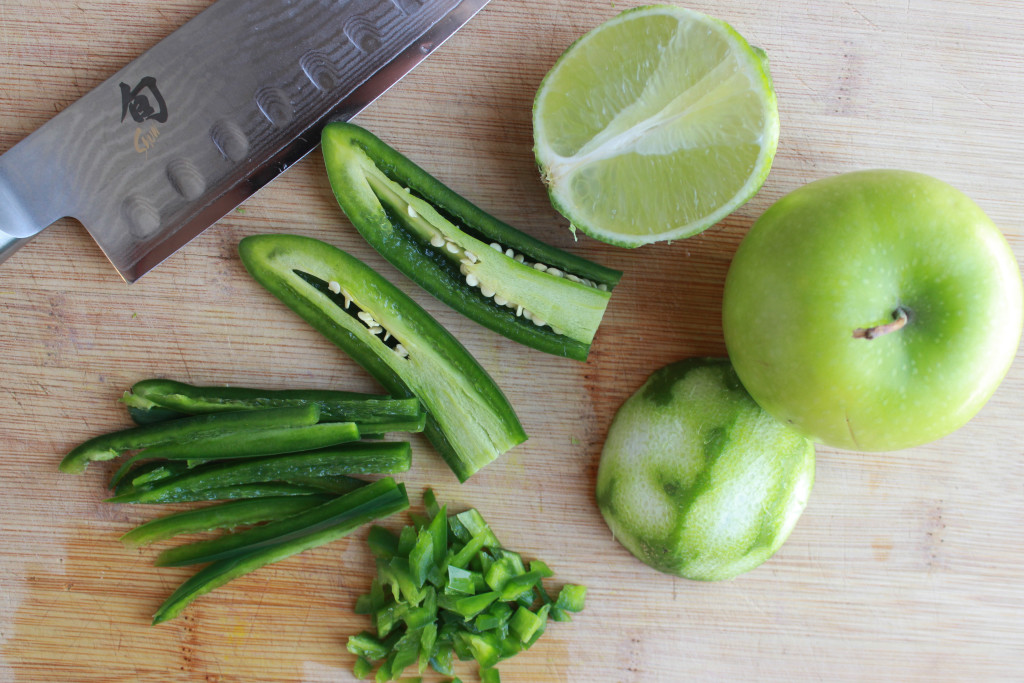
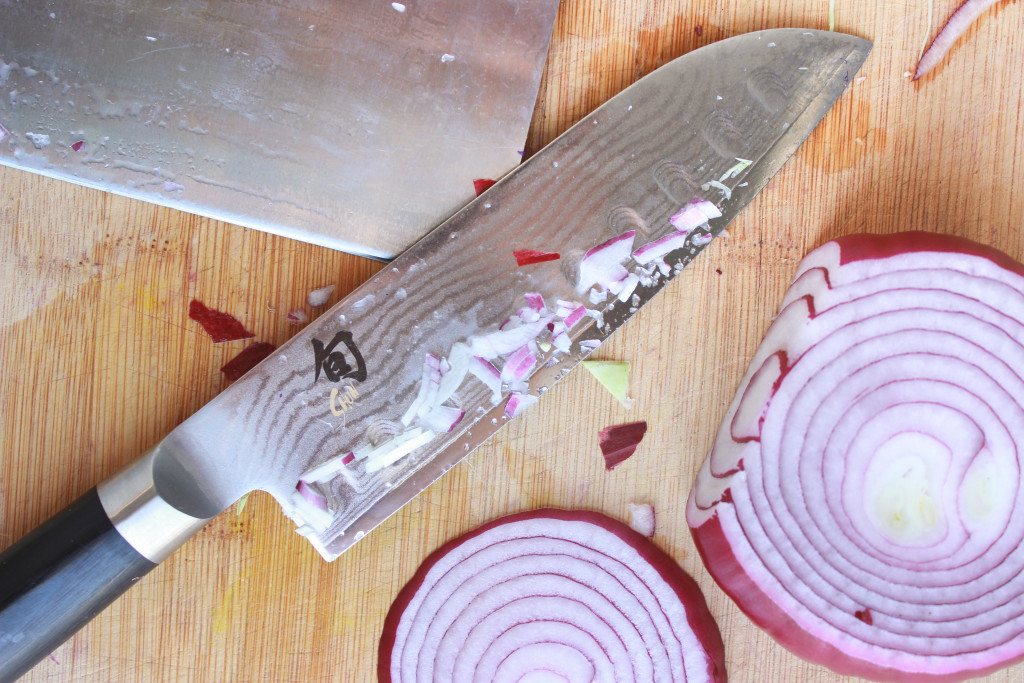 Had to throw in a photo of this knife, the Shun DMO718. (On Amazon,) Why you ask? Because this knife is friggin’ amazing. Yes, you can tell a difference between a cheap knife and a quality knife. This is actually my bf’s knife, and he brought it with him when he moved in. Between the two of us, we have about 87 kitchen knives, because we both like to cook; but hey- the whole “what’s yours is mine” thing right? Now it’s MY knife and I’m not giving it up. (I always like to share my favorite kitchen tools and gadgets with y’all.)
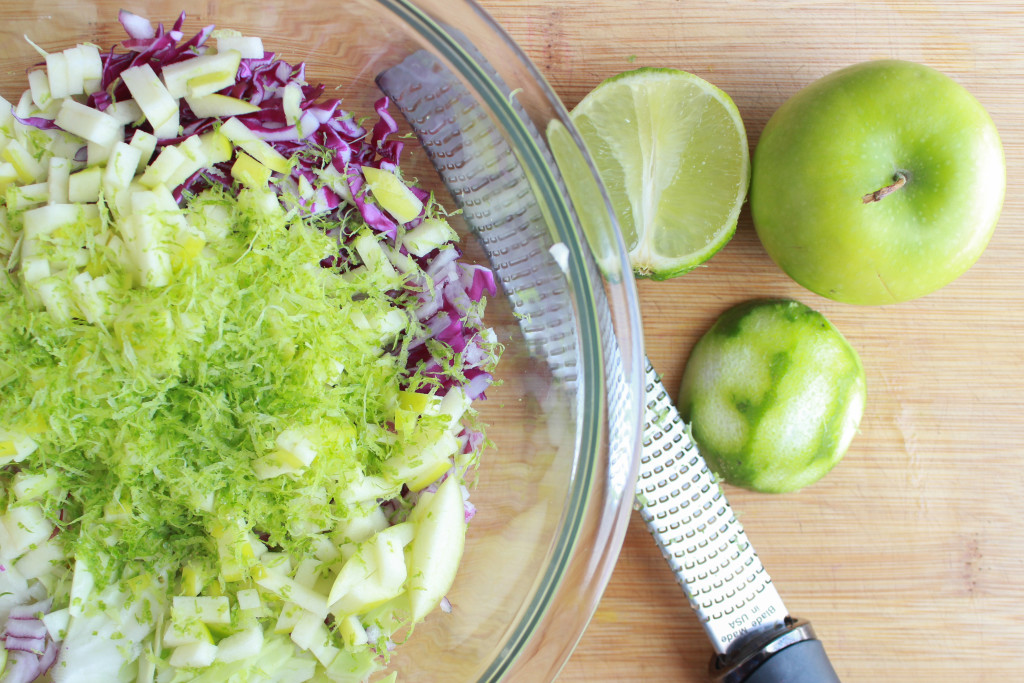
Lot’s of nice, light, summery ingredients here! And I feel like you can never have too much citrus zest. . .
So far we’ve got purple cabbage, green cabbage, red onion, lime zest and a granny smith green apple.
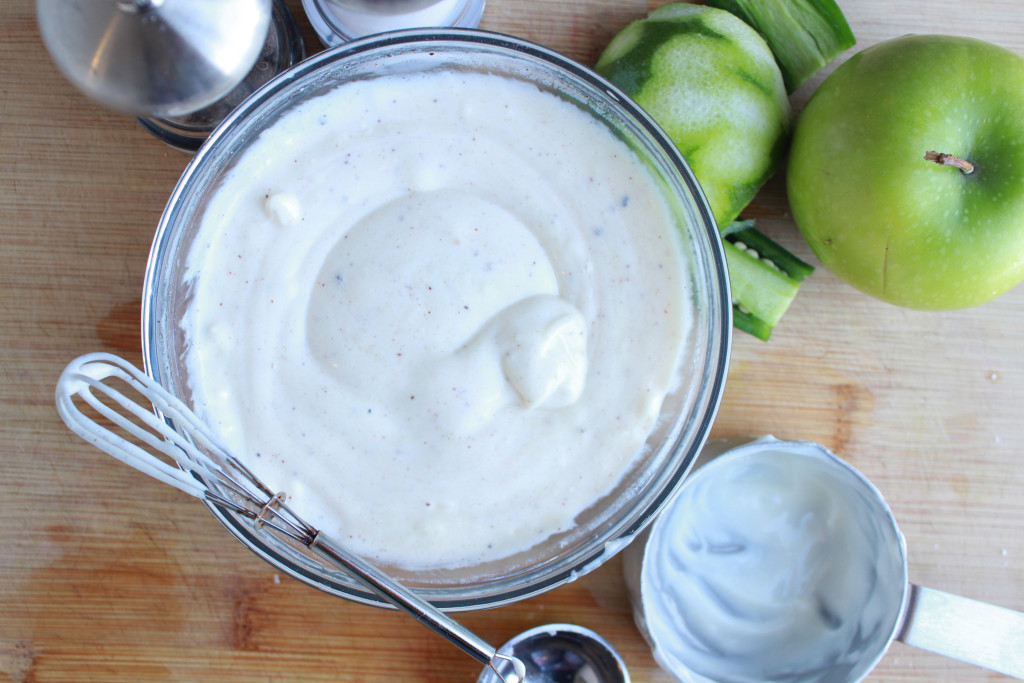
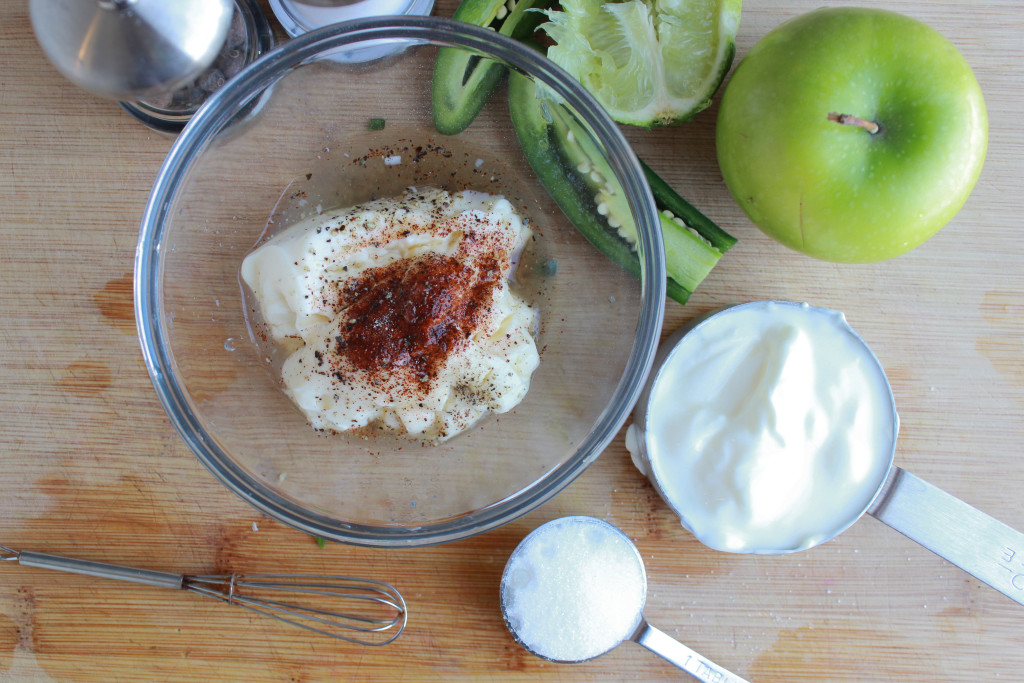 Here I substituted half of the mayo for plain Greek yogurt (no added sugar). I did this so it wasn’t so fatty, and as an afterthought, I’m pretty sure you could go all the way with Greek yogurt and skip the mayo all together. Greek yogurt still has enough tangy-ness here to add that “zip”.
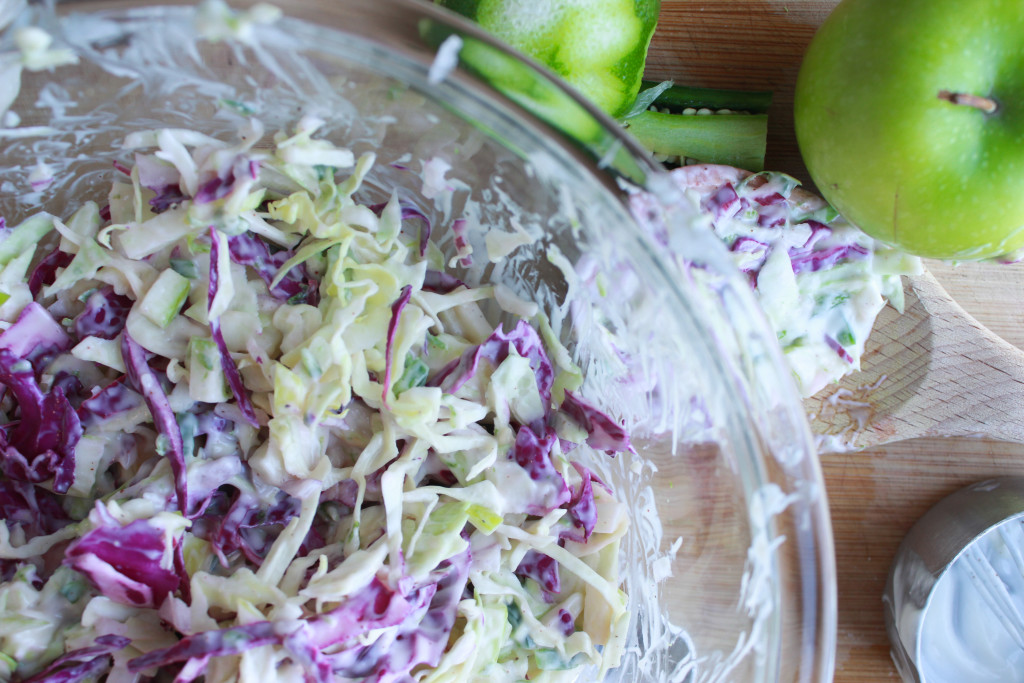

- 1 c purple cabbage, shredded on the mandolin
- 1 c green cabbage, shredded on the mandolin
- 1/4 c minced red onion
- 1 lime- zest and juice
- 1 Jalapeno, sliced and diced, de-seeded
- 1 Granny Smith Apple, diced, skin on
- 1/2 c Mayo made with Olive Oil
- 1/2 c Stonybrook Plain Greek Yogurt
- 1 Tbsp sugar
- 1 tsp Cayenne pepper
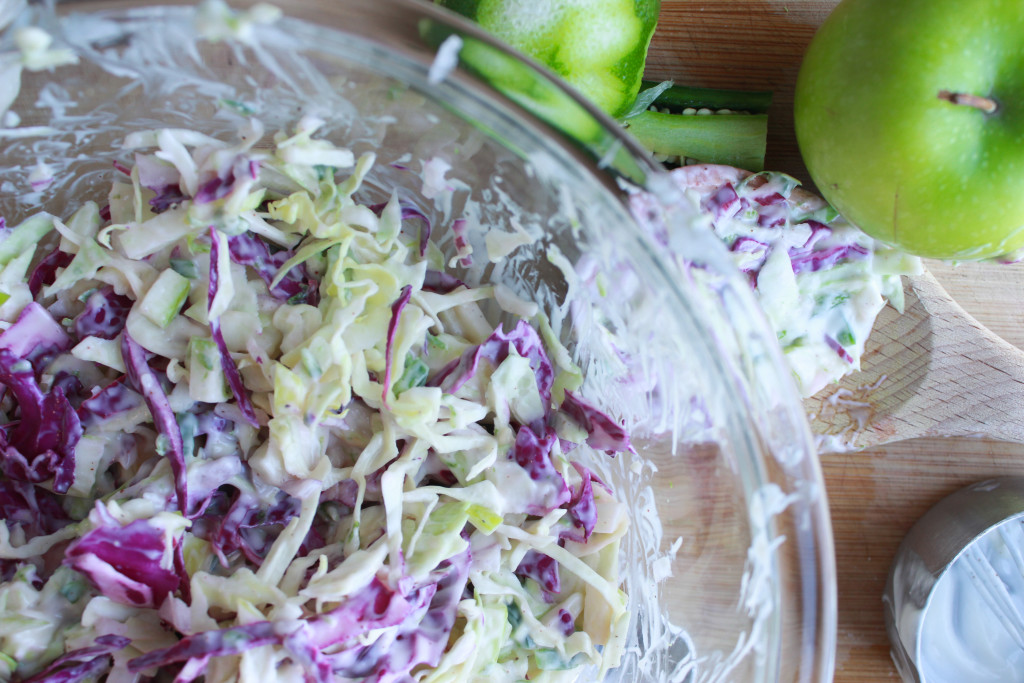
- Add cabbage, onion, jalapeno and apple in bowl.
- In a separate bowl, mix lime zest, lime juice, mayo, yogurt, pepper, sugar and salt to taste.
- Stir dressing into slaw mix.
- The heat from the jalapeno will intensify over time, so if you like more heat, add another pepper if you're serving right away, or chill for a few hours and the heat will be more intense.
- This slaw would go great over ANY meat for a sandwich, or as a side with any spicy dish!
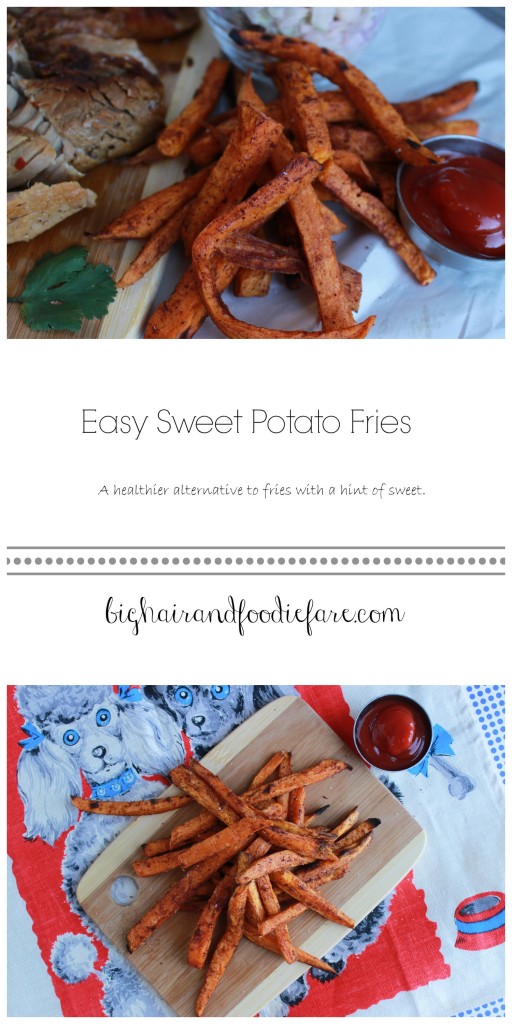 Ok, these are so easy you might poop your pants. I don’t even need to make a recipe card for this either!
I took 3 medium sized sweet potatoes, peeled them, and cut them lengthwise julienne style (like a french fry for those of you who ain’t FRANCH.)
Toss in 1 Tbsp olive oil with cinnamon and nutmeg. (However much you want). Bake at 350 for 18 minutes then broil on High for another 10 minutes. These wont be as crisp as a traditional french fry- but they are healthy and not so bad for ya! High in fiber and vitamin C! Enjoy and yum!
I hope this post enlightened y’all on the differences in rib cuts and their preparation methods, and made you drool a little too! If anyone has any suggestions on your experiences with this cut of meat-I’d love to hear!
Cheers! Kelli


Hi Kelli
I can’t believe how much effort you’ve gone to, to make a sandwich. Every part of this looks amazing. Cracking ribs and zingy coleslaw. Sign me up.
Dave
Hi Dave,
I didn’t just make the sandwich, I prepared them a couple different ways to see what the best method was. I did end up eating the sandwich version for dinner, and the boyfriend ate the pan-seared version which were more similar to pork chops. Thanks for the comment! Hope to hear from you again! Cheers. Kelli