I’ve always been a lover of cheesy bread, so when I saw someone posted a recipe for gluten-free, low-carb cauliflower cheese sticks (they looked similar to the cheesy bread I’m used to) I knew I had to try the recipe.
This particular recipe is adapted from the “Real House Mom’s” blog. It was a wild Friday night when I saw the post, and I was getting ready to head to the grocery store, so I thought I’d give the recipe a try! (Here is the original recipe from Realhousemoms.com). I wanted to make sure I gave credit where credit is due! I tweaked the recipe of course. . .adding gobs more garlic and fresh herbs, but it’s essentially the same. I’ll also post the recipe below for easy reference.
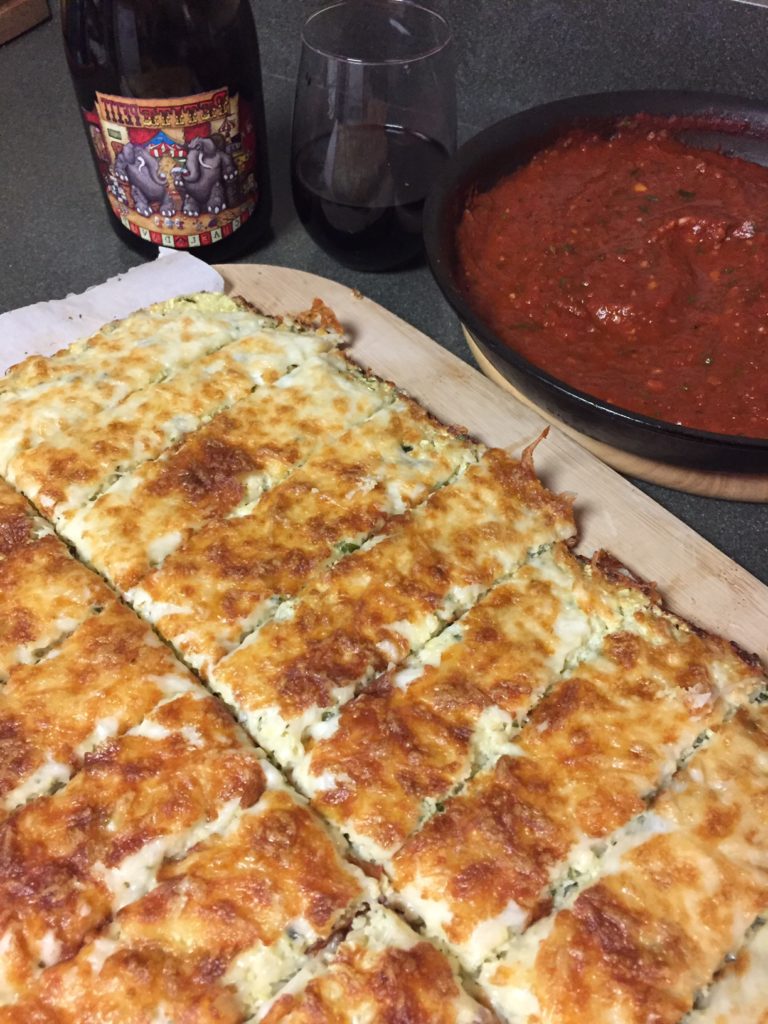
I took this photo with my phone, but wanted to share to show y’all how I just pulled the bread (and the parchment paper) right off the baking sheet and straight onto the cutting board to slice into “sticks”.
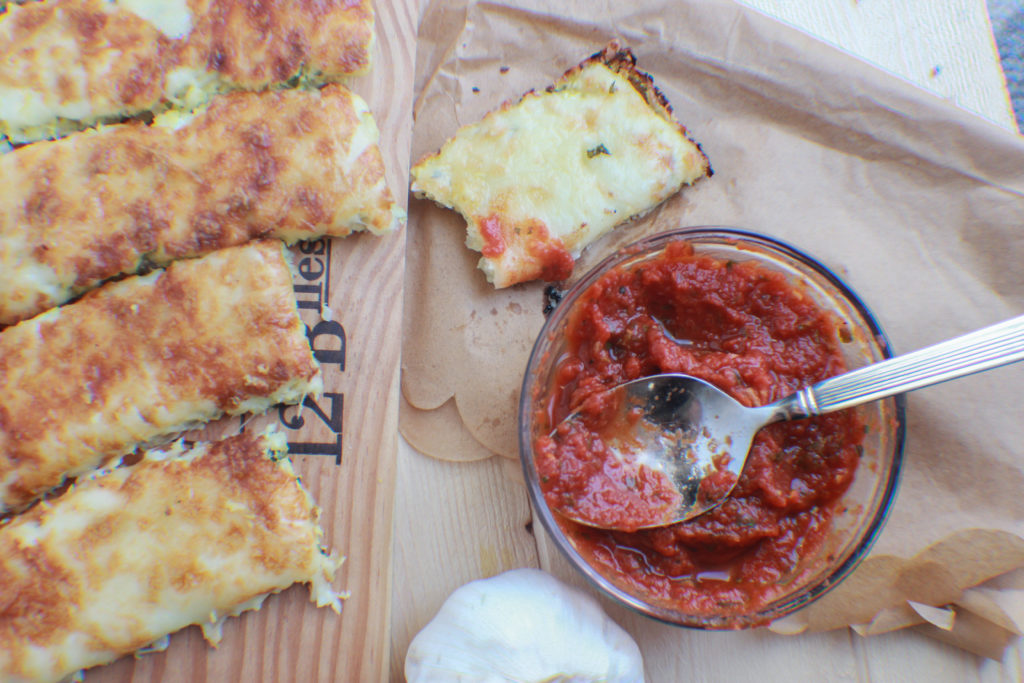
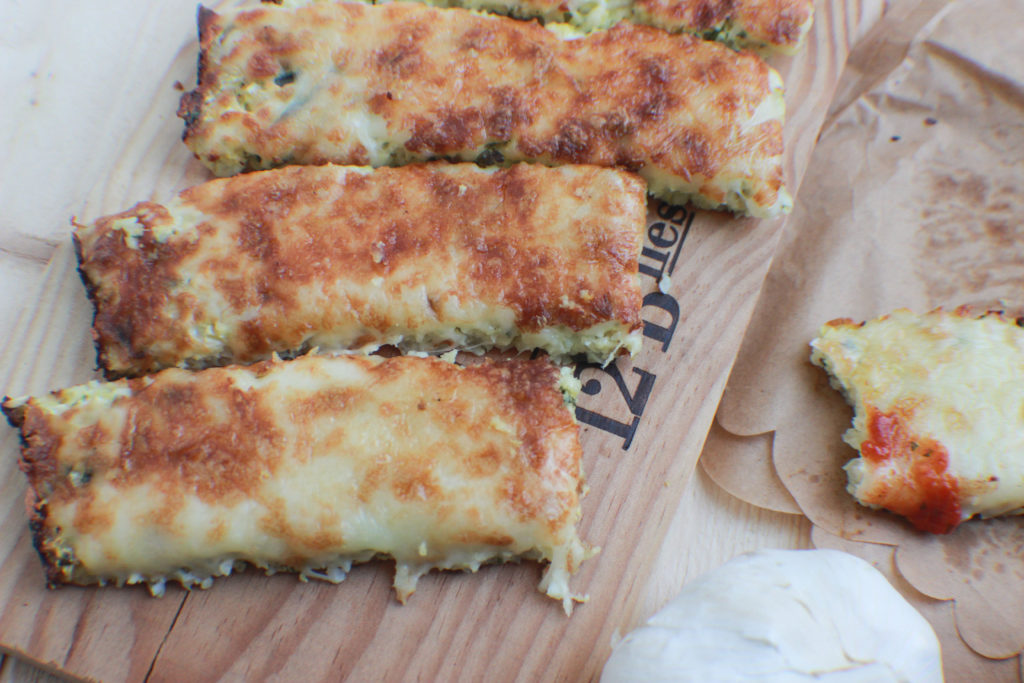
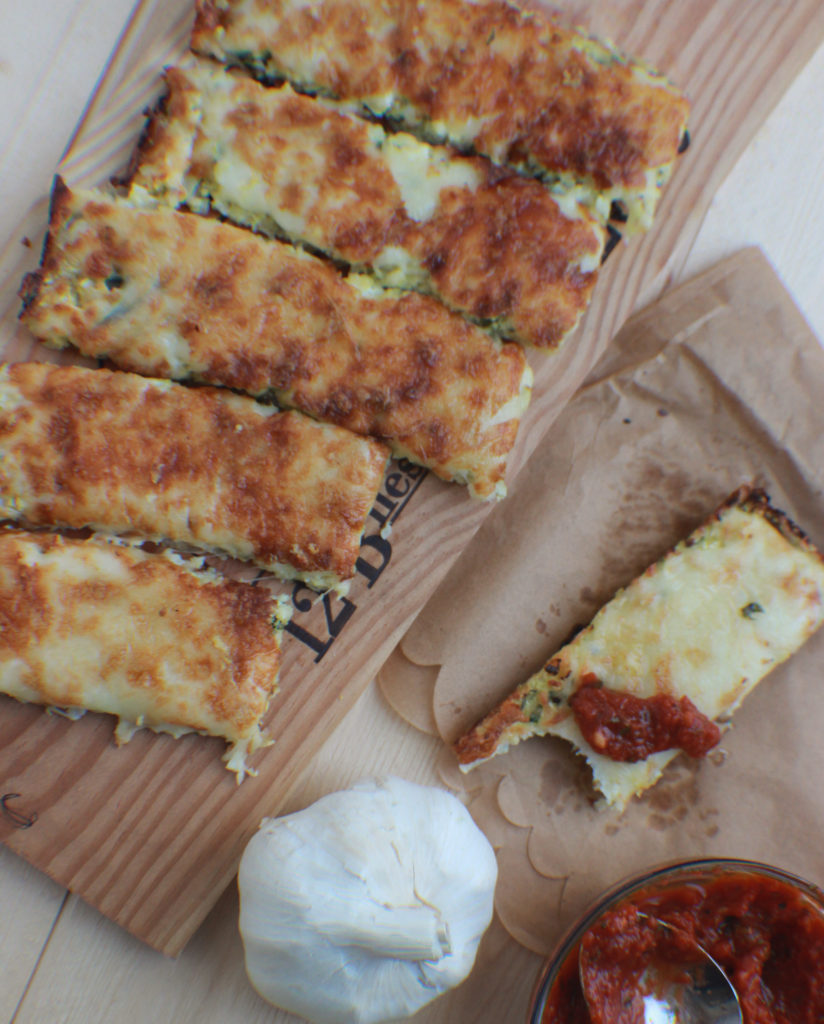
Full disclosure: I was expecting these to have more of a bread-like texture. I think that’s because they looked so much like actual bread sticks! I doubled the recipe and made these thicker than the original recipe called for too, which could have given them more of a chewy texture, vs. how I think a thinner “crust” would have crisped up more. So, I would say keep that in mind when pressing your mixture into the pan.
Other Side Notes:
- Use freshly shredded cheese. Pre-shredded cheese contains a non-clumping agent that can prevent it from melting quite as well as freshly shredded.
- When re-heating, use a toaster oven instead of a microwave. These bad boys already have a lot of moisture in them from the cauliflower, and the toaster oven crisps them up without rubberizing them as the microwave would.
- Use a food-processor to “rice” the cauliflower. This gives it a finer, more uniform texture.
All in all, I would definitely make these again. I’m not going to lie: being such a cheese fanatic I probably ate at least 5 right out of the oven. These would be a great way to get your kids to eat their veggies, too.

- 2 heads raw cauliflower florets (I cut out the stems), riced
- 1/2 c grated parmasan
- 1 c shredded shredded mozzarella
- 2 eggs, lightly beaten
- 5 garlic cloves, minced
- handful chopped fresh basil
- handful chopped fresh parsley
- 1 1/2 tsp salt
- 1 tsp pepper
- 1 c shredded mozzarella (for topping)
- Preheat oven to 425 and line baking sheet with silicone baking mat or parchment paper. (I used parchment paper.)
- Rice the cauliflower in a food processor. Remove the stems before hand.
- In a large bowl, mix all ingredients until the mixture seems to "hold together".
- Spread evenly over baking sheet and press down with your hands, essentially packing it down.
- Bake for 15 minutes and remove from oven.
- Spread remaining 1 c shredded mozzarella over the top.
- Return to the oven until mozzarella is bubbly and starts to brown. I used the broiler on low for the last ten minutes to give the cheese that nice golden color.
- If you're adverse to smelling like garlic all night, cut the garlic in half! Also, if you want a thinner, crispier "crust" split the cauliflower between two baking sheets instead of one.
- 1/2 can tomato paste
- 1 can diced tomatos
- 3 fresh tomatos, blanched, peeled and decored
- 4 cloves of garlic (I know, I use alot of garlic!)
- handful fresh julienned basil
- salt and pepper
- 1 tsp Italian seasoning
- 2 tbsp Your Mom’s Bloody Mary Mix
- Blend all ingredients together, and then pour into a pan and stir on low heat until warm.


